Cherry Bars
This recipe for cherry bars is a delightful treat that captures cherries’ bright, juicy essence in a sweet, buttery package. These bars are perfect for any occasion, from picnics to potlucks, featuring a golden crust, a rich cherry filling, and a crumbly topping. Easy to make and even easier to enjoy, they offer a delicious way to satisfy your sweet tooth and share a homemade delight with friends and family.
When I was growing up, dessert after dinner was a given. I wonder if people still have after dinner dessert regularly.
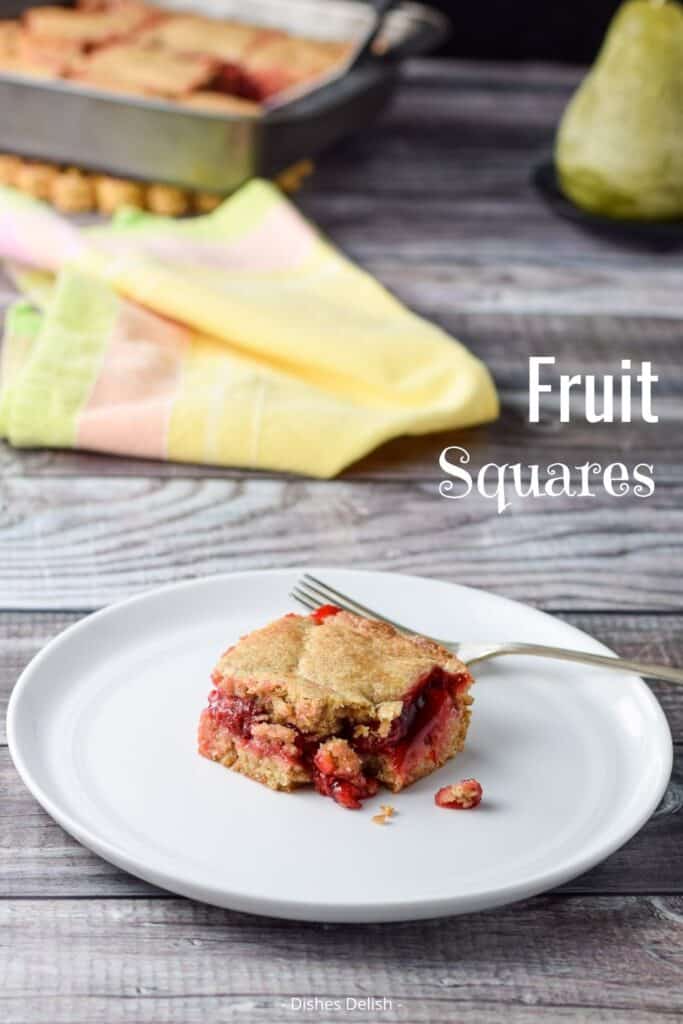
This is such a great dessert to eat because it’s fairly light and it’s very scrumptious. We have made this family recipe with all types of canned fruit but cherry is my favorite.
What I love about it is it tastes like spring.
We are a participant in Amazon Services LLC Associates Program, an affiliate advertising program designed to provide a means for us to earn fees by linking to Amazon.com and other affiliated sites. #CommisionsEarned. You can read my disclosure here.
Helpful tips
- Take the butter out at least a half hour before starting the recipe. I usually unwrap the butter and place it in the stand mixer bowl. I also cut the butter into pats so it softens faster.
- Whenever I grease a pan, I put a sandwich baggie over my hand and dip it into the greasing agent. I smear it around the pan and throw the baggie away after I’m finished. This way your hand stays clean.
- You can use all purpose white flour instead of spelt. They are interchangeable.
- You can use other fillings like blueberry or apple pie filling as they are all delicious.
- My recipe card comes with a slider on it so if you want to double the recipe, move the slider to the right position.
- You can double the recipe if you make it in a 9″ x 13″ pan. If you do, you will need to bake it longer. Check after 55 minutes but it could go as long as 60 minutes.
- You can store any leftover bars in an airtight container and in the refrigerator for 7 days. You can also freeze these bars for up to 3 months.
How to make cherry bars
Pre-step
Take out the butter at least 30 minutes before starting the recipe.
Preheat the oven to 350 degrees Fahrenheit and liberally grease an 8 x 8 pan or baking dish.
Step one
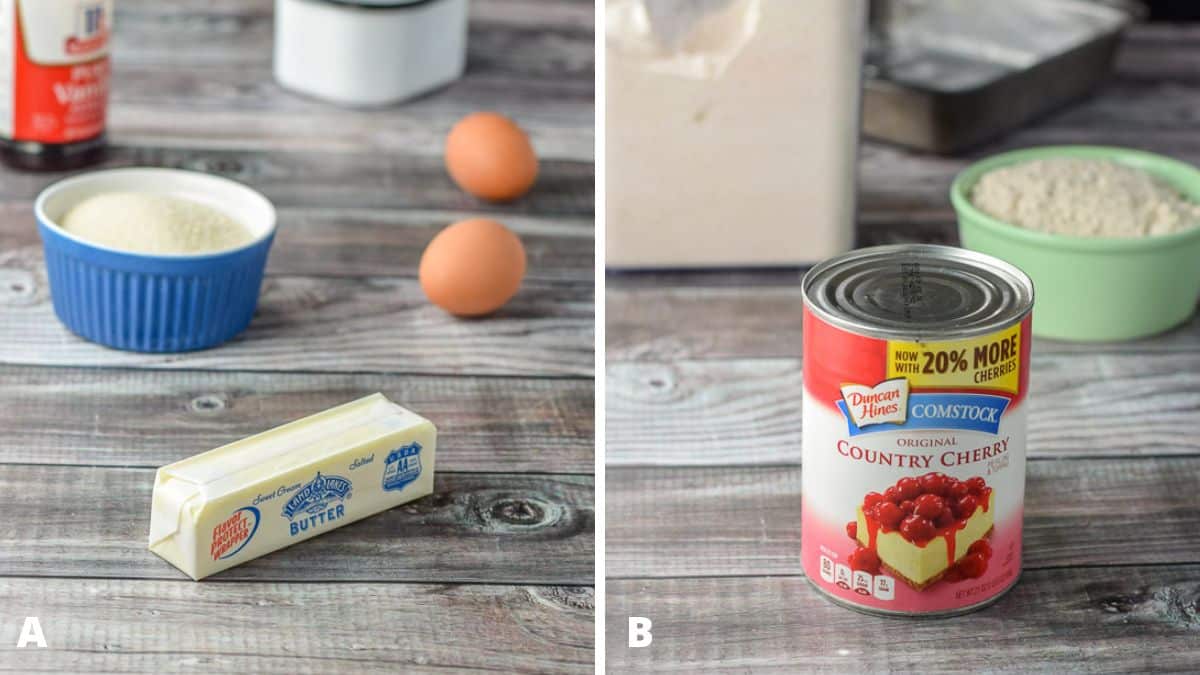
Gather the batter ingredients – butter, sugar, eggs, vanilla extract, and salt. (A)
Step two
Get out your stand mixer and place the room temperature butter into it along with the sugar.
Turn the mixer on medium and cream the two ingredients together.
Step three
Add vanilla, salt and the eggs and mix until they are incorporated.
Step four
Gather the rest of the ingredients – cherry pie filling and flour. (B)
Would you like to save this recipe?
Don't worry, I promise not to spam you.
Step five
Divide the batter in half. Add half in the greased pan and press it down in the bottom of the pan with either your hand or rubber spatula. (C)
Step six
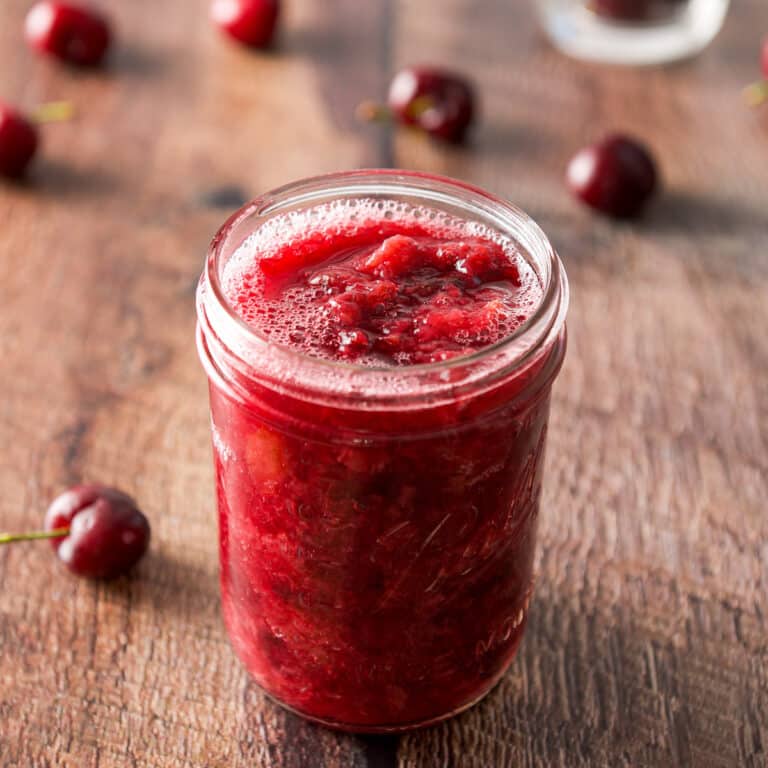
Spread a little more than half of the can of cherry filling on top of that layer of batter. You can use the whole can but I find the amount I use perfect. (D)

Step seven
Take a spoon and scoop the remaining batter, adding it to the cherry filling in the pan. Do this until all the batter is used up.
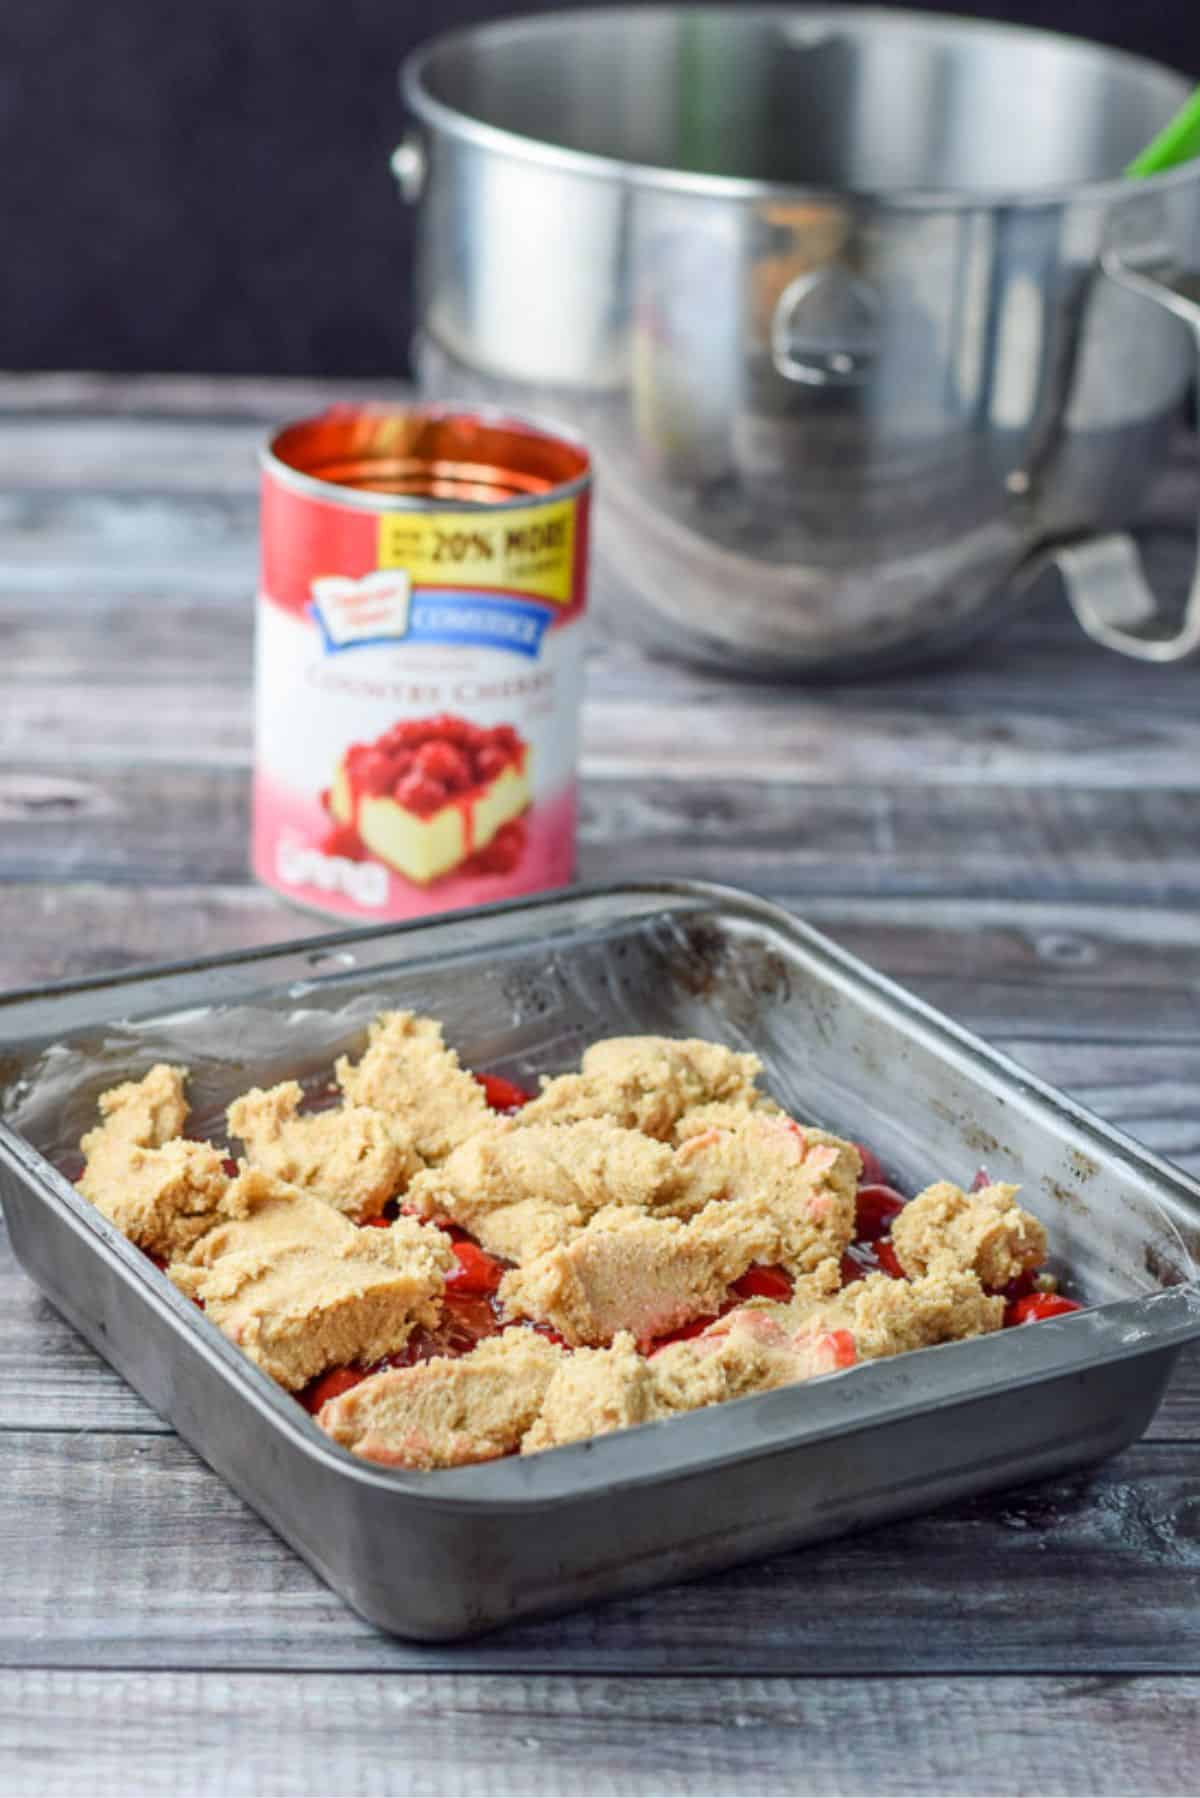
No need to spread that layer. It will spread as it bakes.
Step eight
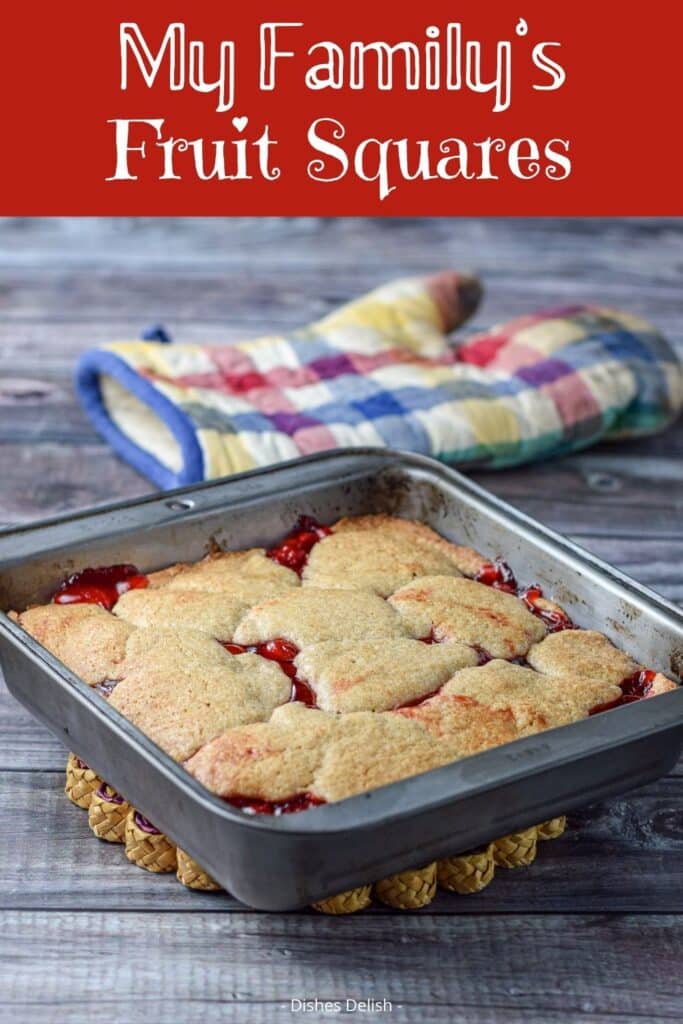
Bake the cherry pie bars for 45 minutes until they are golden brown. (Now, if you double this recipe like my family does, you will bake it between 55 – 60 minutes.)
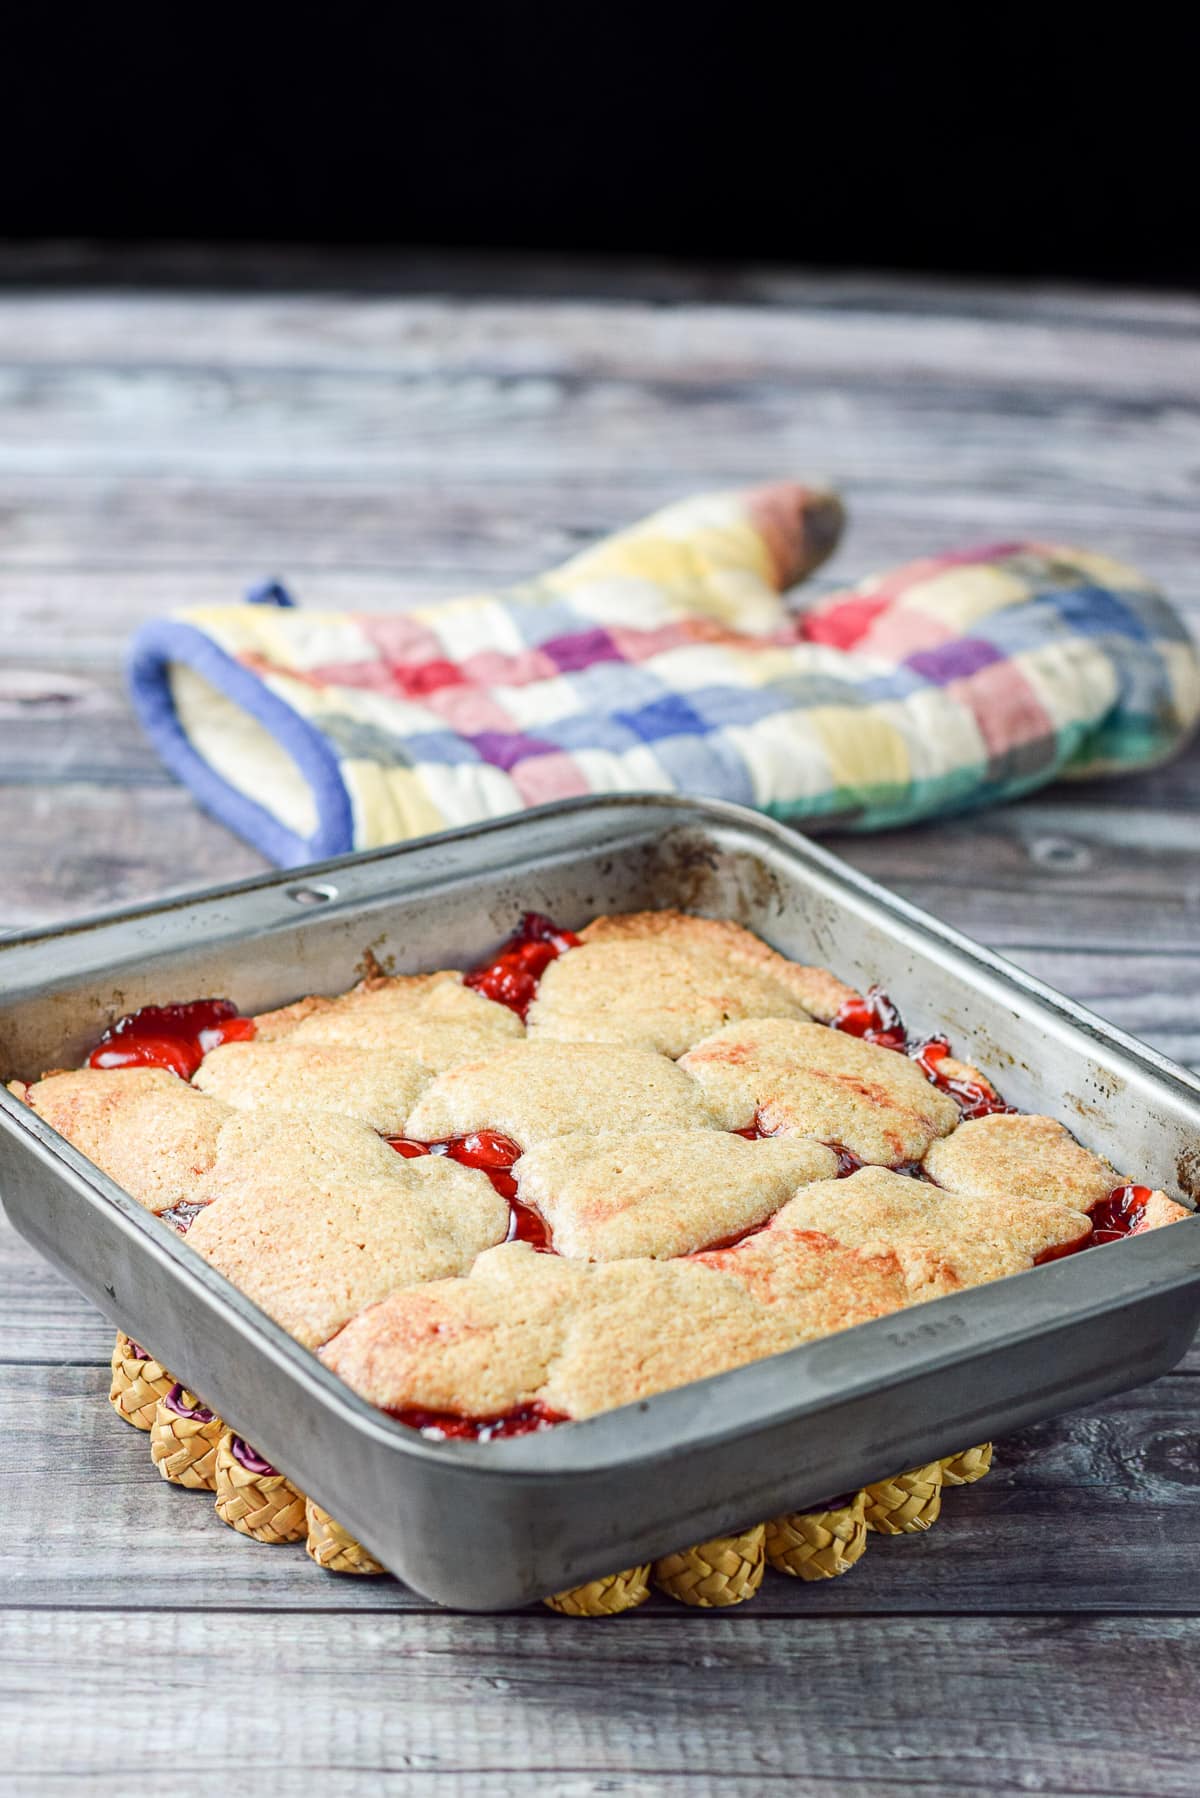
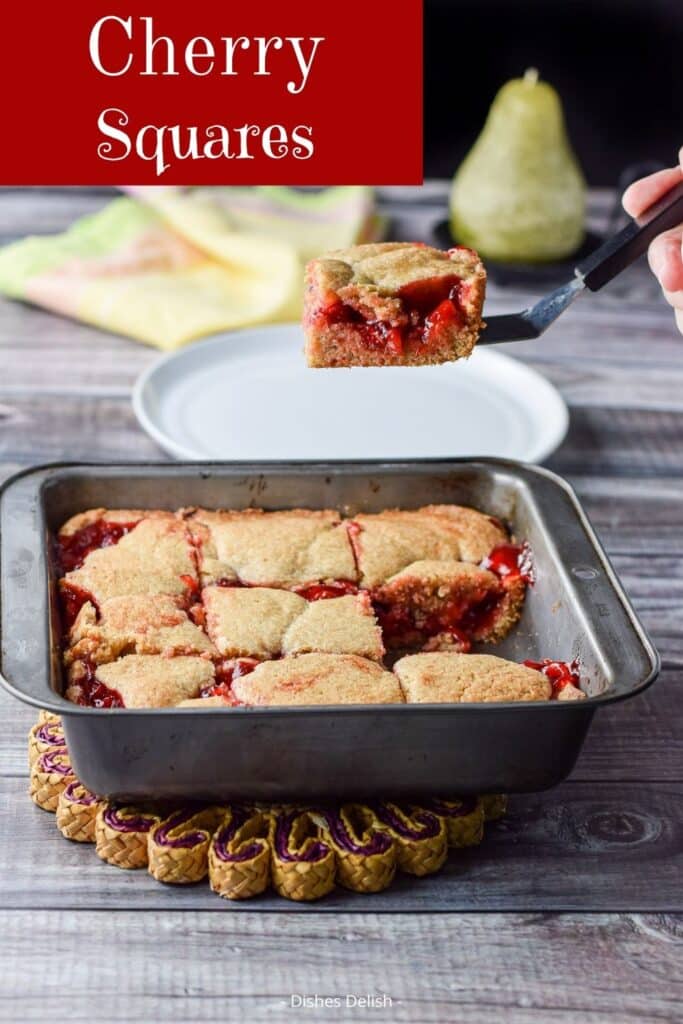
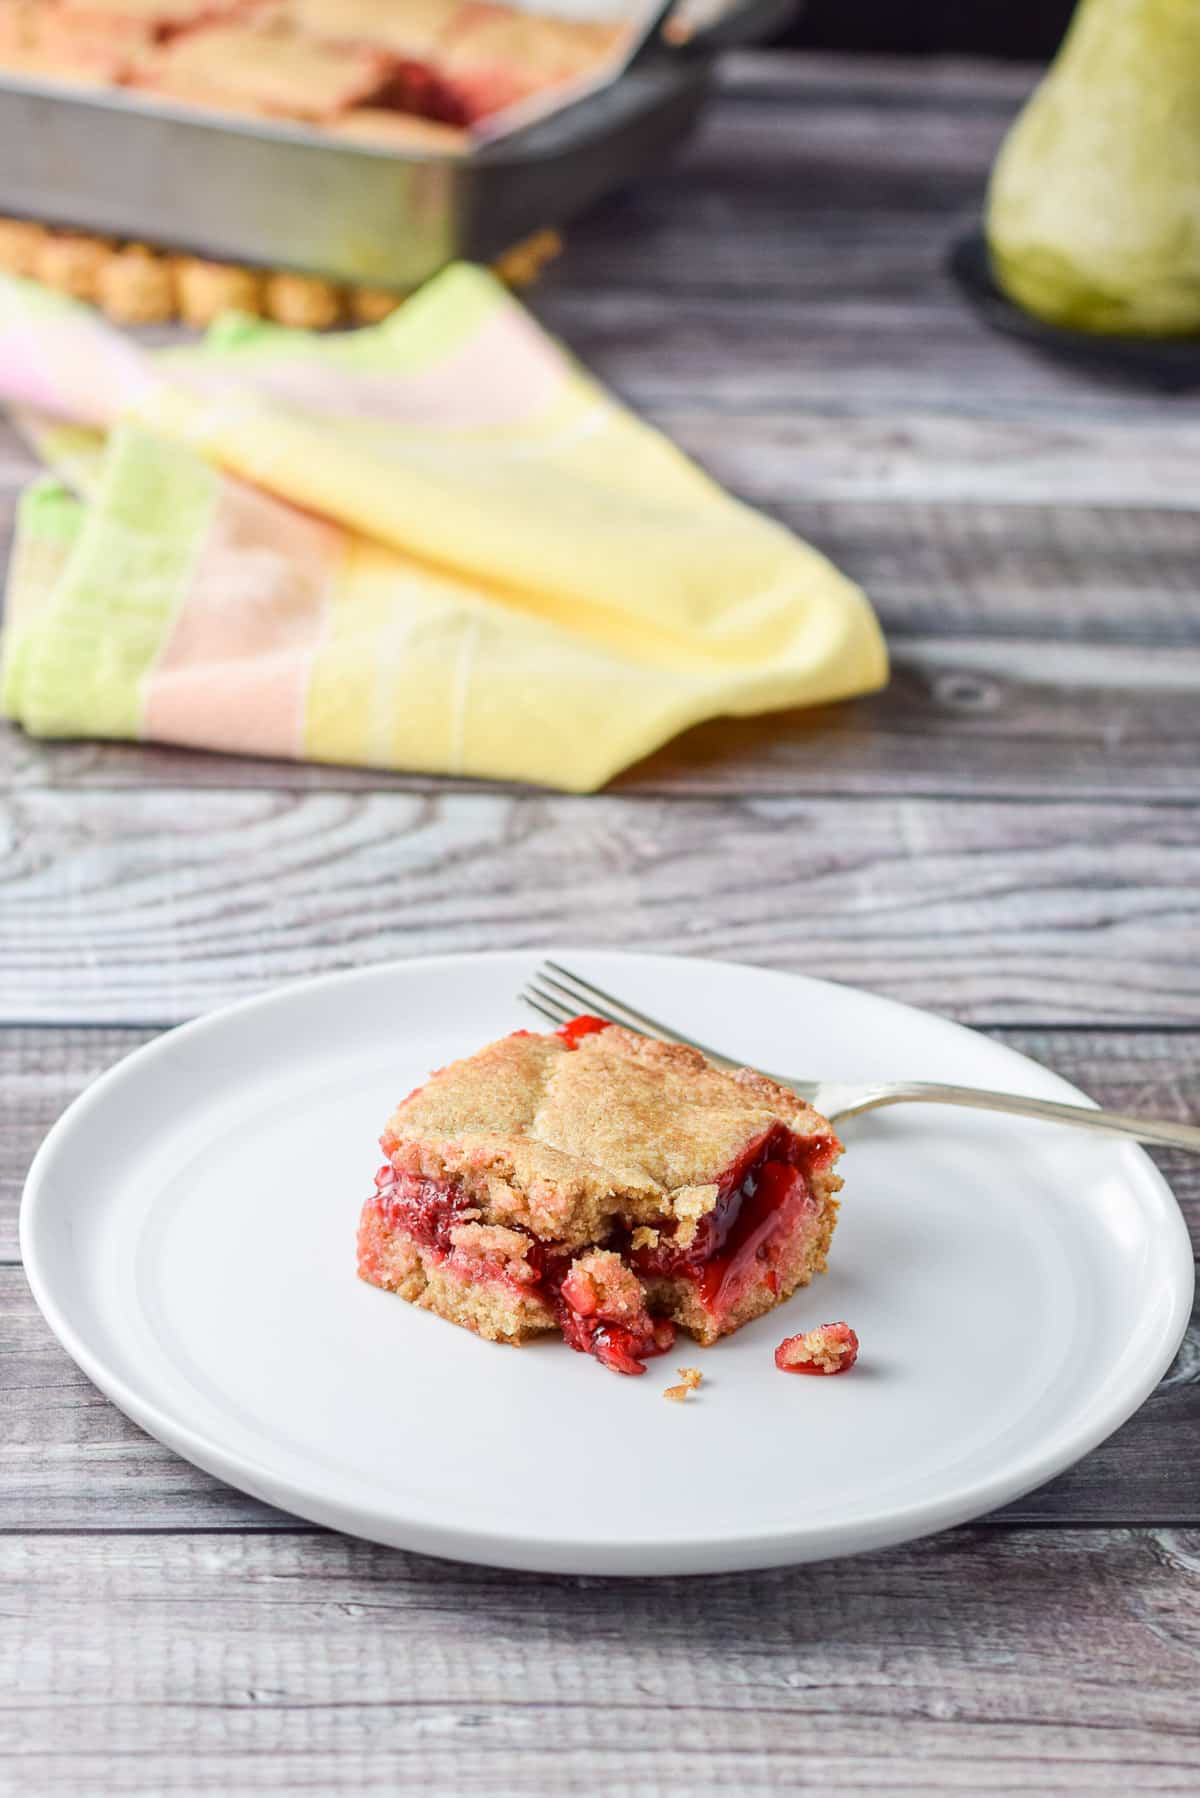
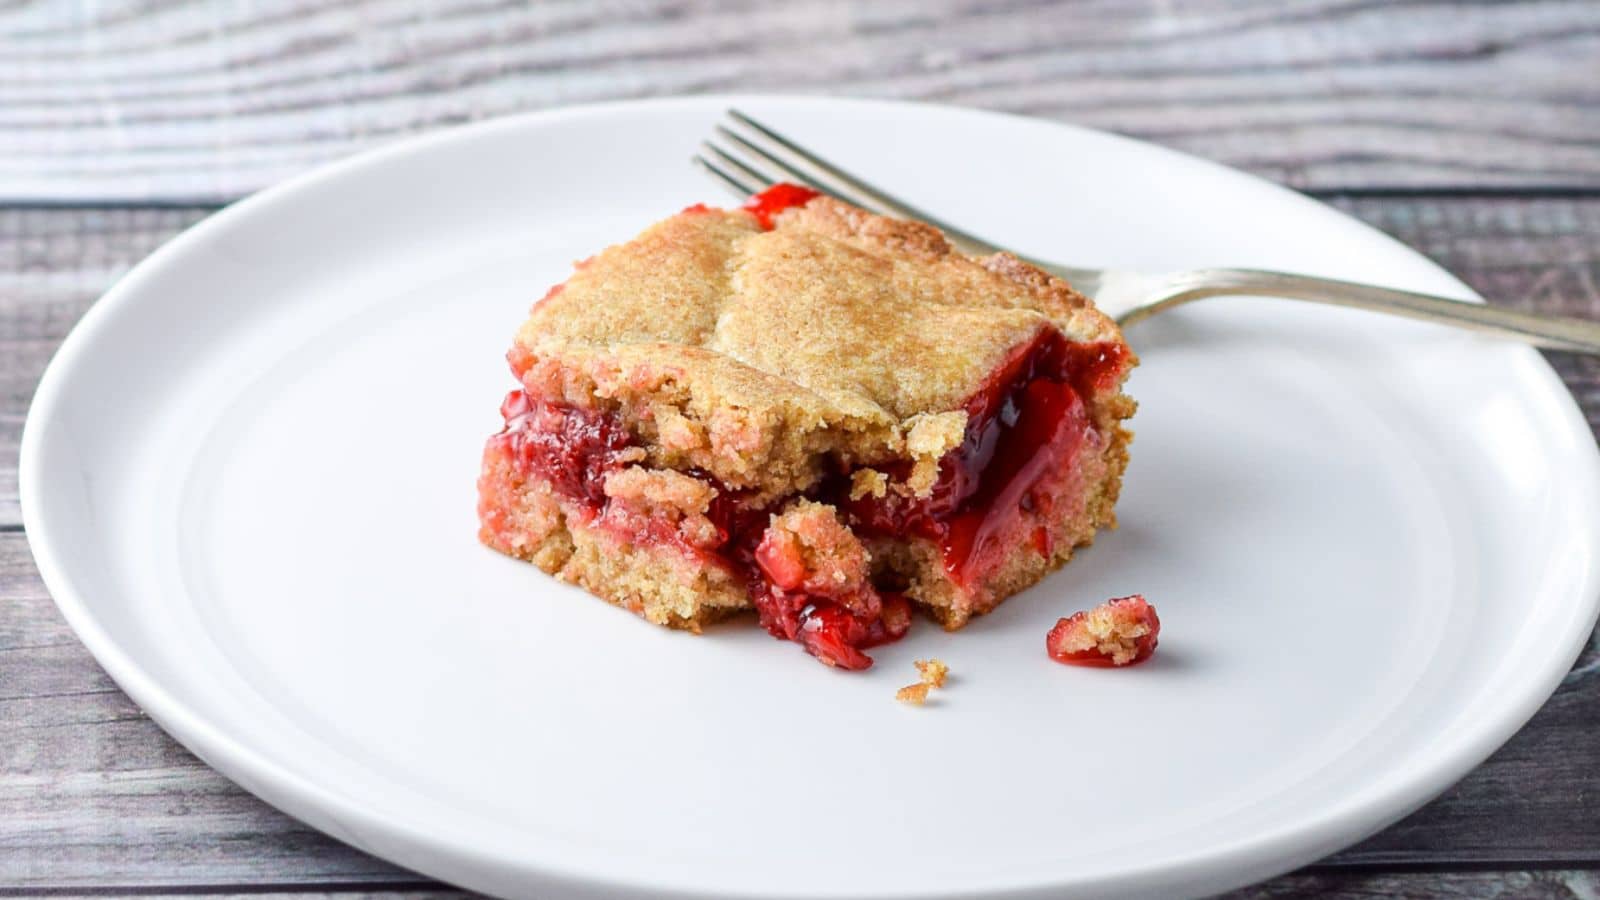
Let it rest for 10 minutes before cutting it into nine squares. You can wait longer but it’s super tasty warm.
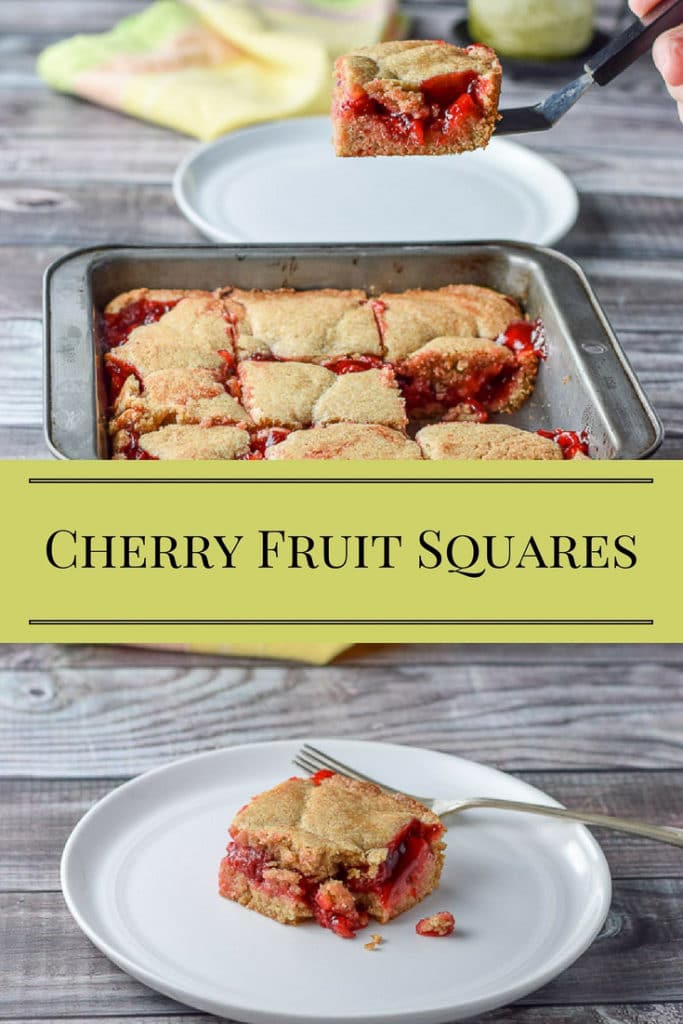
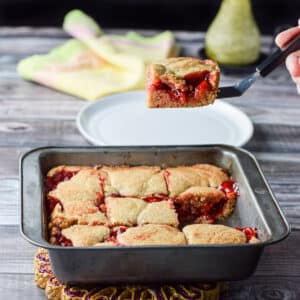
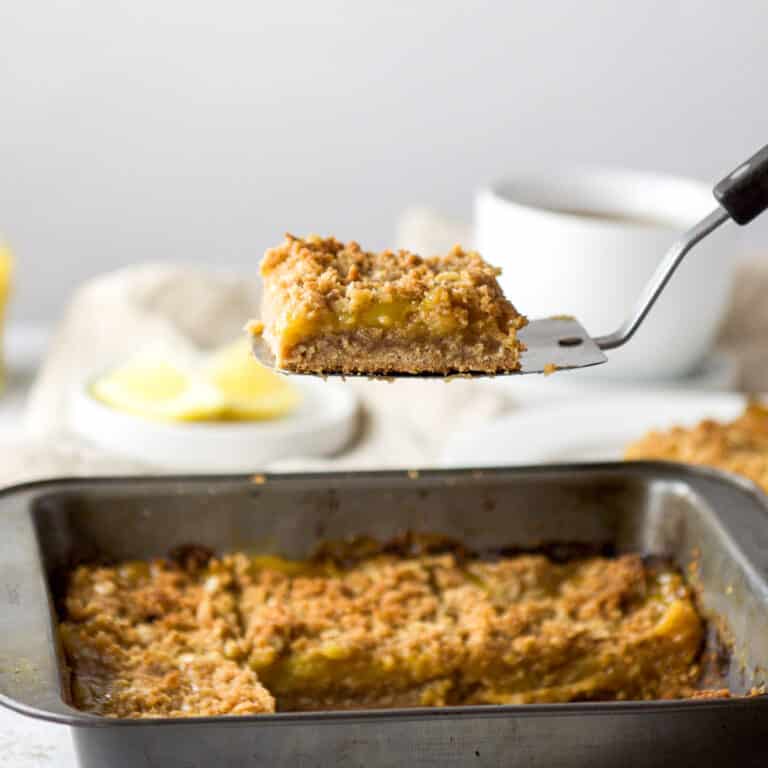
I lift a cherry fruit square and prepare to plate it.
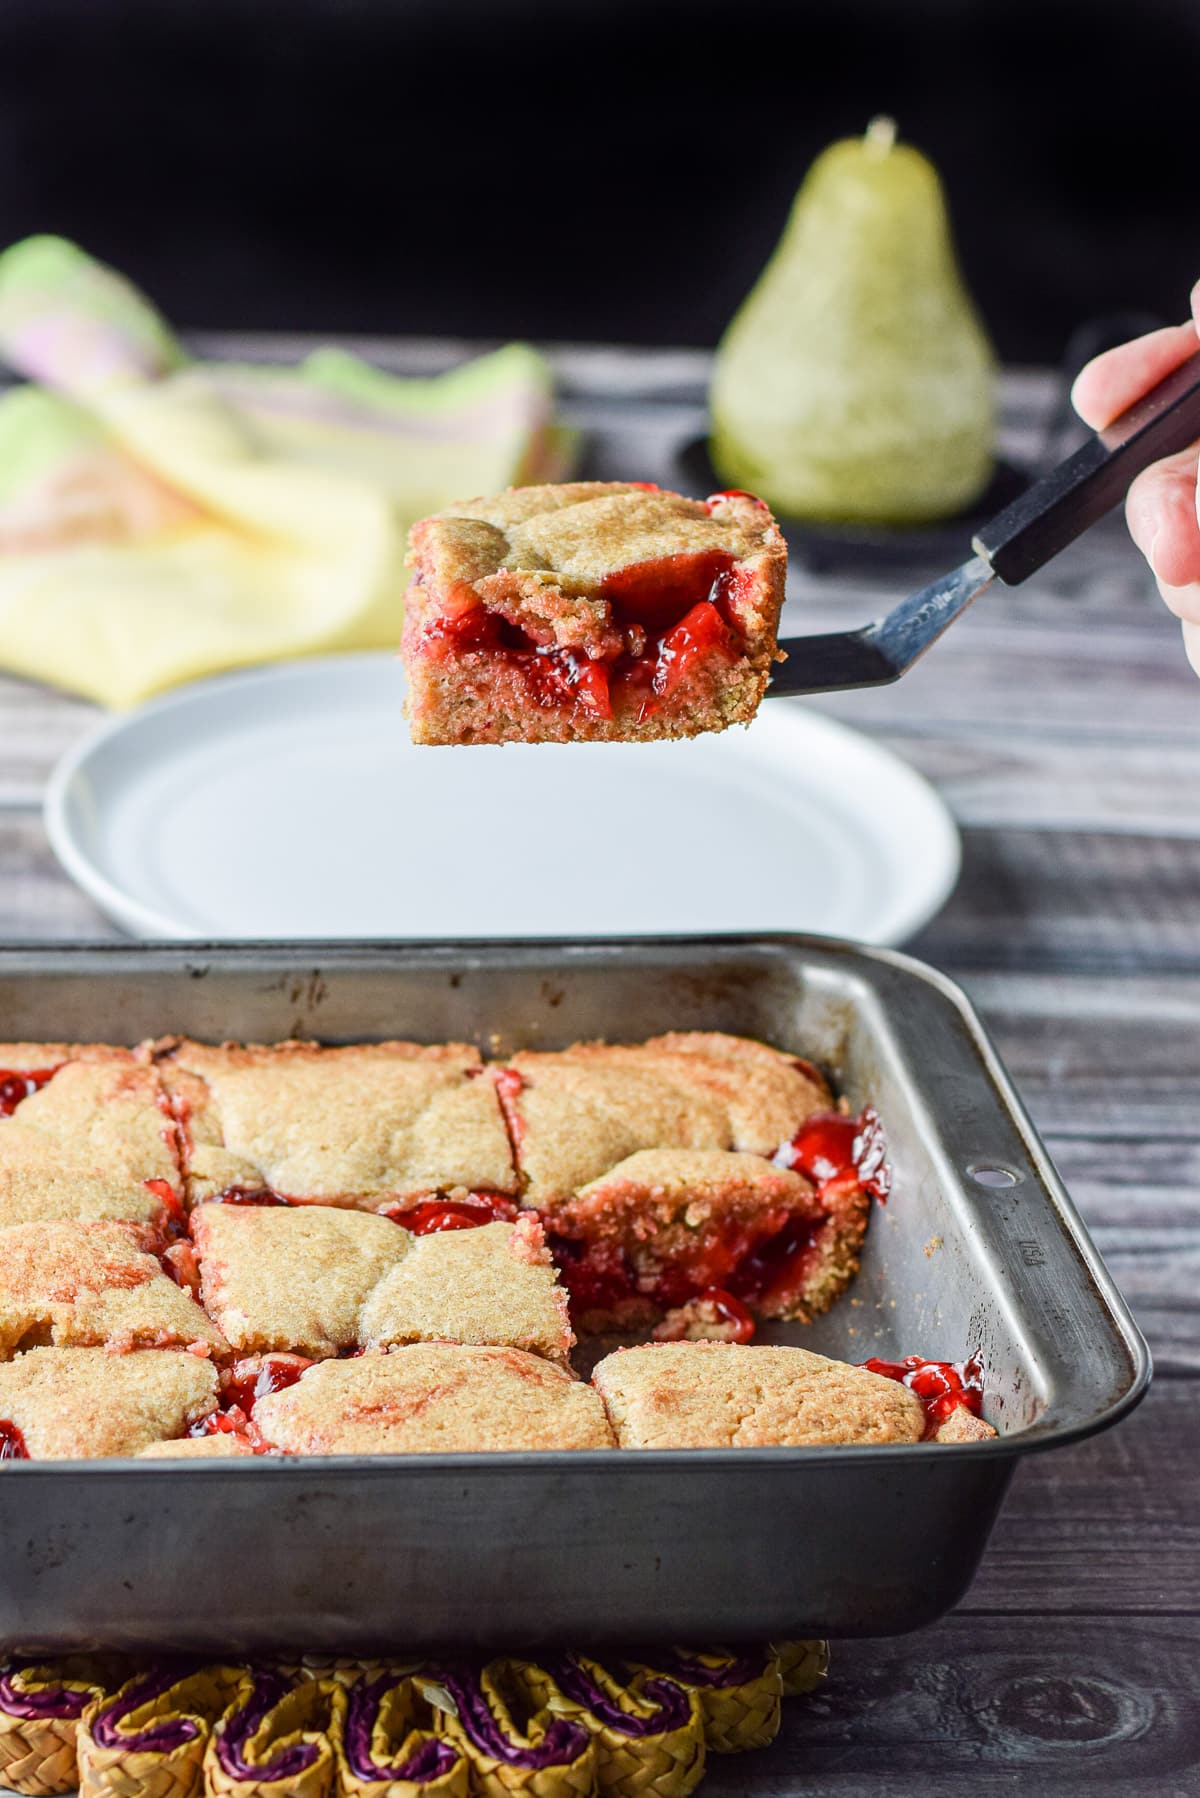
Look at all that cherry goodness! Yum.
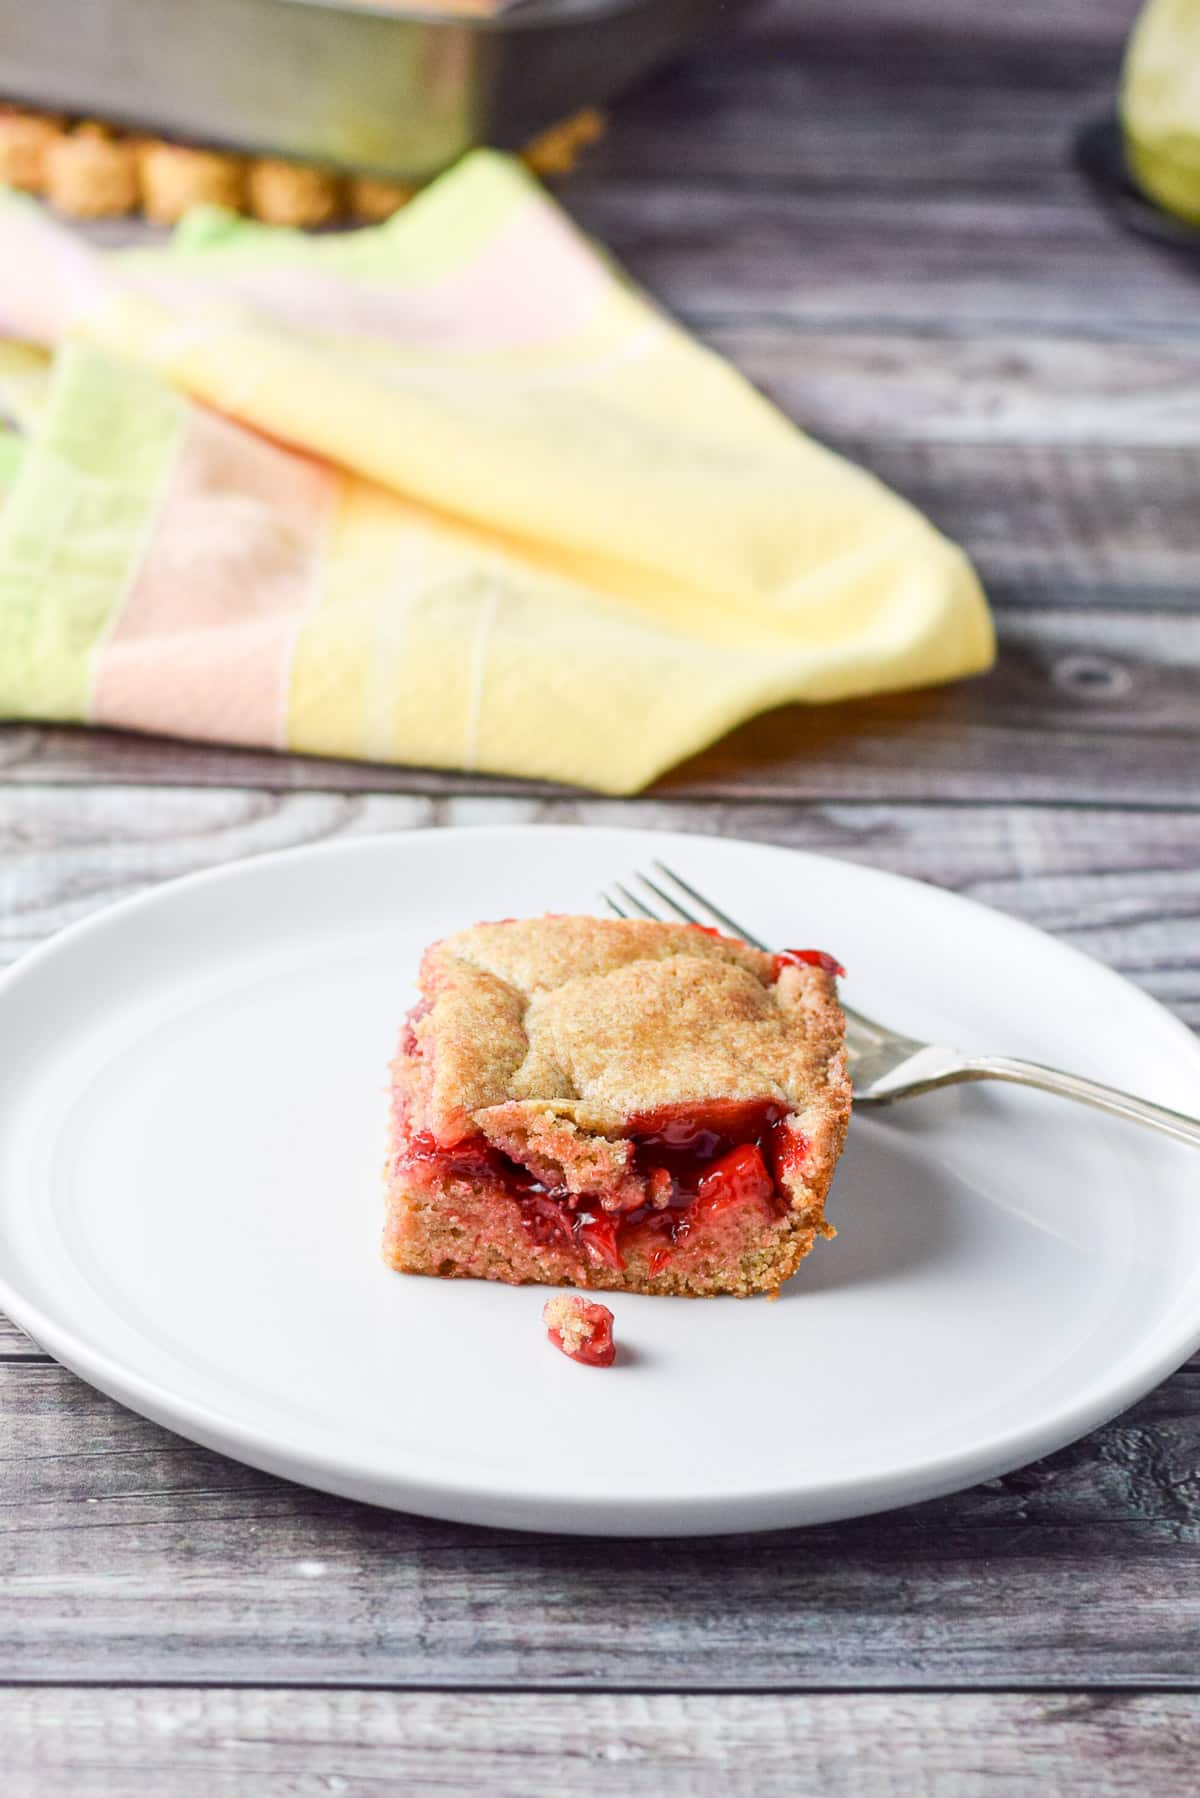
YUM. So nice and fruity. The cake part is a perfect complement to the cherry. My family use all purpose flour and you can too, but I prefer my spelt.
I hope you enjoyed this cherry bars recipe!
Other popular desserts
And as always, may all your dishes be delish!
If you’ve tried this or any other recipe on the blog, I’d love the hear what you thought about it in the comments below. I love hearing from you! You can also FOLLOW ME on FACEBOOK, TWITTER, INSTAGRAM and PINTEREST to see more of my delicious food and delightful cocktails!
My Family’s Cherry Bars
Ingredients
Instructions
- Preheat oven to 350 F and grease a 8" x 8" pan.
- In a stand mixer, add butter and sugar and mix until incorporated.1/2 cup butter, 1 cup sugar
- Add vanilla, salt, and one egg at a time and mix until both eggs are incorporated.1/2 teaspoon vanilla, 1/8 teaspoon salt, 2 eggs
- Add flour and mix until combined.1 1/2 cups flour
- Divide dough in half and press half in greased pan.
- Spread cherry filling on batter layer.1/2 can cherry filling
- Spoon tablespoons of batter on top of the fruit layer. Bake for 40 – 45 minutes.
- Let the bars cool for 10 minutes before cutting into squares.
- Serve warm or cold
- Eat, smile, and enjoy.
Equipment


Would you like to save this recipe?
Don't worry, I promise not to spam you.
Notes
- Take the butter out at least a half hour before starting the recipe. I usually unwrap the butter and place it in the stand mixer bowl. I also cut the butter into pats so it softens faster.
- Whenever I grease a pan, I put a sandwich baggie over my hand and dip it into the greasing agent. I smear it around the pan and throw the baggie away after I’m finished. This way your hand stays clean.
- You can use all purpose white flour instead of spelt. They are interchangeable.
- My recipe card comes with a slider on it so if you want to double the recipe, move the slider to the right position.
- You can double the recipe if you make it in a 9″ x 13″ pan. If you do, you will need to bake it longer. Check after 55 minutes but it could go as long as 60 minutes.
So delicious! It’s divine with some vanilla ice cream too.
It is. Oh, it is, Michelle!!
Oh so easy and deeeelicious!!!
Indeed Platter!!
I love cherries and I am so glad that cherry season is here! This recipe was amazing! Thank you for sharing!
Thank you Luci! I appreciate it!
These are such cute, and yummy little bars! I love cherry anything.
Thanks so much, Amy.
I love dessert~ In fact sometimes I just have dessert for dinner! haha 🙂 One time for Easter, my in-laws had dessert before their meal and that was quite the day…a whole turkey left untouched, but all 8 pies demolished. This recipe was right up my alley and very delicious!
Thank you Joyce. That’s fun! Sometimes my hubby and I have dessert instead of a meal too and I love that your family does too!
These cherry squares are so good! Great recipe!
Thanks, Christopher. It’s a family favorite!
Delish! I made them with fresh tart cherries and rhubarb, cooked down. Wonderfully tart. Thank you!
I’m so pleased you liked it, Alison!
Had them as a desert at the Legion and everyone raved about it. Will definitely make again
I’m happy to hear that, Evelyn. It’s my family’s favorite!! Thanks for commenting.