Whoopie Pie Cake

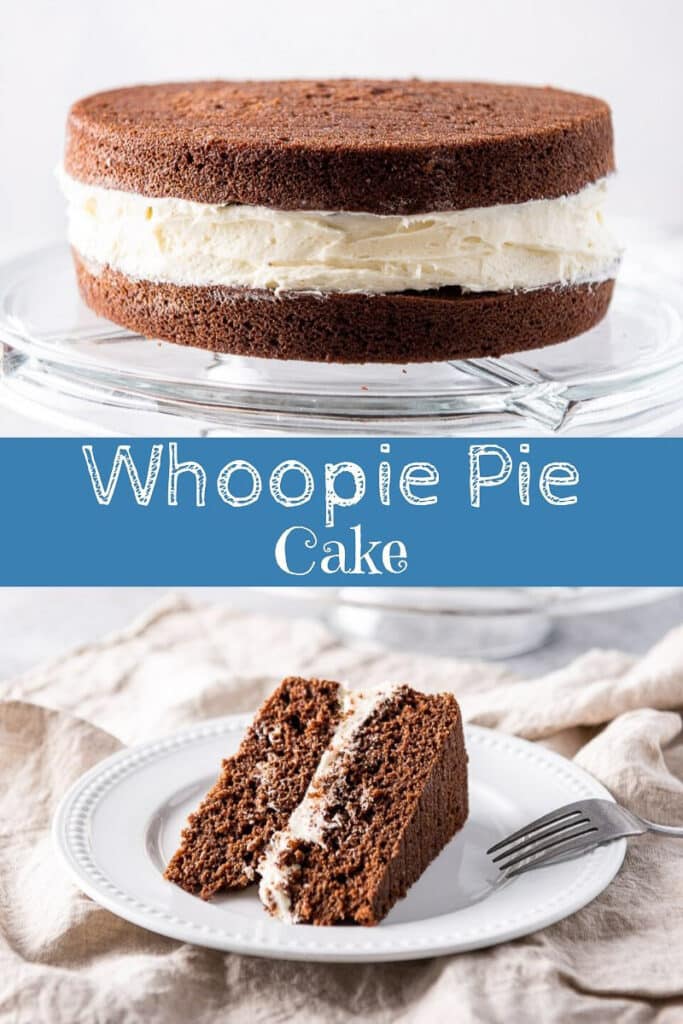
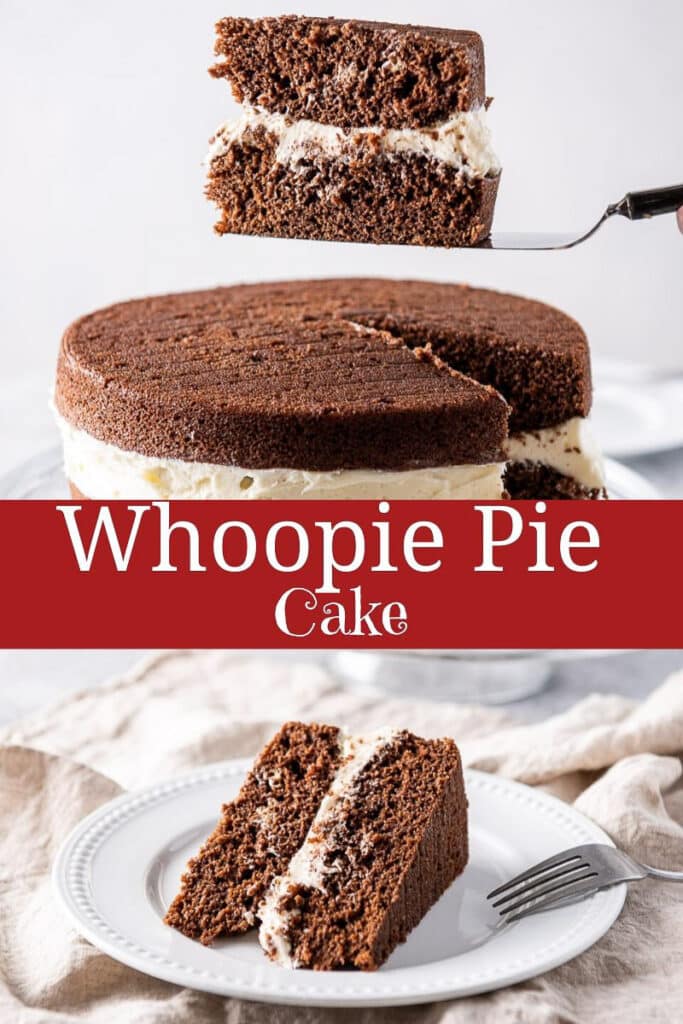
This whoopie pie cake recipe is a fun variation of those cute little pies! All that chocolatey goodness sandwiching a delicious frosting makes this a much sought-after birthday cake in our family!

I adore whoopie pies, especially the way my mom made them. Always have and even today, I could eat one every day.
And as I have little self-control when it comes to these chocolatey babies, I felt like doing something different because one whoopie pie would become two and then three, etc.
Realizing my dilemma, I figured – if it comes in a cake form, then I would eat one piece. Just ONE in a sitting. And if I made Christopher cut my portion and hide the whole darn thing away from my chocolate laser beam eyes, then I’d be golden. I can be satisfied with one piece, as long as it isn’t skimpy. Feeling me? Ah-huh. I knew you would.
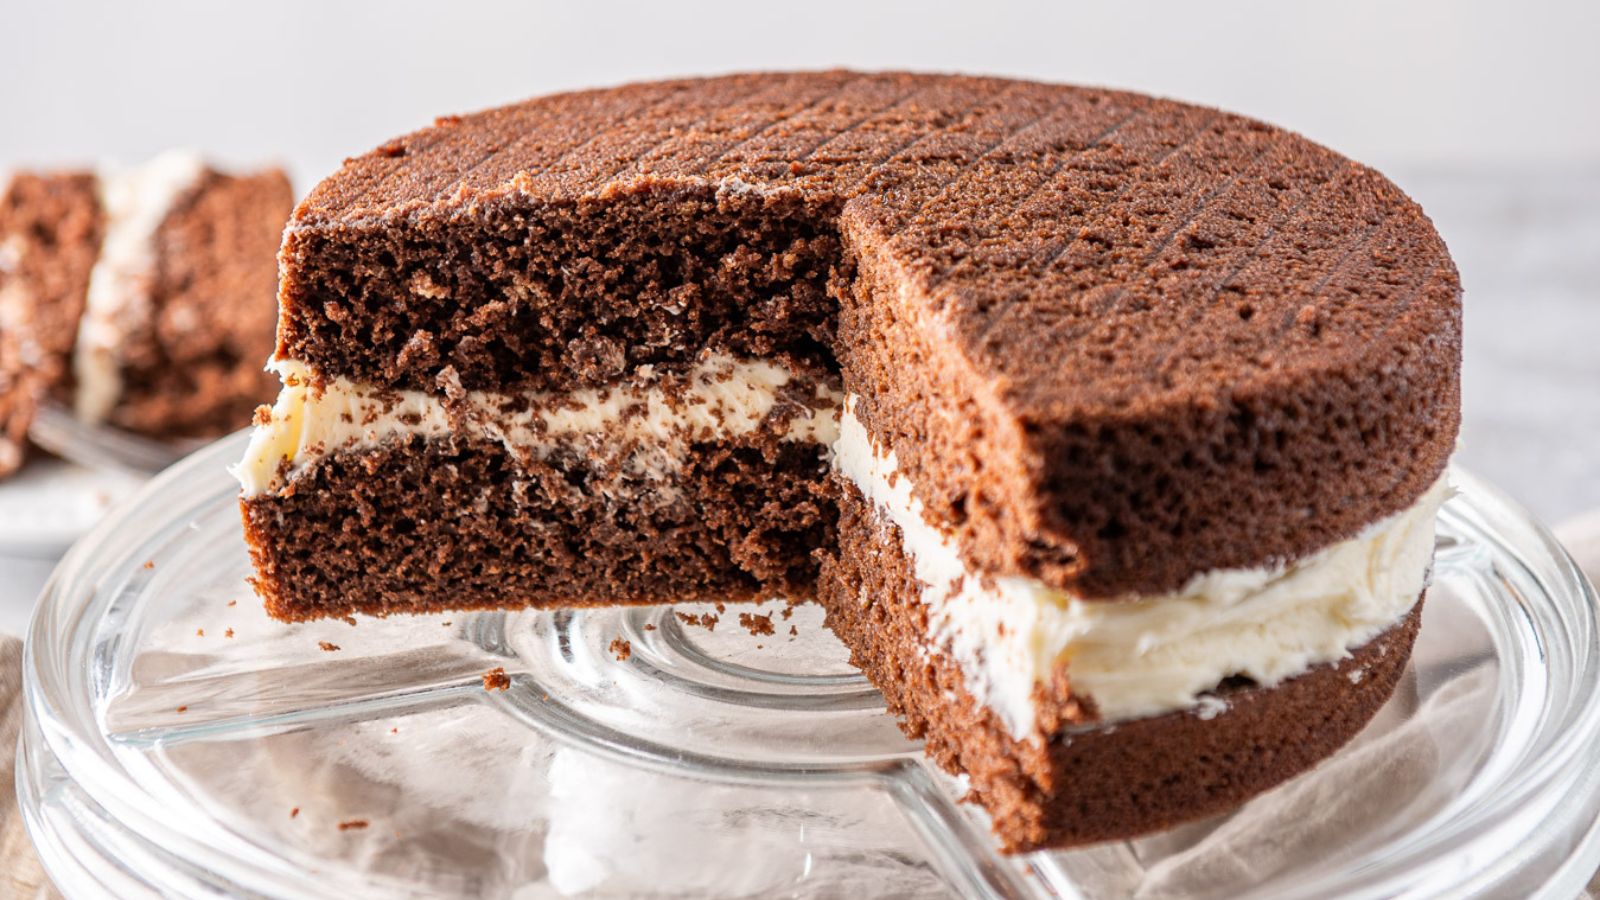
The dense fudginess of the chocolate engulfing the sweet frosting makes the flavor of this cake a favorite. One of the things I love is that you don’t need the whole cake to be covered in the frosting because it’s so delicious and satisfying.
I decided to make a marshmallow fluff buttercream frosting. This is a variation on my mom’s recipe but I really like it.
This post may contain affiliate links, which means I get a small commission, at no additional cost to you, if you click the link and buy something. You can read my disclosure here.
Helpful
Tips
- Once you’ve whisked together the cocoa powder and water, the longer it sits, the thicker it gets.
- You need to take the butter out at least 30 minutes before starting the recipe. I like to take it out one hour before and in the winter months, I actually take it out the night before.
- To quicken the softening of the butter: unwrap it, place it in the mixer, and cut it into pats with a knife.
- To keep your hand clean when you grease the cake pans, put a sandwich baggie over your hand, scoop out some vegetable shortening, and spread it thickly around the pan. Then peel off the sandwich baggie and you have a clean hand.
- How to sour milk – Add 2 cups of milk to a small bowl and whisk in 2 tablespoons vinegar, let sit for 5 minutes.
- You will have extra frosting but don’t worry because it freezes well – put in an airtight container and use within 3 months.
- You could line the pans with parchment paper, but I prefer not to.
- When you frost the cake, you can use a knife like I do, or a piping bag.
How to make a whoopie pie cake
Pre-step
Take butter out at least 30 minutes before starting the recipe.
Step one
Get your stand mixer and two greased 9-inch cake pans.
Preheat the oven to 350 degrees Fahrenheit.
Step two
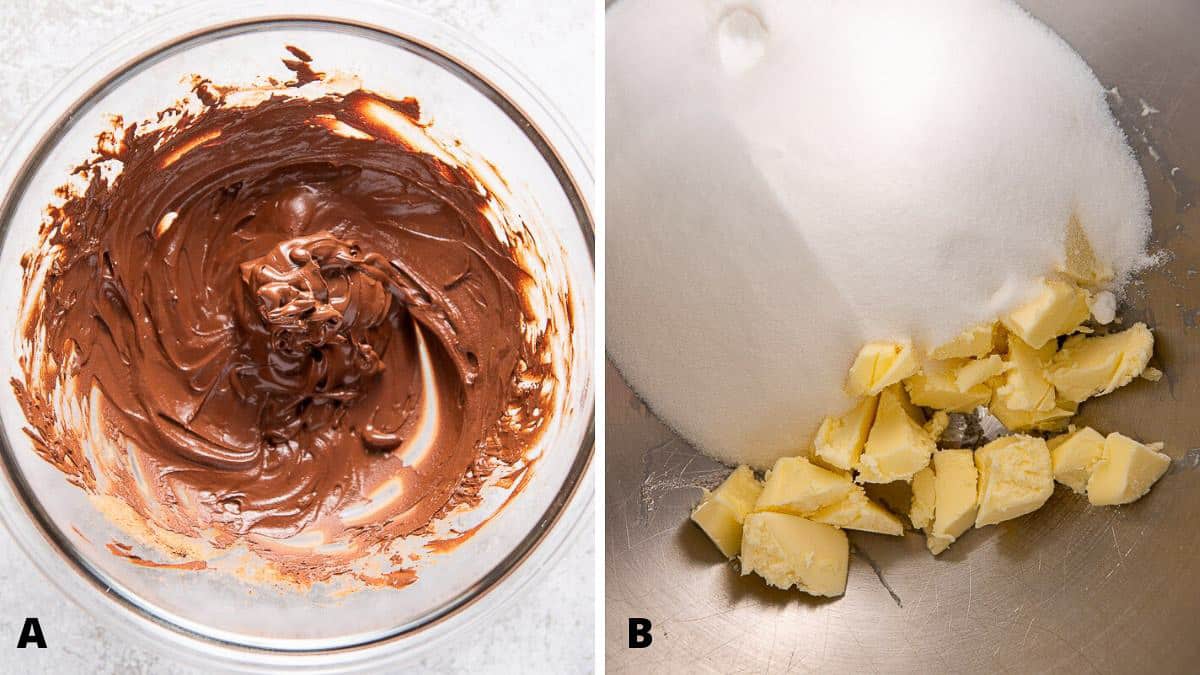
In a medium bowl, add cocoa powder and water and whisk until combined, then set aside. (A)
Step three
Place butter and sugar in the mixer. (B) Mix until combined.
Step four
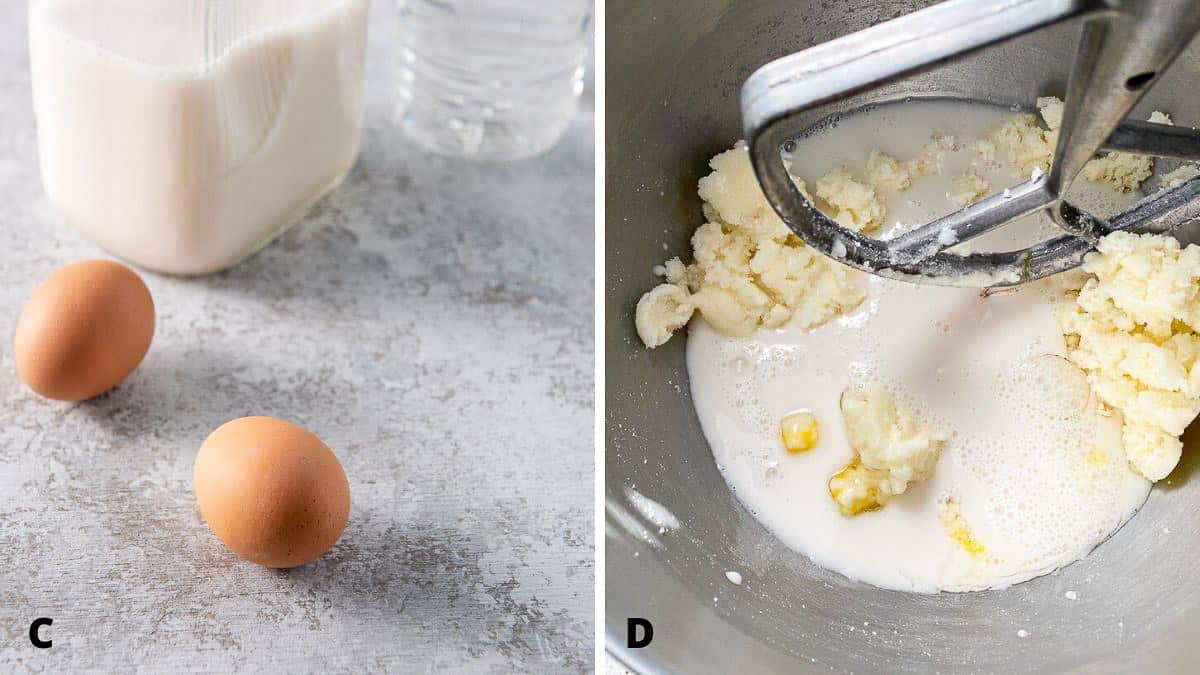
Get the eggs, and soured milk (see how to do that in the helpful tips above). (C)
Step five
Add them to the mixer. (D)
Step six
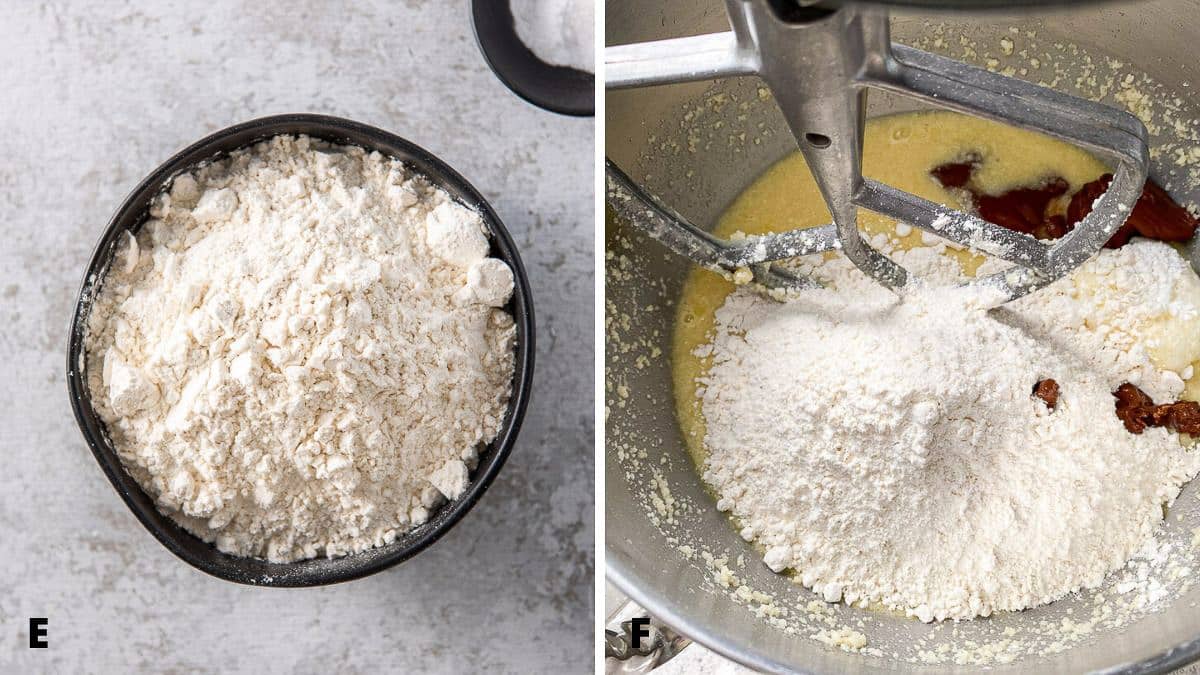
Gather flour, baking powder, baking soda, and salt. (E)
Step seven
Add dry ingredients and the chocolate/water mixture to the mixer. (F)
Step eight
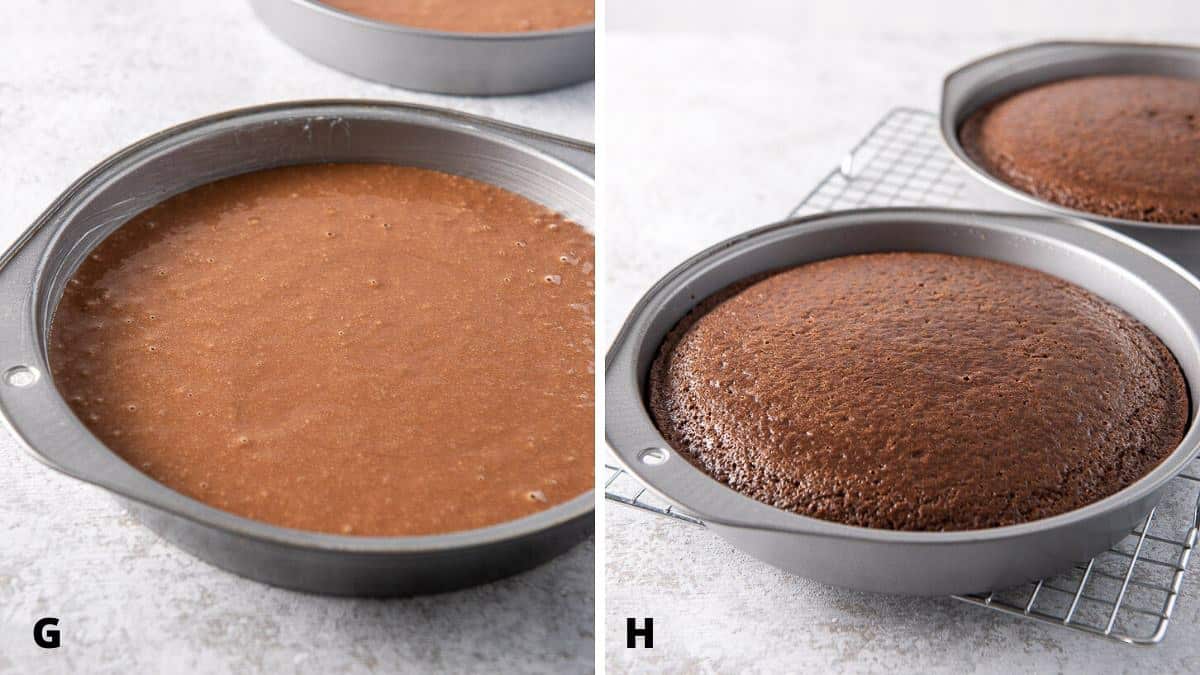
Turn the mixer on medium speed and mix until incorporated. Divide the batter between the two greased pans. (G)
Would you like to save this recipe?
Don't worry, I promise not to spam you.
Step nine
Bake for 25 minutes. Test with a cake tester or toothpick to make sure they are done. The tester should come out clean. If it doesn’t, bake for another 2 minutes and test again.
Place pans on a wire rack to cool for 10 minutes. (H)
Step ten
Remove the cake from the pans to the wire rack and let the cake cool completely before frosting.
Step eleven
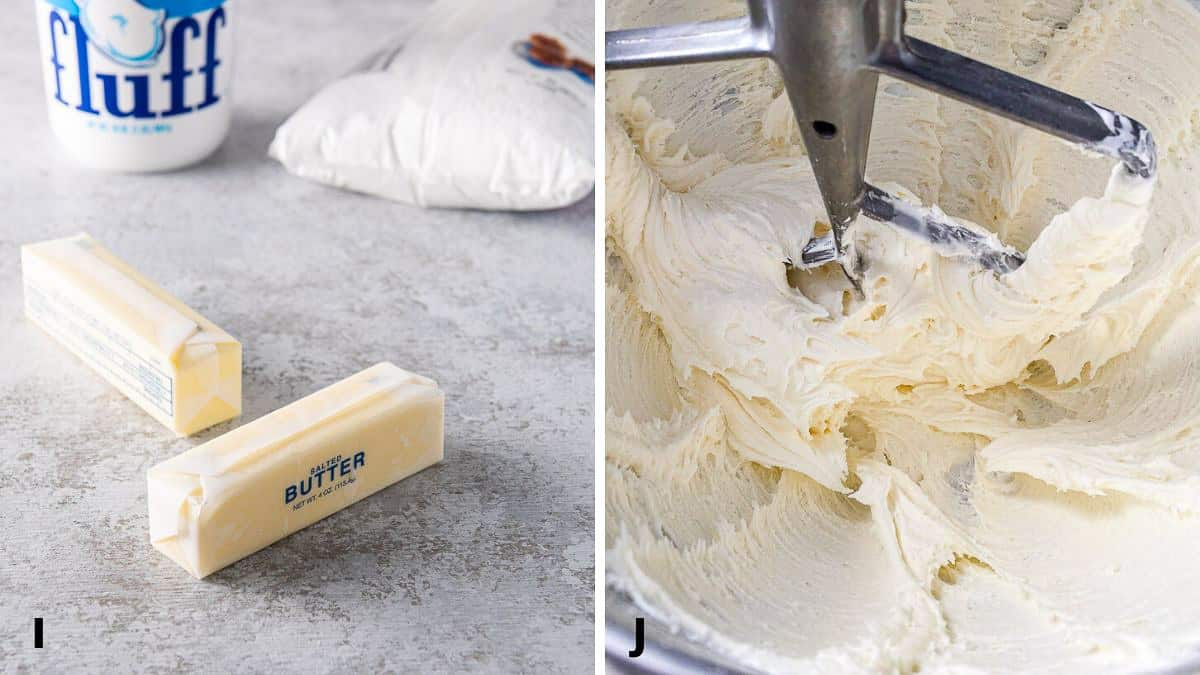
Once the cake has cooled, gather the ingredients for the frosting – softened butter, marshmallow fluff, and confectioner’s sugar. (I)
Step twelve
Place in the mixer and mix together until combined. (J)
Step thirteen
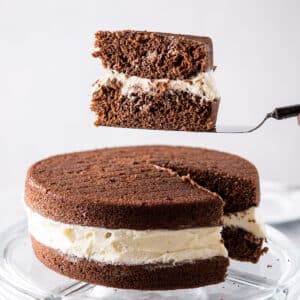
One big difference between a whoopie pie cake and individual whoopie pies is that the chocolate halves of a cake can’t be round or the cake would just flatten on a cake dish.
To make it easier to frost, I cut the domes off the two cake rounds and throw the domes away, (or eat them, which one do you think I did?)
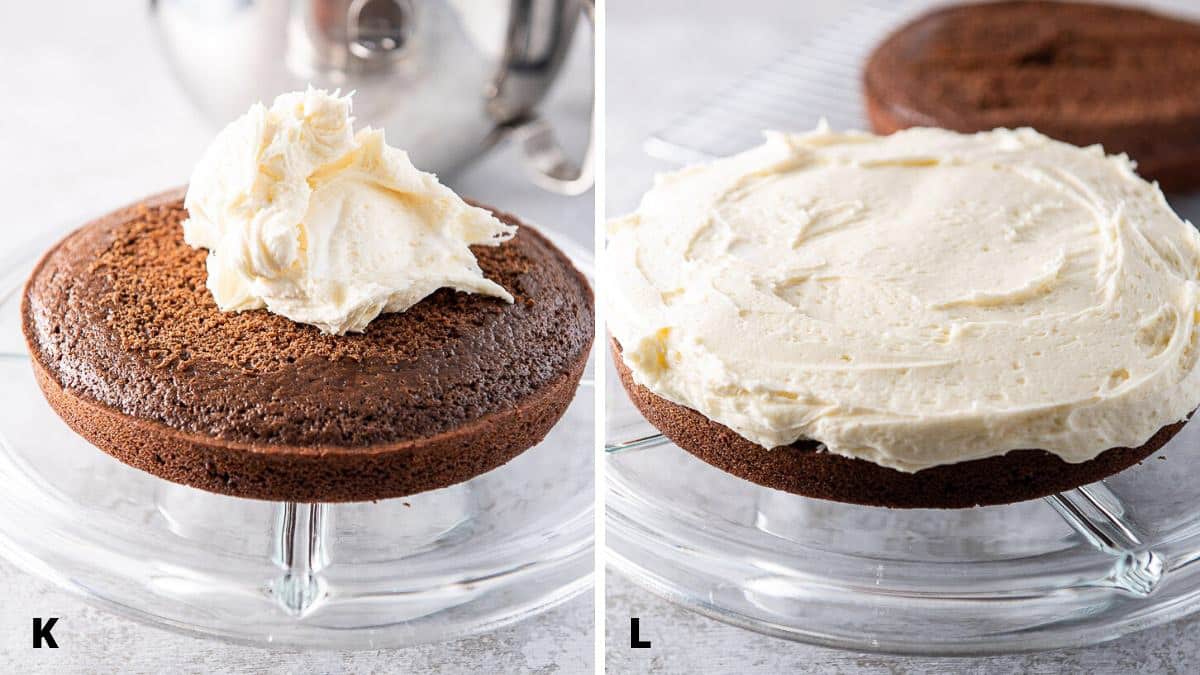
Put the first cake round on the cake dish, dome cut side facing up. Dollop a good amount of frosting on top. (K)
Step fourteen
Spread the frosting around. (L) Put as much or as little as you want. You will have some frosting left over.
Step fifteen
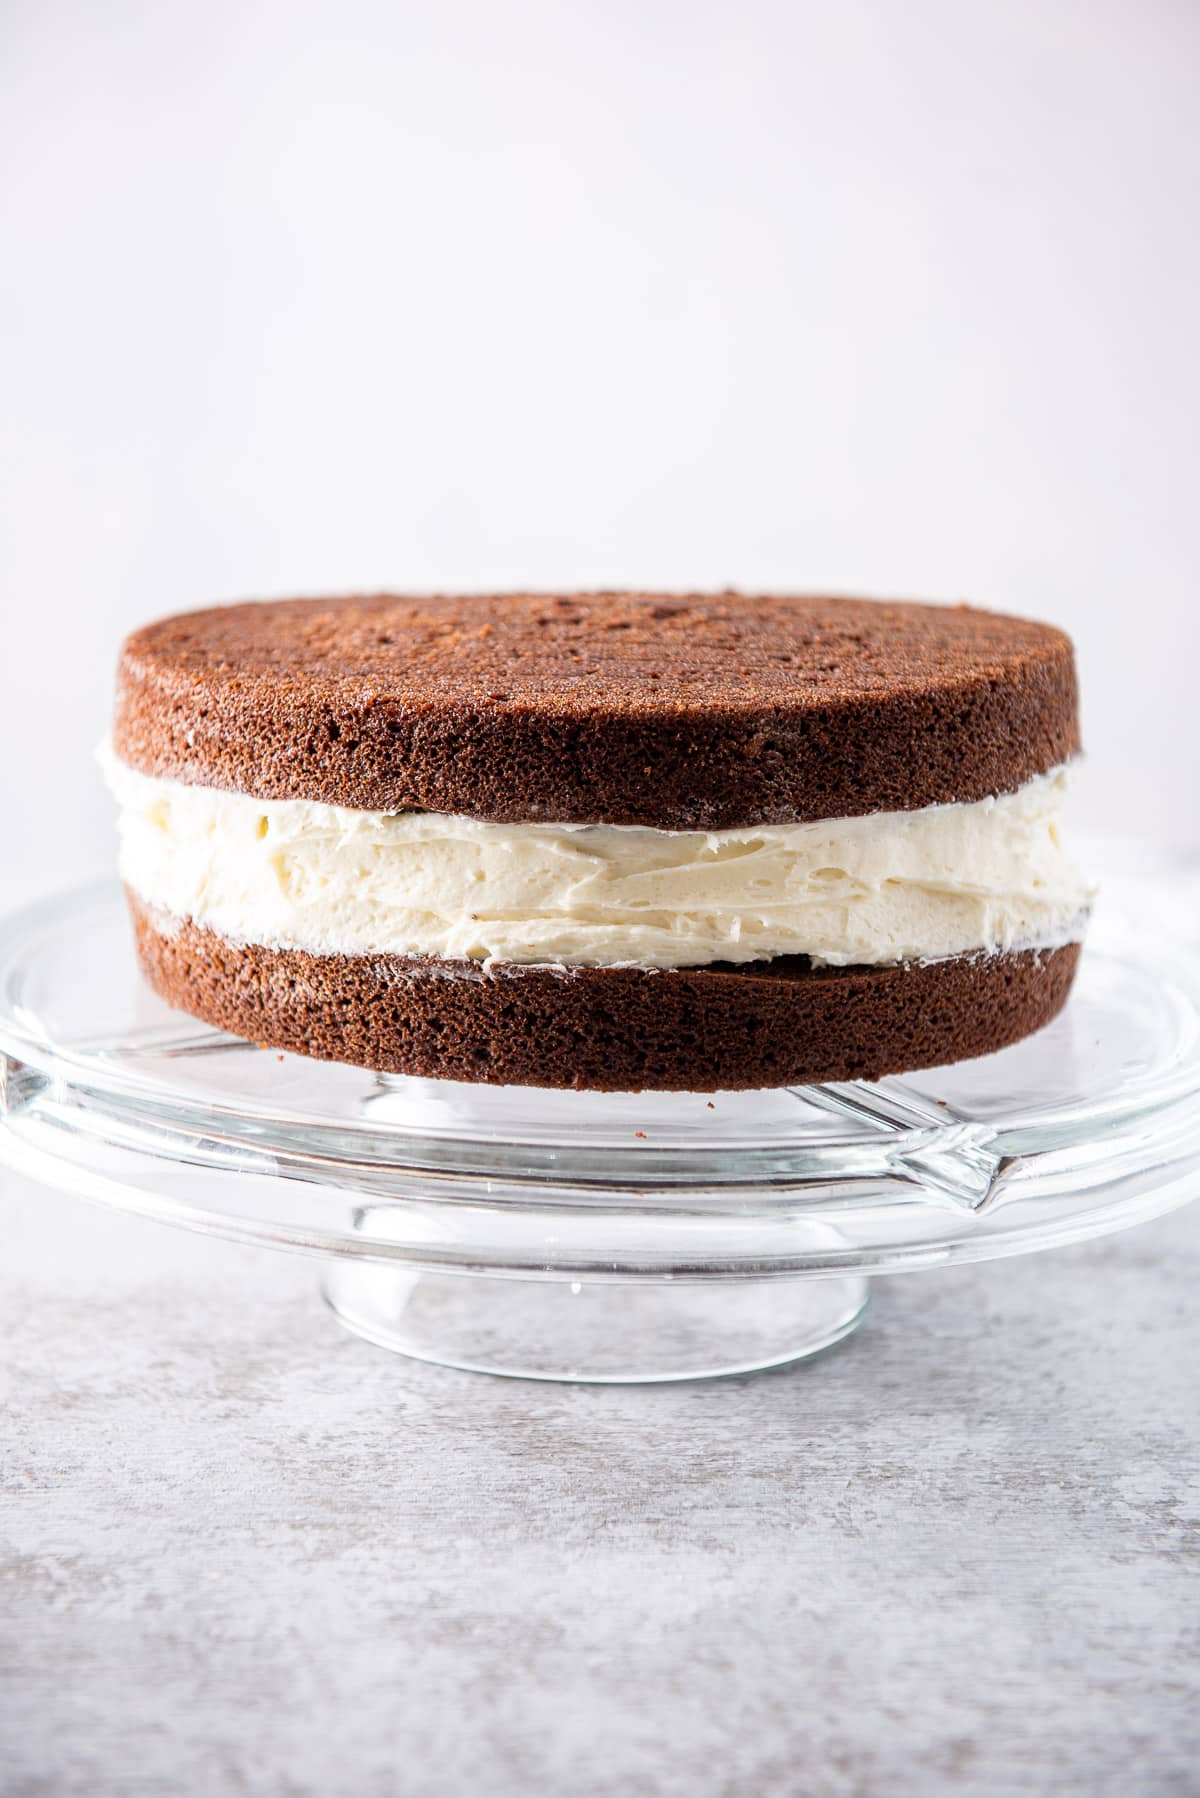
Place the other cake round dome-side down on top of the frosting. Take some of the leftover frosting and fill in the gap between the rounds.
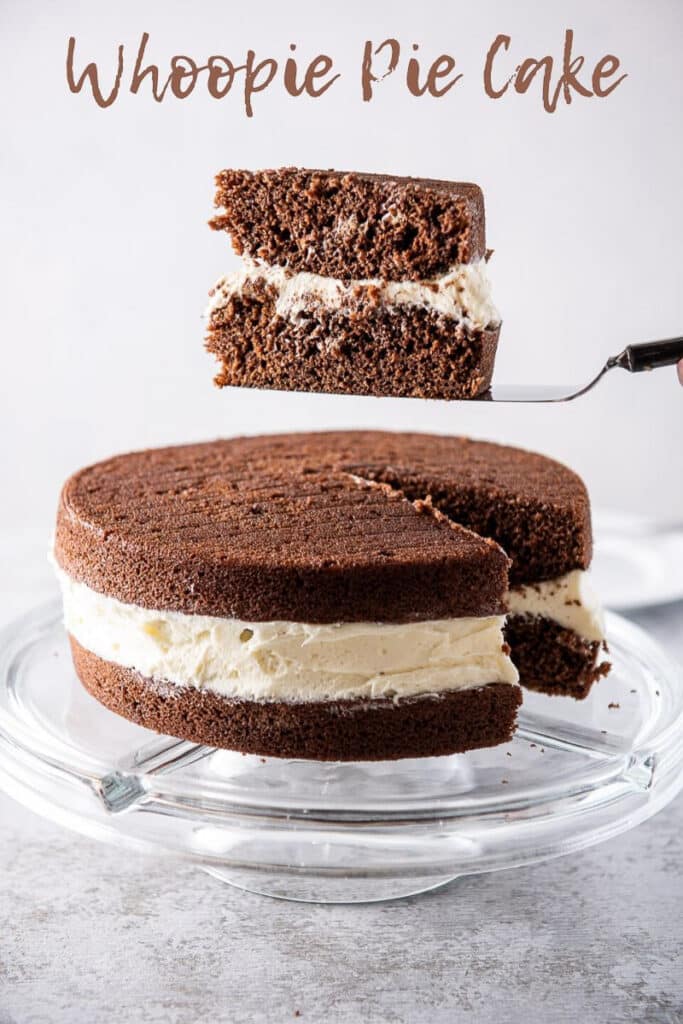
Time to cut the cake.
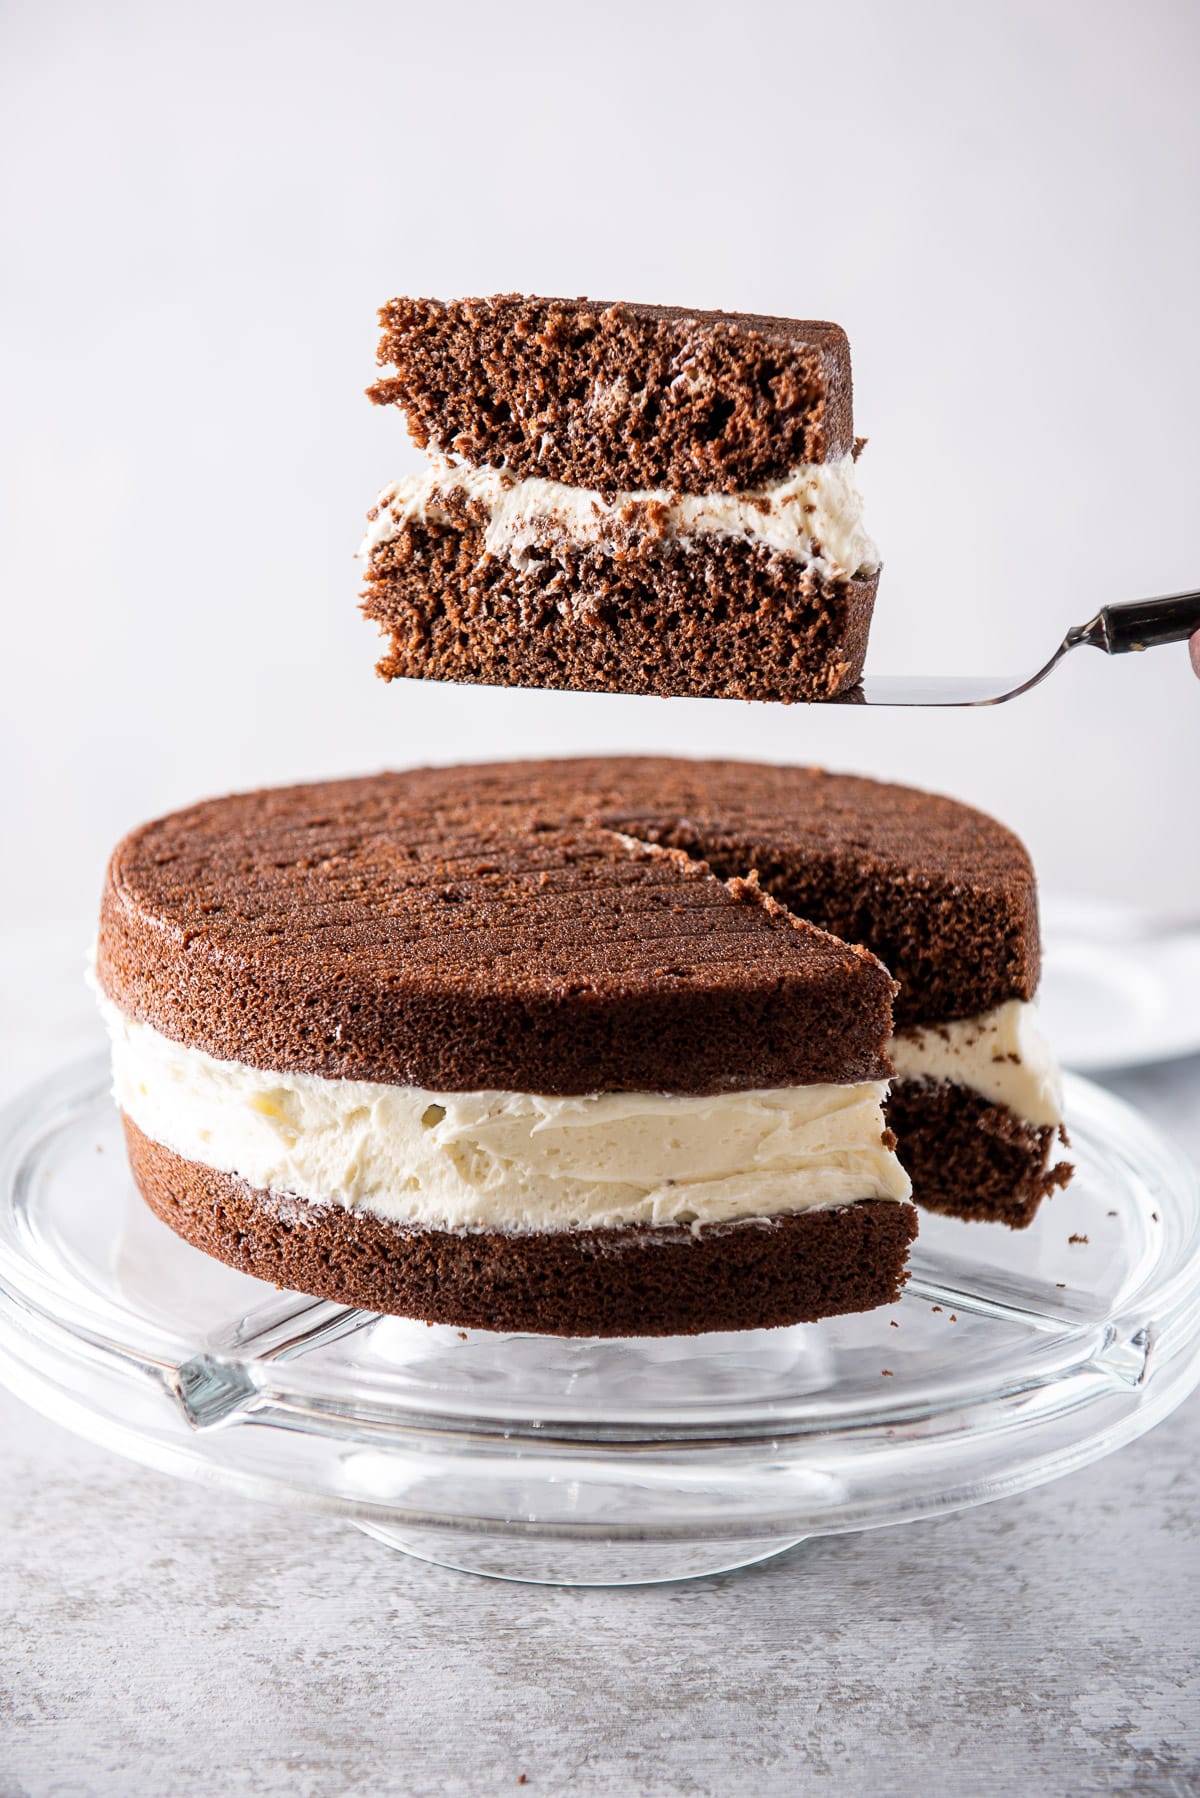
And take a delicious bite.
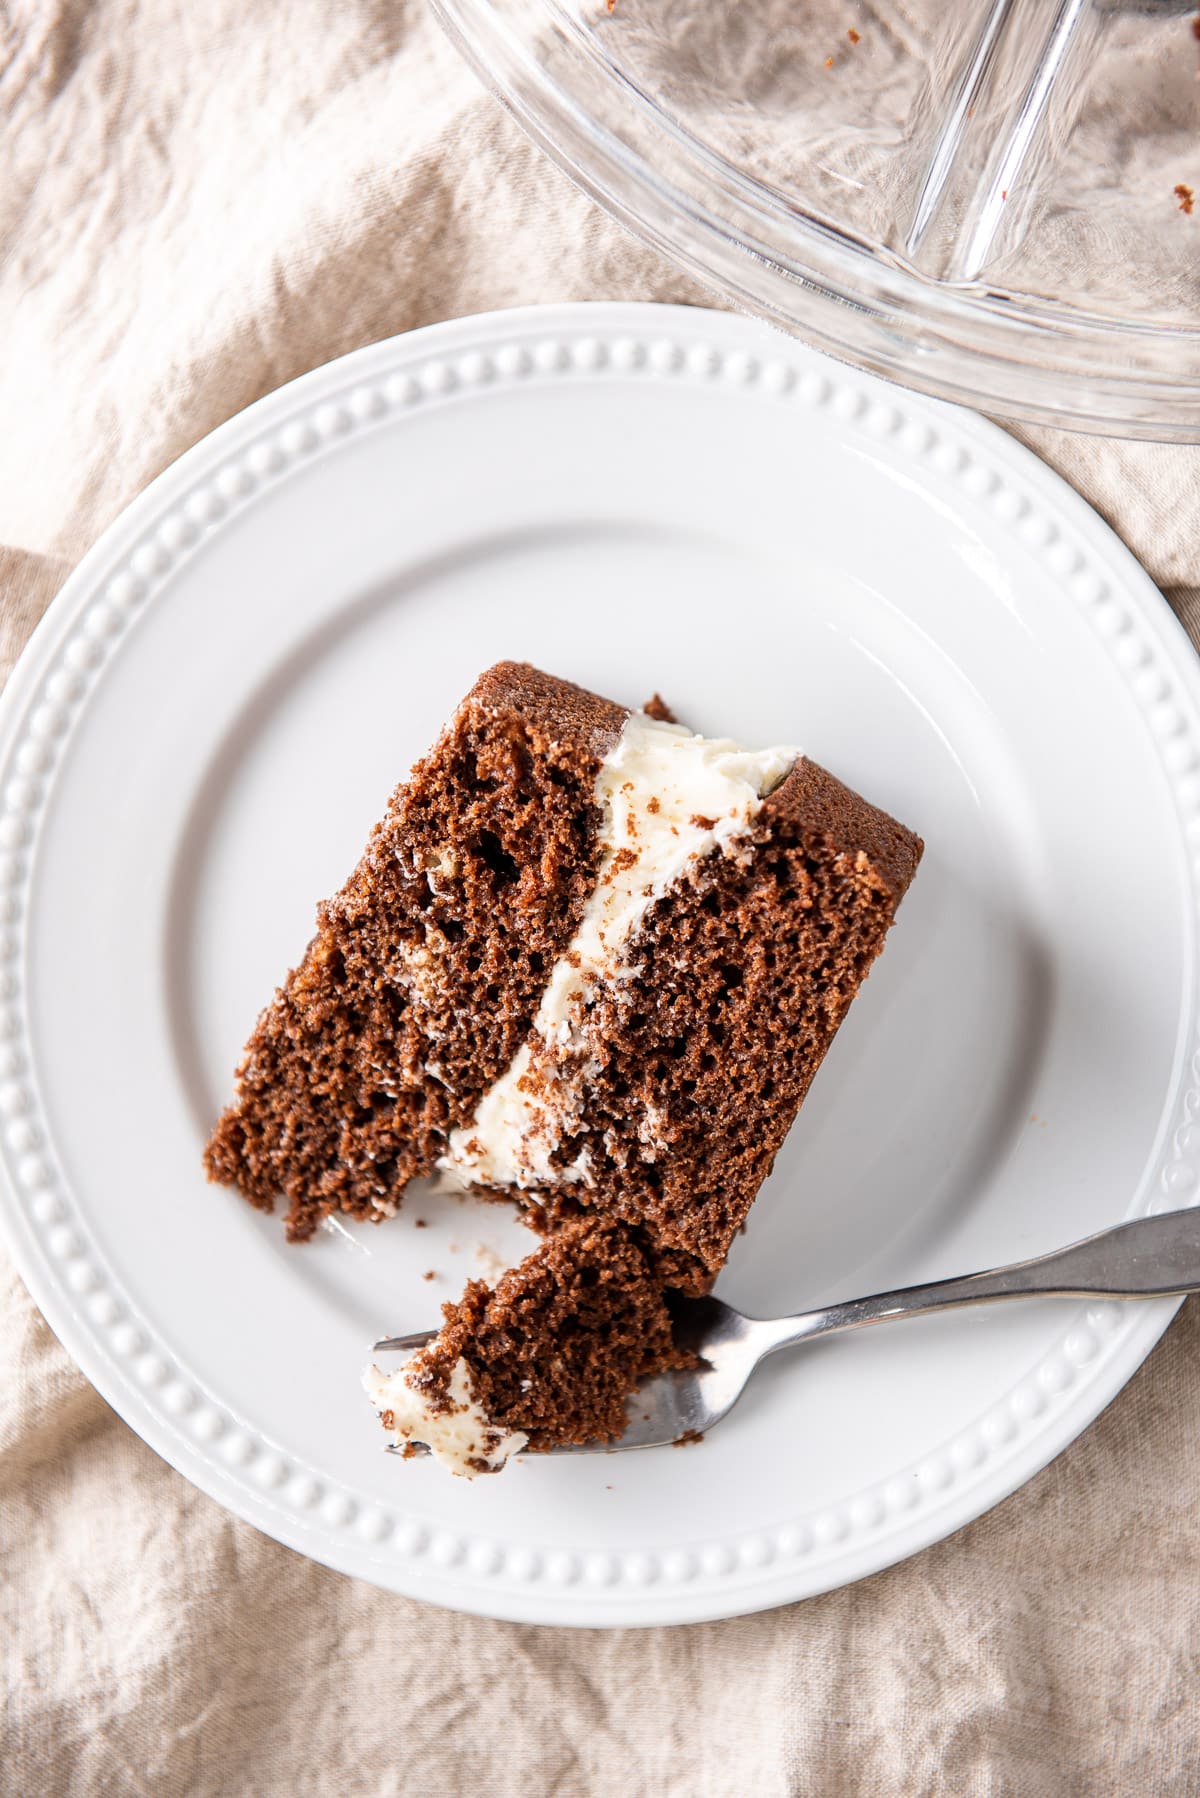
I hope you enjoyed this whoopie pie cake recipe. It’s super delicious.
Other fun delicious cakes
And as always, may all your dishes be delish.
If you’ve tried this recipe, I’d love the know what you thought about it in the comments below. I love hearing from you! You can also FOLLOW ME on FACEBOOK, TWITTER, INSTAGRAM and PINTEREST to see more of my delicious food and delightful cocktails!
Whoopie Pie Cake
Ingredients
Cake
- 1/2 cup butter (one stick)
- 1/2 cup cocoa powder
- 1/2 cup hot water
- 1 1/2 cup sugar
- 2 eggs
- 2 cups milk (soured with 2 tablespoons vinegar)
- 2 3/4 cups flour
- 1 teaspoon baking soda
- 1 teaspoon baking powder
- 1/2 teaspoon salt
Frosting
- 1 cup butter (2 sticks)
- 2 cups marshmallow fluff
- 3 cups confectioner's sugar
Instructions
Cake
- Take out butter at least a half hour before starting the recipe.
- Preheat oven 350 degrees F and liberally grease two 9 inch cake rounds.
- In a small bowl combine cocoa and hot water, set aside.1/2 cup cocoa powder, 1/2 cup hot water
- In stand mixer, cream softened butter and sugar together until creamy.1 1/2 cup sugar, 1/2 cup butter
- Add eggs, sour milk and mix together, it will be a little watery.2 eggs, 2 cups milk
- Add flour, cocoa mixture, baking soda, baking powder and salt, mix until incorporated.2 3/4 cups flour, 1 teaspoon baking soda, 1 teaspoon baking powder, 1/2 teaspoon salt
- Pour batter into prepared cake round pans and bake for 25 minutes.
- Cool for 10 minutes before removing from pans and placing them on wire racks to cool fully.
Frosting
- In the mixer, add softened butter, marshmallow fluff and confectioner's sugar. Turn the mixer on low and gradually increase the speed until the frosting is totally mixed.1 cup butter, 2 cups marshmallow fluff, 3 cups confectioner's sugar
- Cut the domes off the cakes for easier frosting and either throw them away or set aside to eat later.
- Place one of the rounds, dome side up on the cake base and dollop a healthy amount of the frosting on the cake. Use a knife to spread the frosting over the cake round.
- Place the other round dome side down on top of frosted one and add more frosting around the edges so it is level with the sides.
- Plate
- Eat
- Enjoy


Would you like to save this recipe?
Don't worry, I promise not to spam you.
Notes
- Once you’ve whisked together the cocoa powder and water, the longer it sits, the thicker it gets.
- You need to take the butter out at least 30 minutes before starting the recipe. I like to take it out one hour before and in the winter months, I actually take it out the night before.
- To quicken the softening of the butter: unwrap it, place it in the mixer and cut it into pats with a knife.
- To keep your hand clean when you grease the cake pans, put a sandwich baggie over your hand, scoop out some vegetable shortening and spread it thickly around the pan. Then peel off the sandwich baggie and you have a clean hand.
- How to sour milk – Add 2 cups of milk to a small bowl and whisk in 2 tablespoons vinegar, let sit for 5 minutes.
- You will have extra frosting but don’t worry because it freezes well – put in an airtight container and use within 3 months.


Now, this was delicious! Another winner, Elaine.
Thanks Joyce.
With so many of us not being able to leave our homes (except to get food)…we all need some delicious recipes to make. They have to be easy too. This is perfect and delicious.
Thanks so much Gloria! Easy and delicious is essential!
We all need treats right now, and this was perfect.
Thanks for your comment, Colleen.
I love whoopie pies, and this giant cake version is so good.
Hehe. Thanks Anita! 🙂
This cake was just divine!! It was a hit with the fam!
Thank you, Laura!
What a fun cake! It was easy and delicious. I’d definitely make this again. Thanks for sharing the recipe!
You’re welcome, Denise! Thanks for your comment!
This recipe deserves to have 5 star ratings, it’s delicious and such a perfect desserts to prepare for our lunch today.
Thanks Amy! I’m so glad you enjoyed it!
I had all the stuff to make this while sheltering in place and it was amazing! Thanks so much!
Thank you Analida! This is one of my go-to cakes! I’m pleased that you enjoyed it!
It’s so delicious. It’s a great idea for those of us who do not own whoopee pie pans.
Hehe. I have to wait for when I have guests to make this cake because I will eat the whole thing myself. 🙂 Thanks Kari!
Those pies were a favorite of mine growing up. Making this cake took me back and my family loved it so much!
I’m so happy to hear that Sharon! Thank you so much!
Oh my sweet heavens this was amazing! I was just looking for a different cake and I’m glad I found this.
Thanks, Lori!
We loved this. It’s an amazing recipe 🙂
Thank you, Cathleen!
My family and I love this cake! It is so delicious. I am going to make it for a family member’s birthday, and I will need to transport it in the car. Would you recommend putting it in a cooler, or is a cake container alright? I will make the cake the day before. The car ride is about four hours. Thank you so much for your awesome recipe!
Gabby, I’m so glad to hear you love the cake. I think it’s fine in a cake container. I’ve transported it that way. The only time I have ‘worried’ is if it is super hot in the car – or the cake was in the sun. But other than that, it travels really well.
May I just use buttermilk instead of soured milk? Same amount?
Yes, Emme! You certainly can.
My mother always put vanilla in the cake. I don’t see vanilla in your ingredients.
I never have with this recipe, Moira. Just because I adapted it from my mom’s whoopie pie recipe. But if you like, add 1 teaspoon, as I ‘m sure it will work. Thanks for your question.
Amazing cake! My husband loves whoopies so I made this cake for him for his birthday. It was a big hit with everyone. Tasted just like a whoopie pie. The frosting seemed very thick so I added a little vanilla extract for flavor and some milk to loosen it up a bit. Then put some of the frosting in the middle and then after adding the second cake on top I poured the remaining frosting over the top so it went down over the sides. Put in fridge so it would firm up. I`ve put the recipe away where my favorites go. I will be making this cake time and time again. Would be perfect for any occasion. Thanks so much!!
I’m so glad to hear that, Wendy. I like your additions with the frosting. I’ve made the cake before with a cooked frosting but it takes a lot of butter. I think I’ll make that version for the blog so people have a choice. Thank you so much for your comment. It made my day.