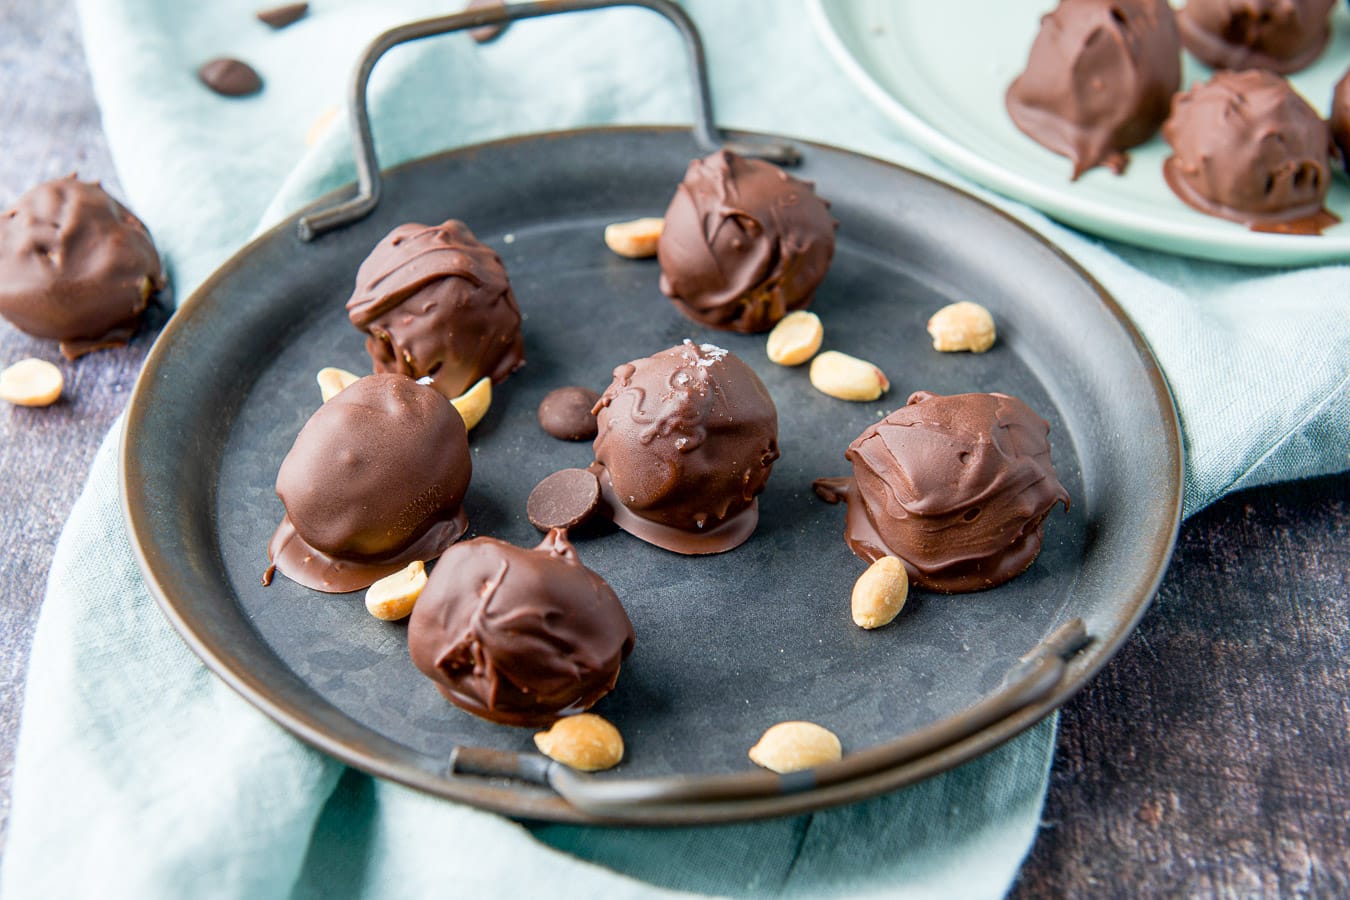
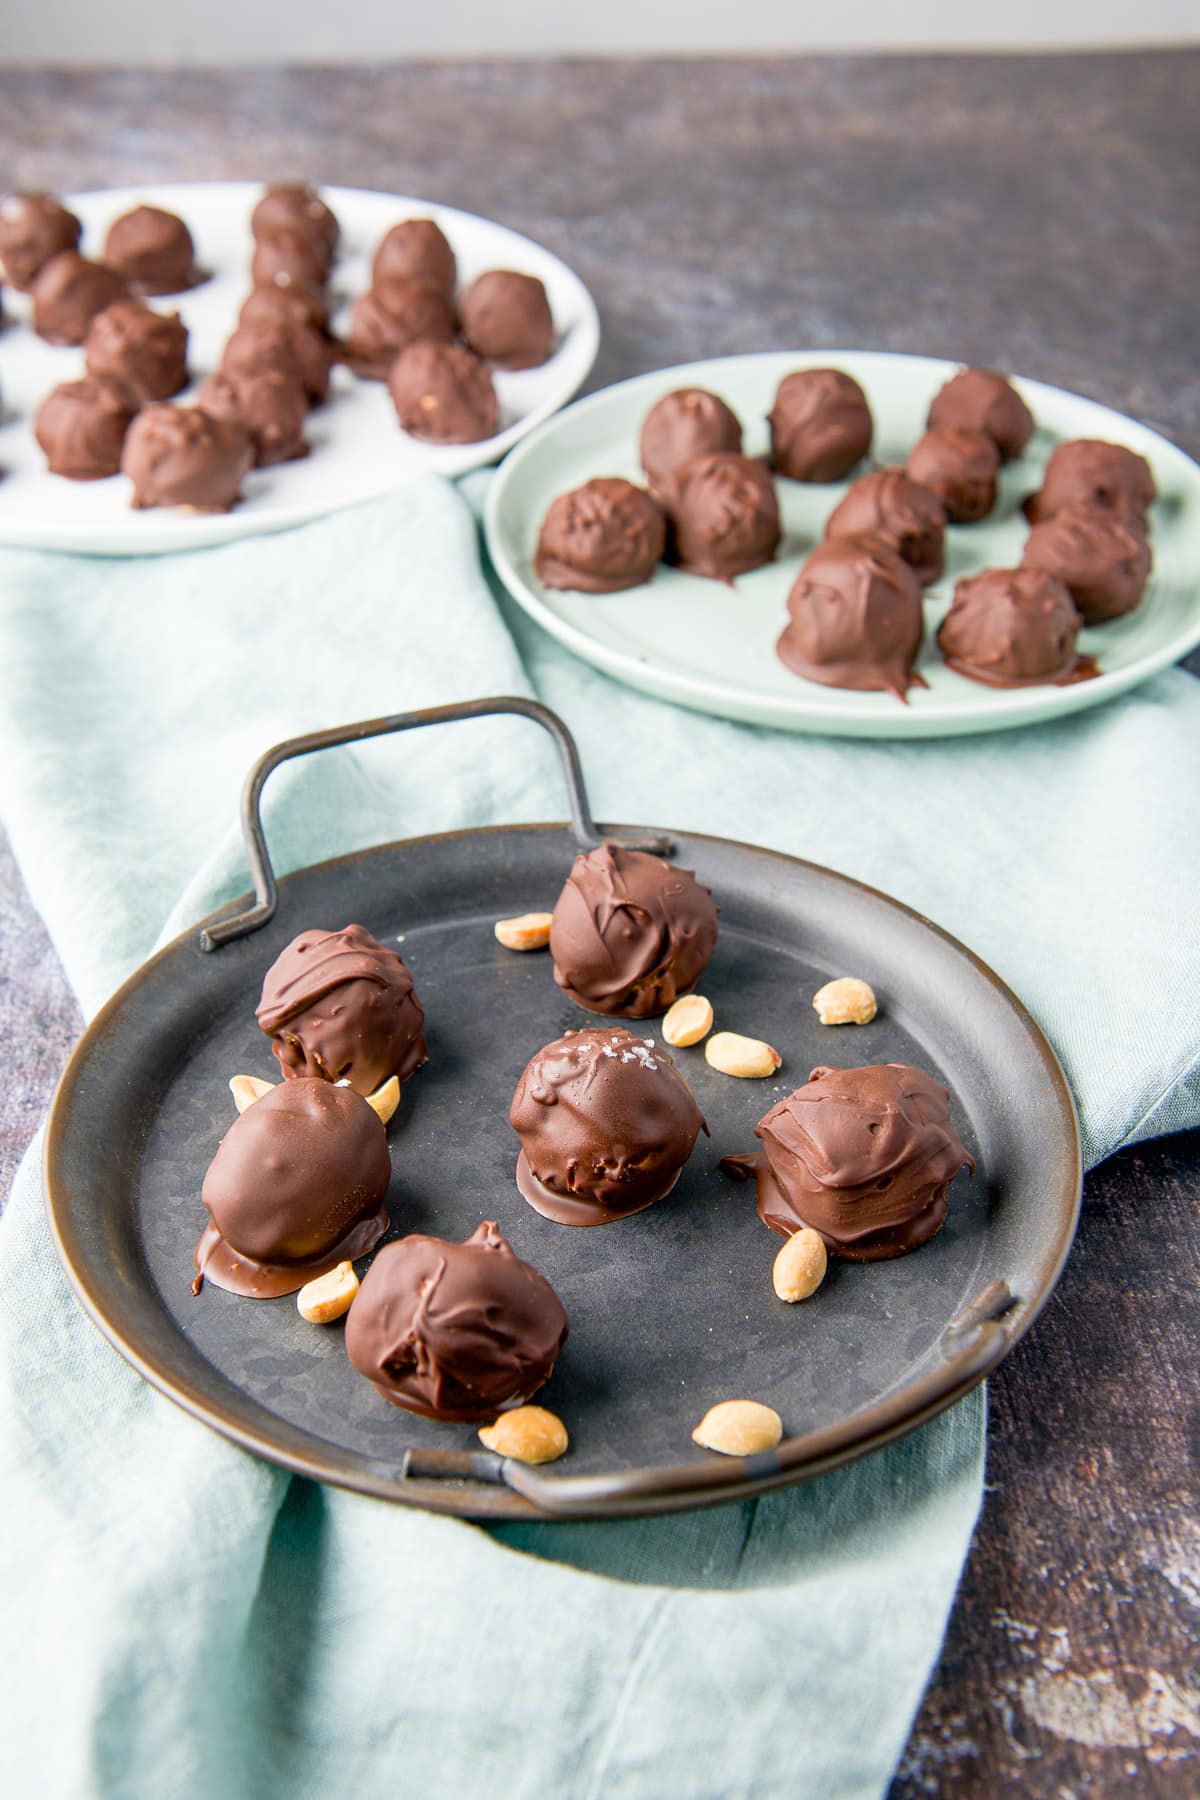
Easy Peanut Butter Balls
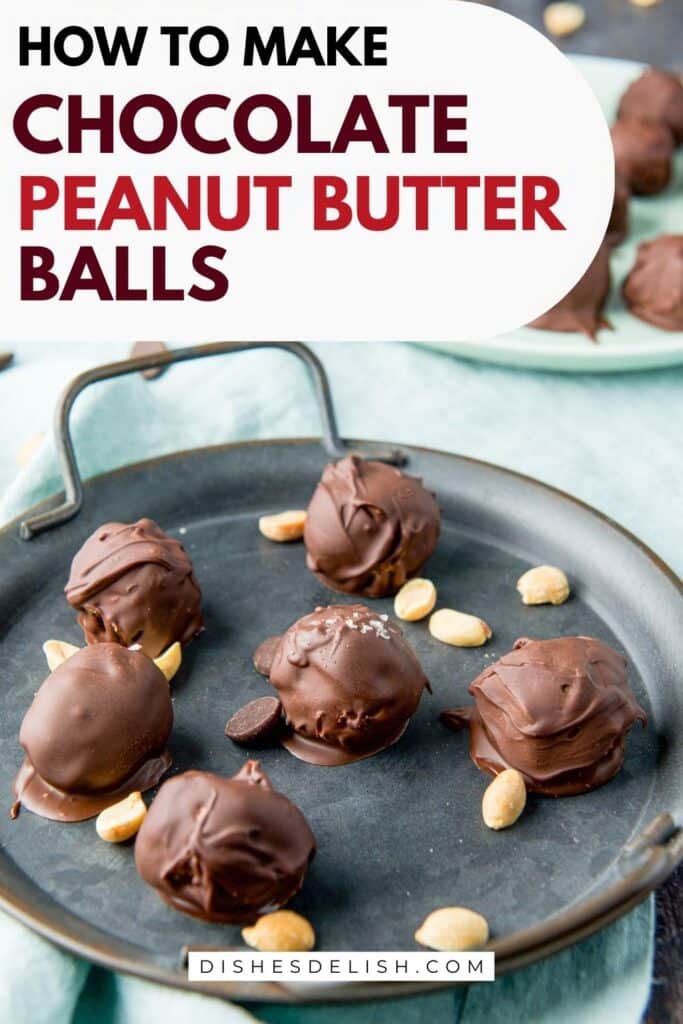
These easy peanut butter balls are a treat you can enjoy any time of year. They’re rich, peanut-buttery, and have that just-right chocolate shell—and they’re made with simple ingredients you probably already have on hand. Bonus: they make a thoughtful (and delicious) homemade gift, especially around the holidays.
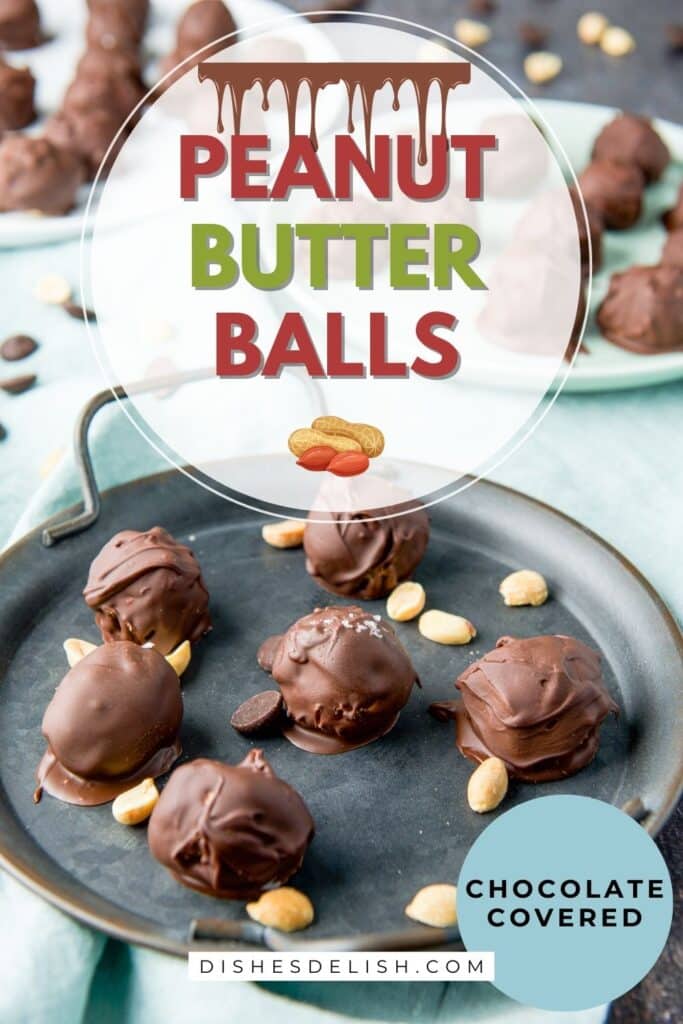
It will not come as a surprise that this recipe has two of my favorite flavors: chocolate and peanut butter.
I love this chocolate peanut butter treat. I keep the little cuties in the freezer because I choose not to use paraffin wax in the chocolate, so they will melt if left on the counter. However, if I’m going to give them as a holiday gift, I will make them with wax.
I usually make this recipe to serve as a dessert for my dinner parties.
Use wax if you gift these easy peanut butter balls
Adding a bit of wax—like paraffin wax—when working with chocolate can make a big difference in the final result. It helps keep the chocolate stable, so it doesn’t melt as easily at room temp or in your hands. That’s especially handy for chocolate-covered treats like peanut butter balls or other no-bake candies.
The general ratio is 2 ounces of Gulf wax for every 12 ounces of bittersweet chocolate.
Wax also gives the chocolate a smooth, glossy finish and helps it set evenly. The result? A clean, professional look and a nice little snap when you bite into it.
We are a participant in Amazon Services LLC Associates Program, an affiliate advertising program designed to provide a means for us to earn fees by linking to Amazon.com and other affiliated sites. #CommisionsEarned. You can read my disclosure here.
Helpful tips
- Take the butter out an hour before you start the recipe. I use salted but you can also use unsalted butter.
- Choose high-quality chocolate for coating, as it will melt smoothly and provide a rich, delicious flavor. I use Ghirardelli.
- After shaping the peanut butter mixture into balls, chill them in the refrigerator for at least 30 minutes. This makes them firmer and easier to dip into the melted chocolate.
- For an even coating, use a fork to dip the peanut butter balls into the melted chocolate. Let the excess chocolate drip off before placing them on parchment paper or a silicone mat.
- Melt chocolate in small batches to keep it at the right consistency. If it starts to thicken, gently reheat it until smooth.
- If you don’t have a double boiler, add a few inches of water to a medium saucepan and place a glass bowl over the pan, making sure the bowl doesn’t touch the water. Add the chocolate chips and coconut oil and stir until melted.
- If adding toppings like sprinkles, chopped nuts, or sea salt, do so before the chocolate sets to ensure the topping sticks.
- If you do use wax, let the chocolate-covered peanut butter balls set at room temperature. Avoid refrigerating immediately, as rapid cooling can cause the chocolate to develop a dull finish or white streaks (bloom).
- Store the finished peanut butter balls in an airtight container in a cool place. If storing for an extended period, consider refrigerating them, but allow them to come to room temperature before serving for the best texture and flavor.
- You can also freeze these chocolate peanut butter balls, but take them out at least 15 minutes before serving.
How to make chocolate-covered peanut butter balls
Pre-step
Take the butter out at least a half hour before starting the recipe. I place the butter in the stand mixer and cut it into pats to hasten the softening.
Get out a stand mixer and cover a jelly roll pan or baking sheet with either a silicone mat or parchment paper.
Step one
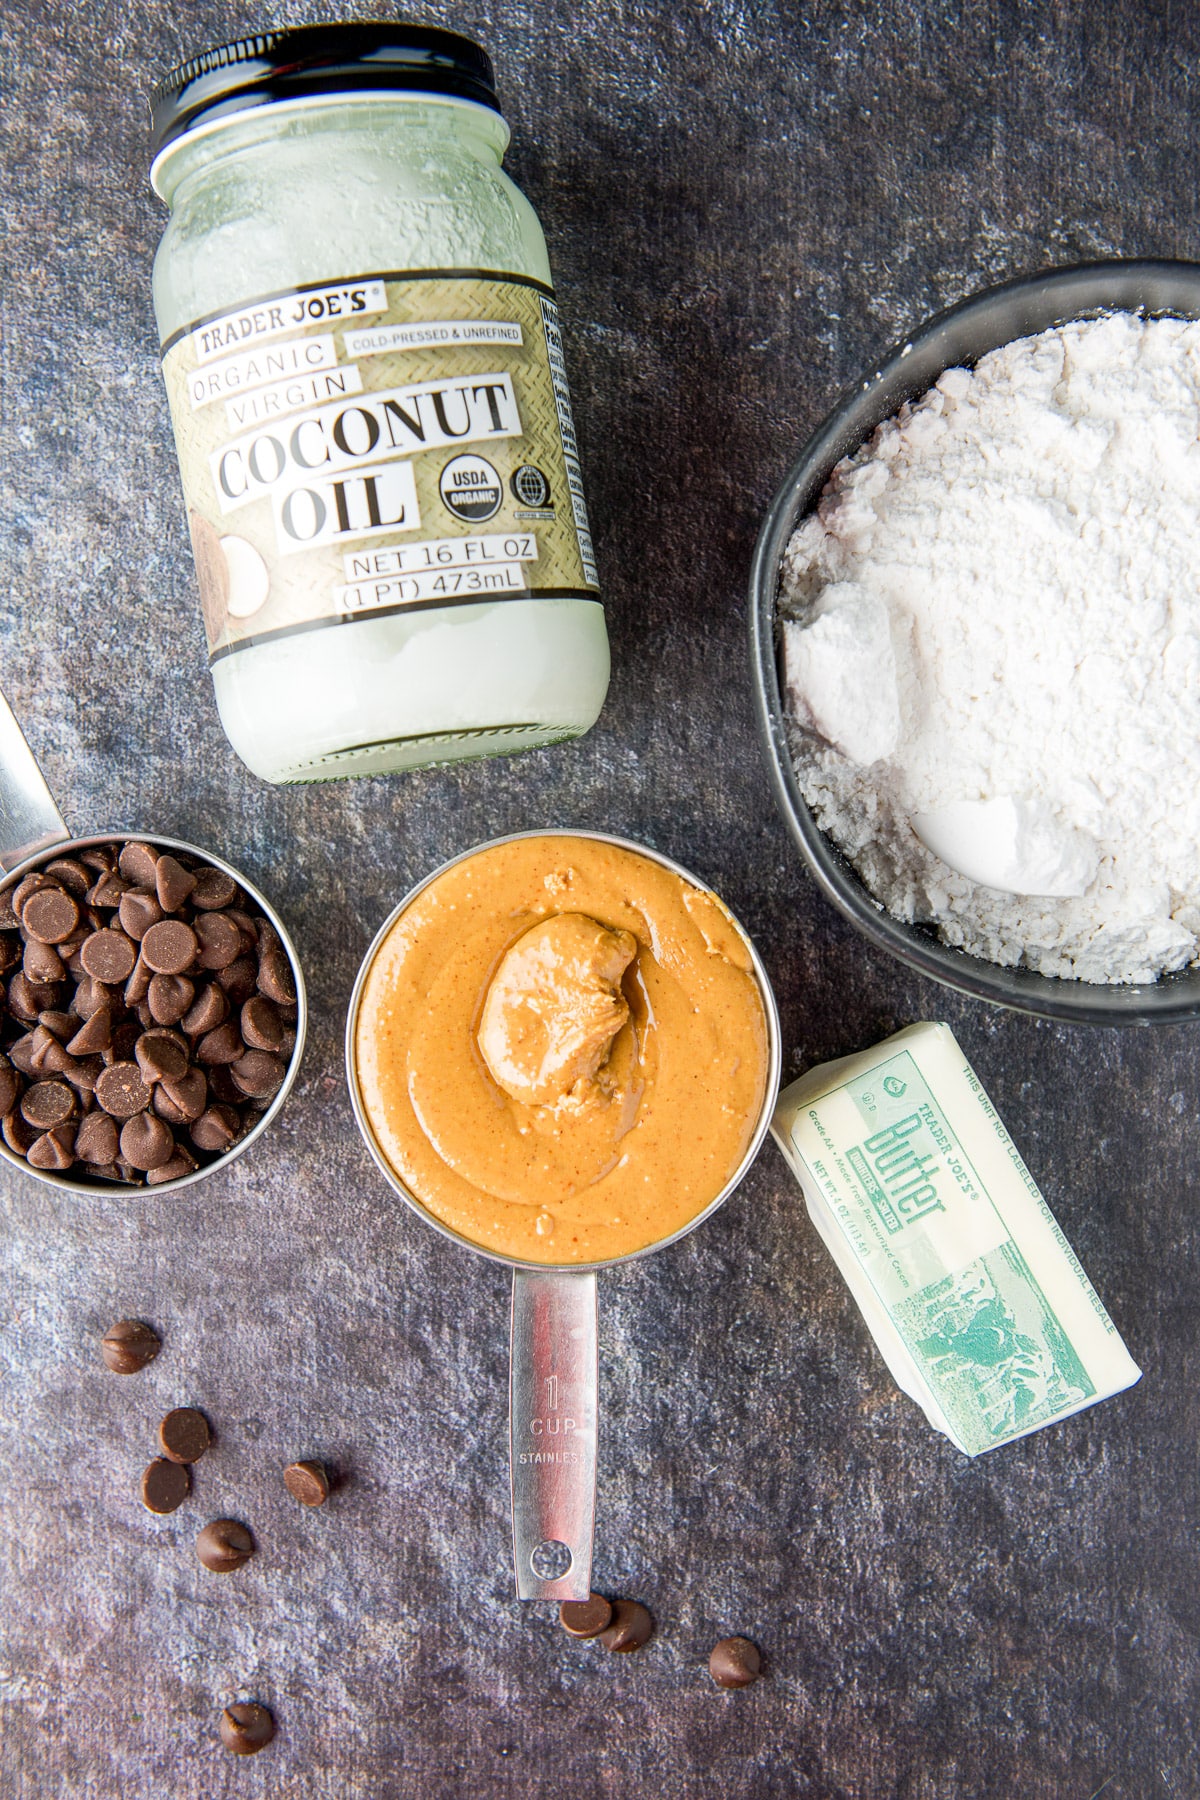
Gather the ingredients – creamy peanut butter, powdered sugar, butter, coconut oil, and chocolate chips.
Step two
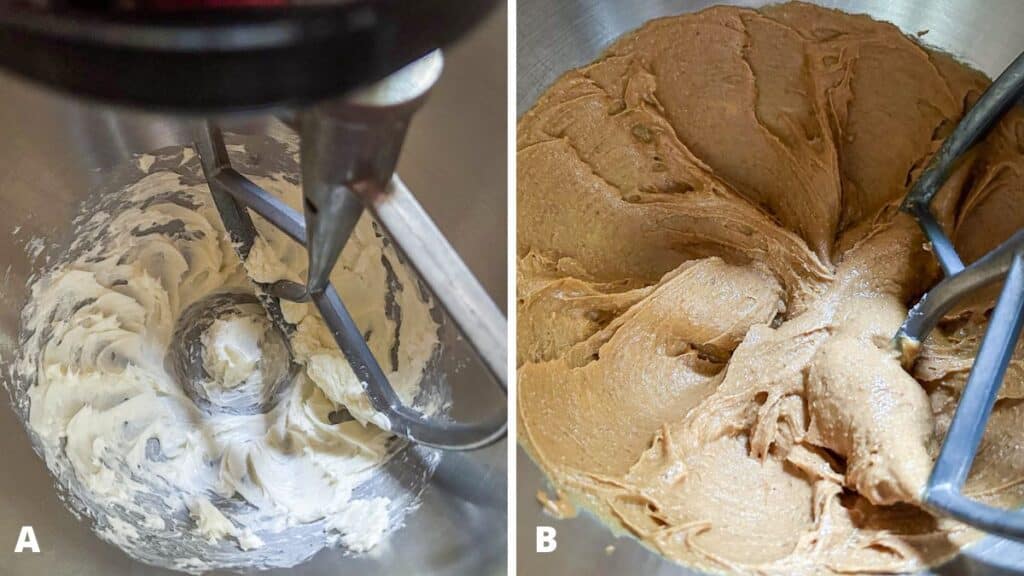
Mix the butter on medium until creamy. (A)
Step three
Add the peanut butter and mix on medium until combined. (B)
Step four
Add the confectioners sugar and mix on low, and slowly raise the speed until it gets to medium. Mix until the sugar has blended with the other ingredients. This will take around 5 minutes.
Would you like to save this recipe?
Don't worry, I promise not to spam you.
Note, adding the powdered sugar will make the batter dry, but as it mixes, pearls will form, and eventually the dough will reach the right consistency. (C)
Step five
Take a small amount of dough and roll it between your hands (or use a small cookie scoop). You want them to be around 1-inch balls. Place each one on the prepared pan. (D)

Step Six
Place the pan in the refrigerator for at least a half hour.
Step five
Before the 1/2 hour is done, start melting the chocolate.
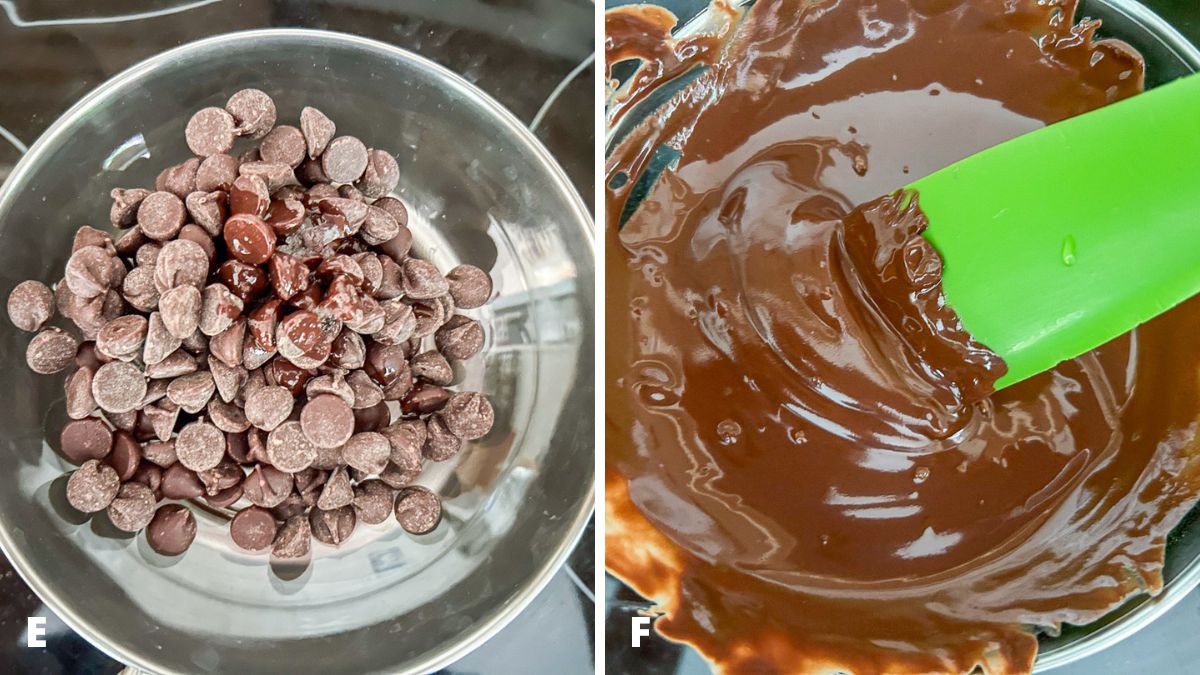
If you don’t have a double boiler, put a few inches of water in a medium sauce pan and set a glass bowl on the rim of the pan, above the water. Add the chocolate and coconut oil to the bowl. (E) You can also use a microwave, but do the chocolate in 30-second intervals and stir.
Step six
Turn the heat on medium and let it come to a simmer. Stand there and stir the chocolate as it melts. (F) Let the chocolate cool for about 5 minutes.
Step seven
Take the peanut butter balls out of the refrigerator. Place a few of the balls in the chocolate and with a fork, roll them around in the chocolate until they are covered and place each ball back on the jelly roll pan.
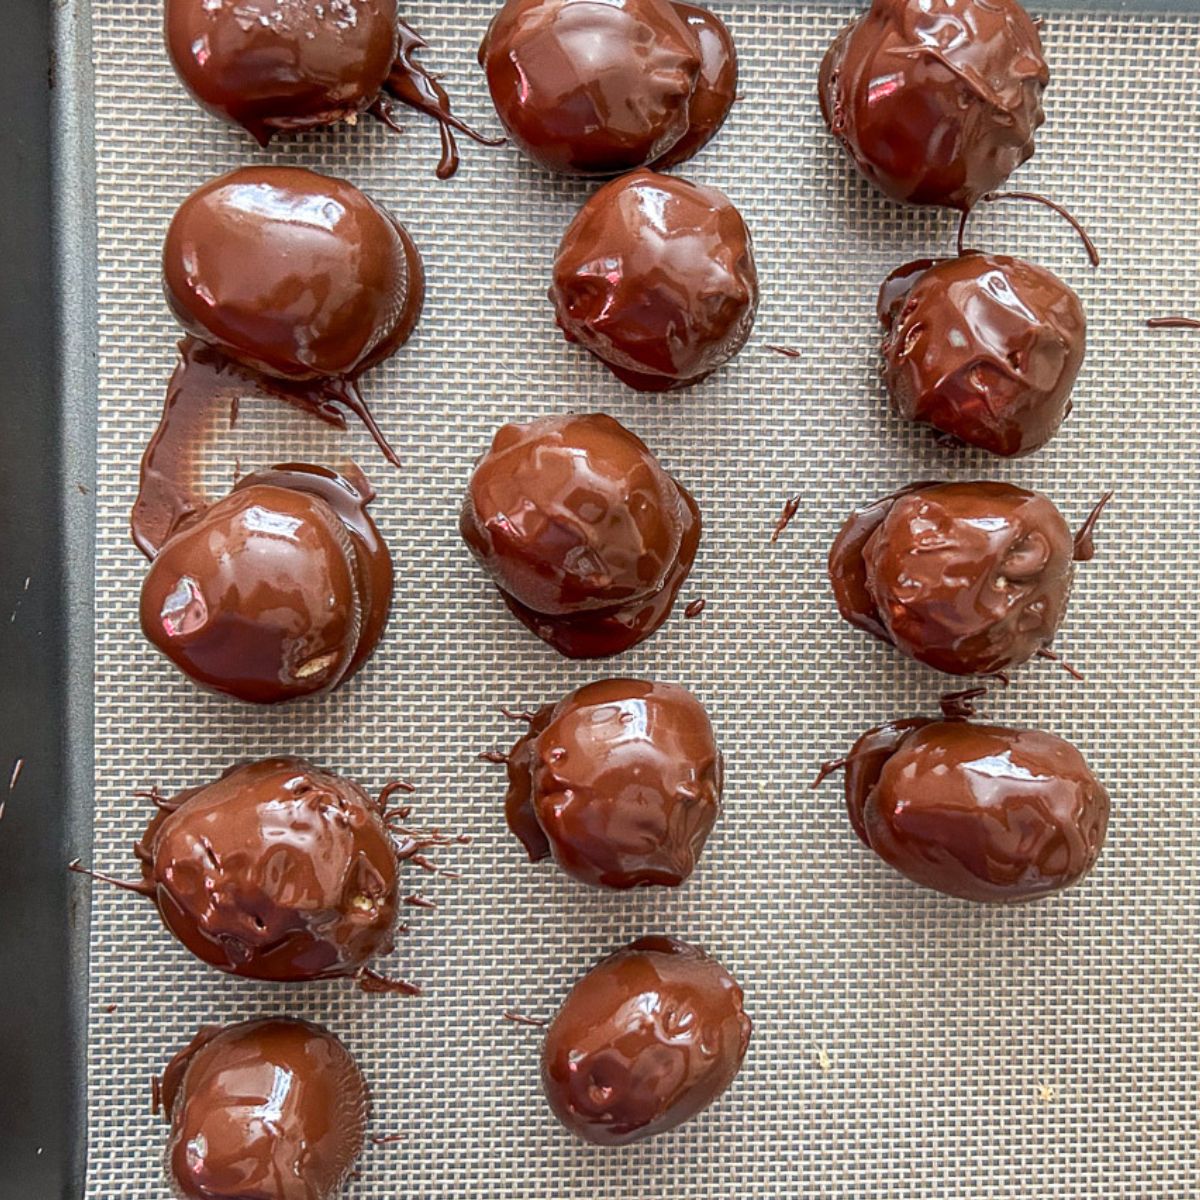
Continue rolling the balls in chocolate until all they are all covered.
Step seven
Place the pan back into the refrigerator for a half hour.
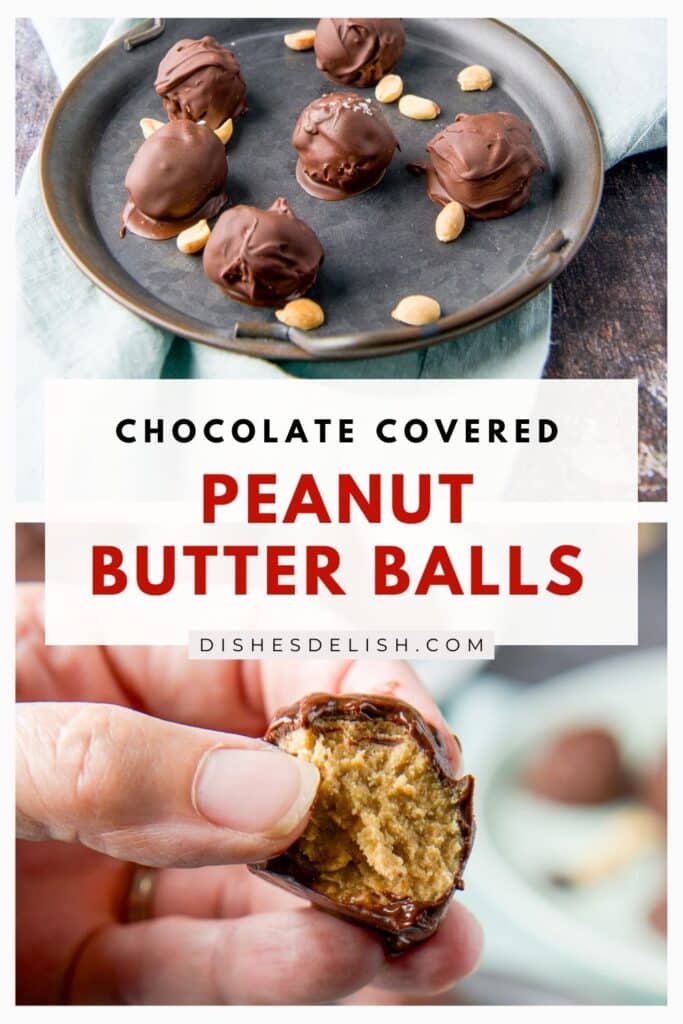
Time for a bite.
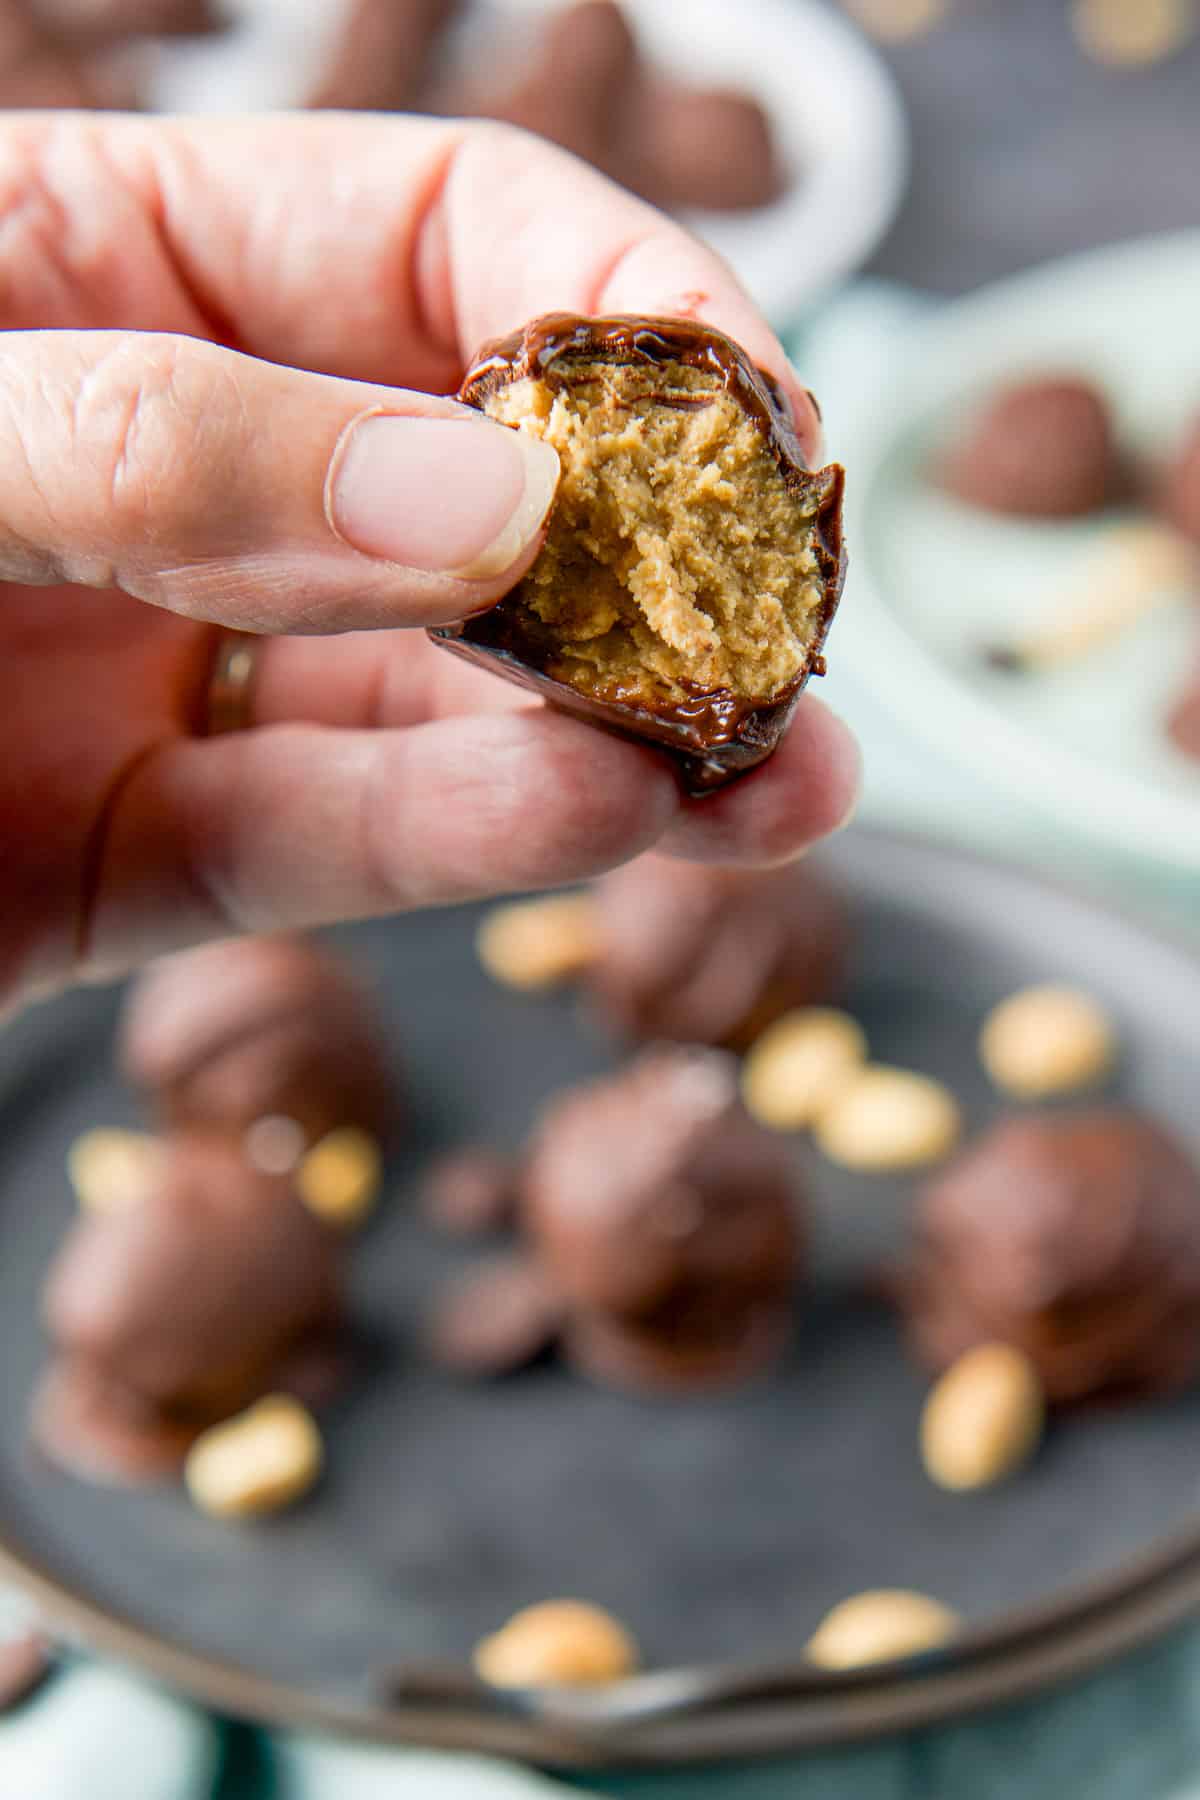
Oh my. These are so delicious!
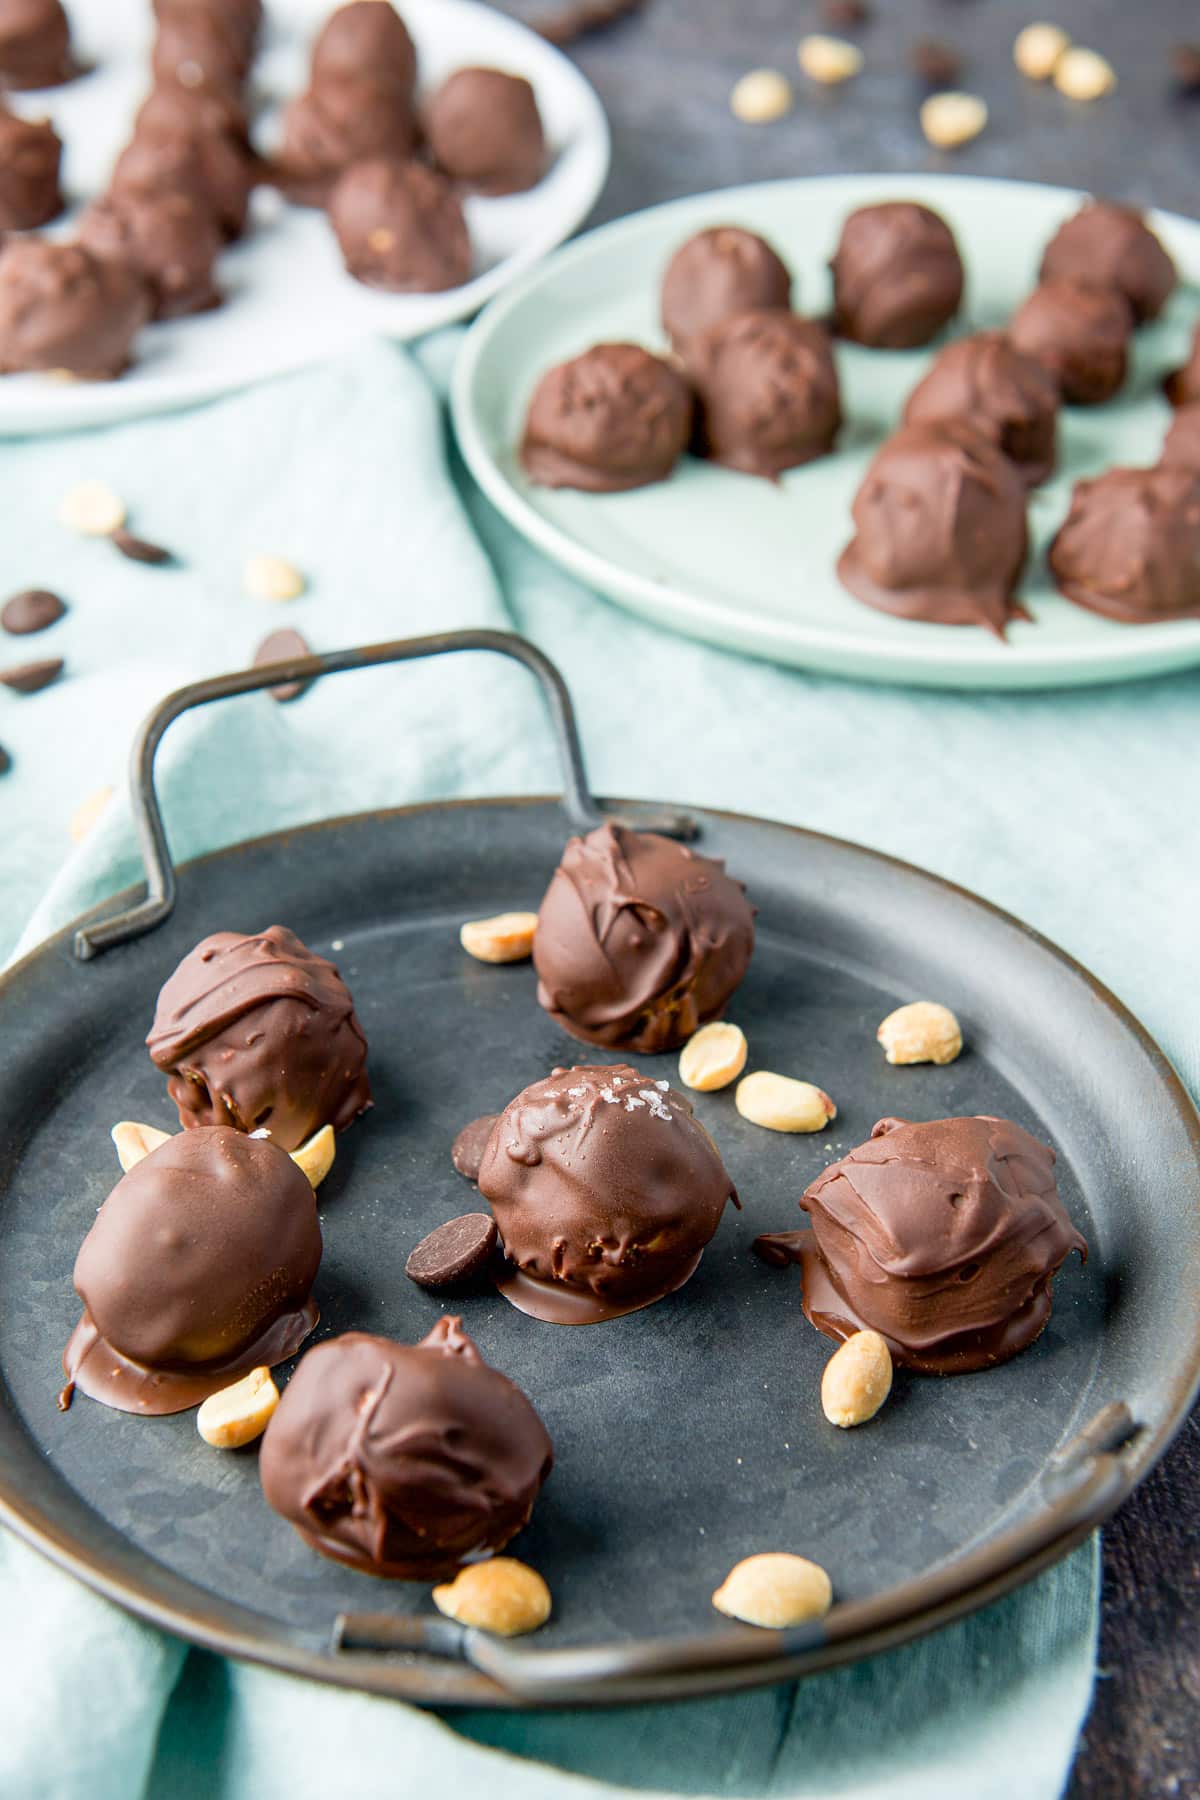
I hope you enjoyed this chocolate covered peanut butter balls recipe.
Other delicious “candy” recipes
- Dark chocolate, caramel, marshmallow, cashew butter cups
- Dark chocolate peanut butter cups
- Almond Joy Cocktail
- Almond butter nutty granola bars
And as always, may all your dishes be delish!
If you’ve tried this or any other recipe on the blog, I’d love the hear what you thought about it in the comments below. I love hearing from you! You can also FOLLOW ME on FACEBOOK, TWITTER, INSTAGRAM and PINTEREST to see more of my delicious food and delightful cocktails!

Easy Peanut Butter Balls
Ingredients
- 1 cup peanut butter (crunchy, natural)
- 4 tablespoons butter (room temperature)
- 2 cups confectioner’s sugar
Coating
- 1 cup bittersweet chocolate chips (I used 62% cocoa chips)
- 2 tablespoon coconut oil
Instructions
- Take out the butter at least a half hour before making the recipe. I place it in the mixer to soften. I cut the butter in pads to help it along.
- Place the paddle attachment on the mixer and mix the butter until creamy.4 tablespoons butter
- Add peanut butter and mix until creamy.1 cup peanut butter
- Add the confectioner's sugar and mix on low at first and raise the speed as the sugar mixes in. You want the mixture to be incorporated and will be stiff. It may take up to 5 minutes.2 cups confectioner’s sugar
- Cover a medium jelly roll pan with either parchment paper or a silicone mat. Use your hands or a small cooking scoop to form each ball. I use my hands and keep the balls on the smallish side.
- Place pan in the fridge for a half hour.
- Before the half hour is up, melt the chocolate, either in the microwave or in a double boiler.1 cup bittersweet chocolate chips, 2 tablespoon coconut oil
- Place each ball in the melted chocolate and use a fork to roll the balls around until they are completely covered.
- Place each ball back on the pan and place the pan in the fridge for a half hour.
- Eat, smile, and enjoy.


Would you like to save this recipe?
Don't worry, I promise not to spam you.
Notes
Helpful tips
- Take the butter out about an hour before starting. I use salted butter, but unsalted works just as well—it’s all about preference.
- Choose good-quality chocolate for coating—Ghirardelli melts smoothly and tastes amazing.
- Chill the peanut butter balls in the fridge for at least 30 minutes before dipping to help them hold their shape.
- Use a fork to dip each chilled ball into melted chocolate, tap off excess, and place on parchment paper or a silicone mat.
- Melt chocolate in small batches to keep it smooth; gently reheat if it thickens.
- No double boiler? Place a glass bowl over a saucepan with simmering water (without touching the water) and melt chocolate with a little coconut oil.
- Add sprinkles, nuts, or flaky sea salt while the chocolate is still wet so they stick.
- If adding wax to the chocolate, let the coated balls set at room temperature—refrigerating too soon can cause dull spots or streaks.
- Store in an airtight container in a cool spot, or refrigerate if keeping longer. Let sit at room temperature before serving for the best texture.
- These freeze beautifully—take them out about 15 minutes before serving so they’re not too firm.
Nutrition
Originally published in April of 2017.
I love this and wanted to eat the whole batch selfishly! But seriously, how can something so delicious need just 5 ingredients????? Brilliant!
Thanks Tina!
You had me at peanut butter. Then you had me at chocolate. I made these and gave 1/2 away so I don’t eat them all myself.
I’m with you on that Ellen. I give away half and then freeze what is left and pretend to forget about them.
Love these simple, sweet treats. So delicious.
Lisa, thanks so much.
Chocolate and peanut butter are always a favorite in my house. Delicious and a great recipe. I need to make some of these for my kids for Easter.
Thank you, Patti.
I made these and ate 3 in one sitting. They are so good. The rest are going in the back of the freezer and will reappear every weekend. 😉
Hehe GiGi! They are so good. I usually give away half so I won’t eat them all, then freeze the rest. And hopefully take them out, one at a time.
Yum yum So delicious. I also freeze most of them, it’s too dangerous for my hips to keep a fresh batch of these.
Don’t I know it Patty!
I could pop these in my mouth, one after the other! They are so good and I can’t wait for you to make them again.
Thanks, Christopher!