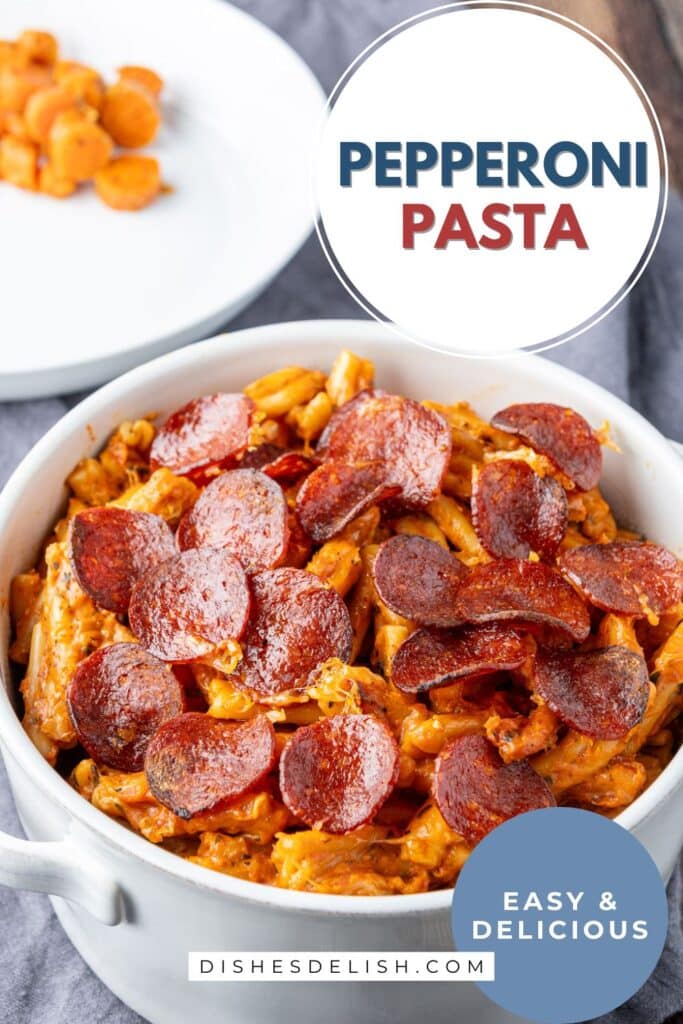
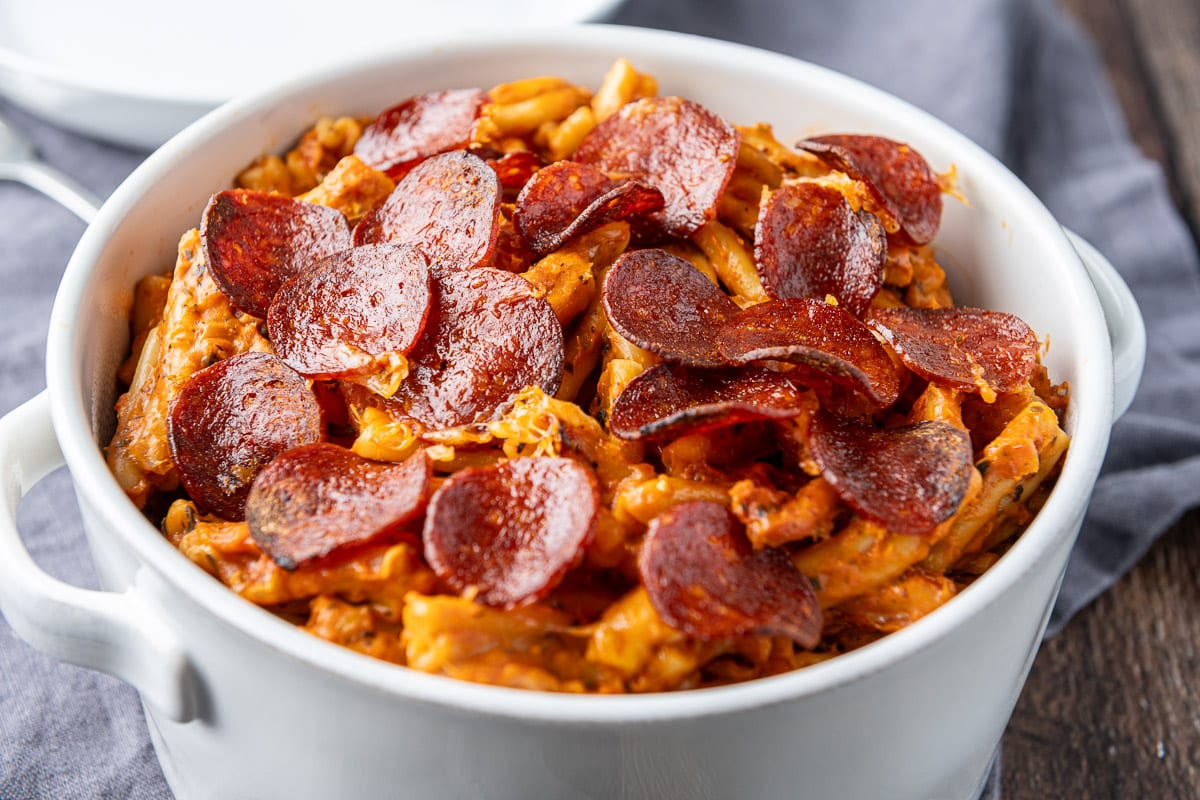
Pepperoni Pasta
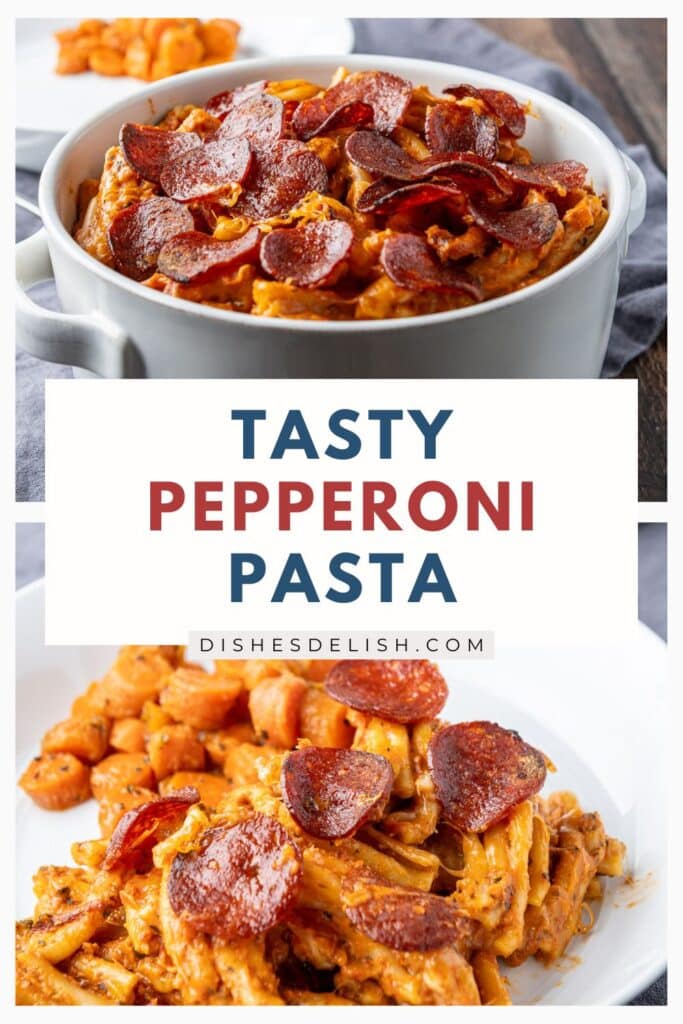
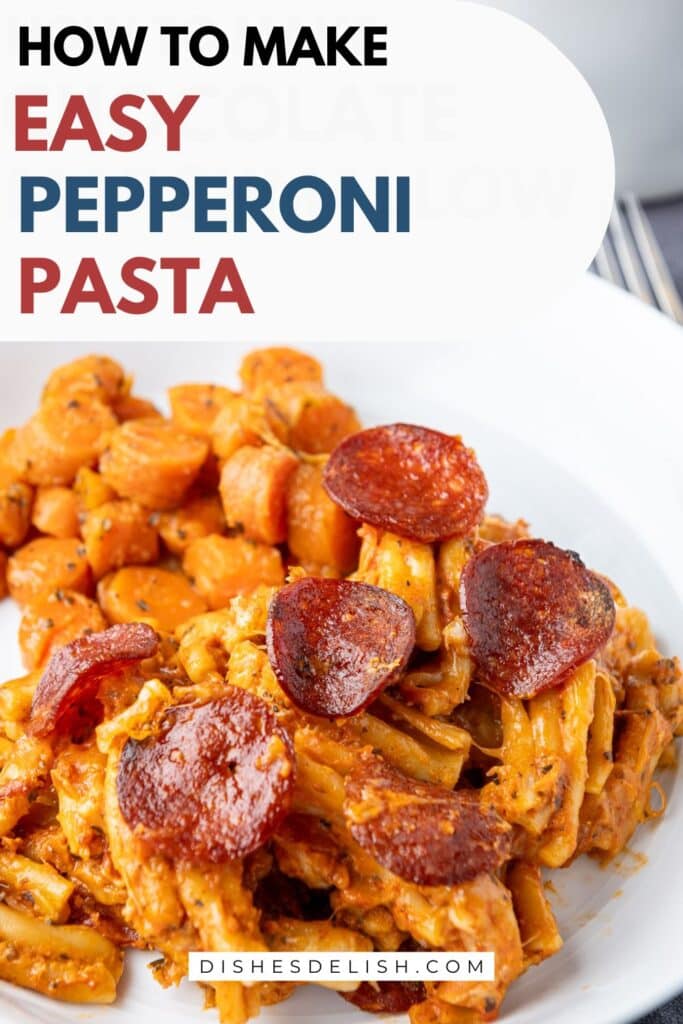
Some meals feel like they were made to be on the weekly rotation—and this pepperoni pasta is one of them. It’s cozy, flavorful, and comes together in a way that feels both effortless and a little bit indulgent. Think of it as the love child of your favorite pepperoni pizza and a creamy, herb-forward pasta dish.
This one-pot wonder is made right in the pressure cooker, which means everything cooks quickly and evenly, and the pasta soaks up all that herby, savory flavor. You’ll start with garlic, tomato sauce, beef broth, and a mix of dried basil, oregano, thyme, and marjoram. The cream cheese melts in to create a velvety base, mozzarella gives it that gooey comfort and thin-sliced pepperoni adds just the right amount of zip.
And if pressure cooking isn’t your thing? No problem—I’ve included an oven version too, so you can bake it low and slow if that’s more your style. Either way, you end up with something that feels like it came out of a favorite Italian-American restaurant but was made in your kitchen with pantry staples.
This is one of those meals that’s even better the next day (hello leftovers!), and it’s a hit with kids and grownups alike.
We are a participant in Amazon Services LLC Associates Program, an affiliate advertising program designed to provide a means for us to earn fees by linking to Amazon.com and other affiliated sites. #CommisionsEarned. You can read my disclosure here.
The origin of this pepperoni pasta recipe
I’ve been making my pepperoni pizza dip for a while now, and one day Christopher suggested turning it into a pasta dish. I thought—brilliant! At first, I cooked the pasta on the stovetop, mixed it with the dip ingredients, and then baked the whole thing until it was hot and bubbly.
BUT then my instant pot stopped beeping when the food was ready, so I bought a combination pressure cooker and air fryer from the Ninja brand. (The Ninja OS301/FD305CO Foodie.)
So, since there is an attached air fryer lid in my new gadget, I decided to make this meal in it making it a true one-pot meal.
Helpful tips
- I’m using casarecce pasta since it’s our favorite at the moment. But you can substitute other kinds of pasta like penne, rotini, or rigatoni will hold onto the creamy, cheesy sauce beautifully. Avoid long noodles for this one—they don’t catch the sauce as well.
- Thin slices crisp up nicely, but if you want a bit in every bite, try chopping the pepperoni into small pieces and mixing it in. I didn’t do that this time with the recipe because the mixed-in pepperoni will not crisp up. You will be adding a bunch of whole slices for the top before baking (if using the oven version) for a “pizza-like” finish.
- I’m using shredded mozzarella, I state to use 2 cups, but I just measure by the handful.
- If you want to make this vegetarian, you can use vegetable broth, and vegetarian pepperoni, and stir in some baby spinach before crisping up the pepperoni.
- Add crushed red pepper flakes or a dash of hot sauce to the sauce mixture if you want a little kick.
How to make pepperoni pasta
Pre-step
Get your pressure cooker or instant pot.
Step one
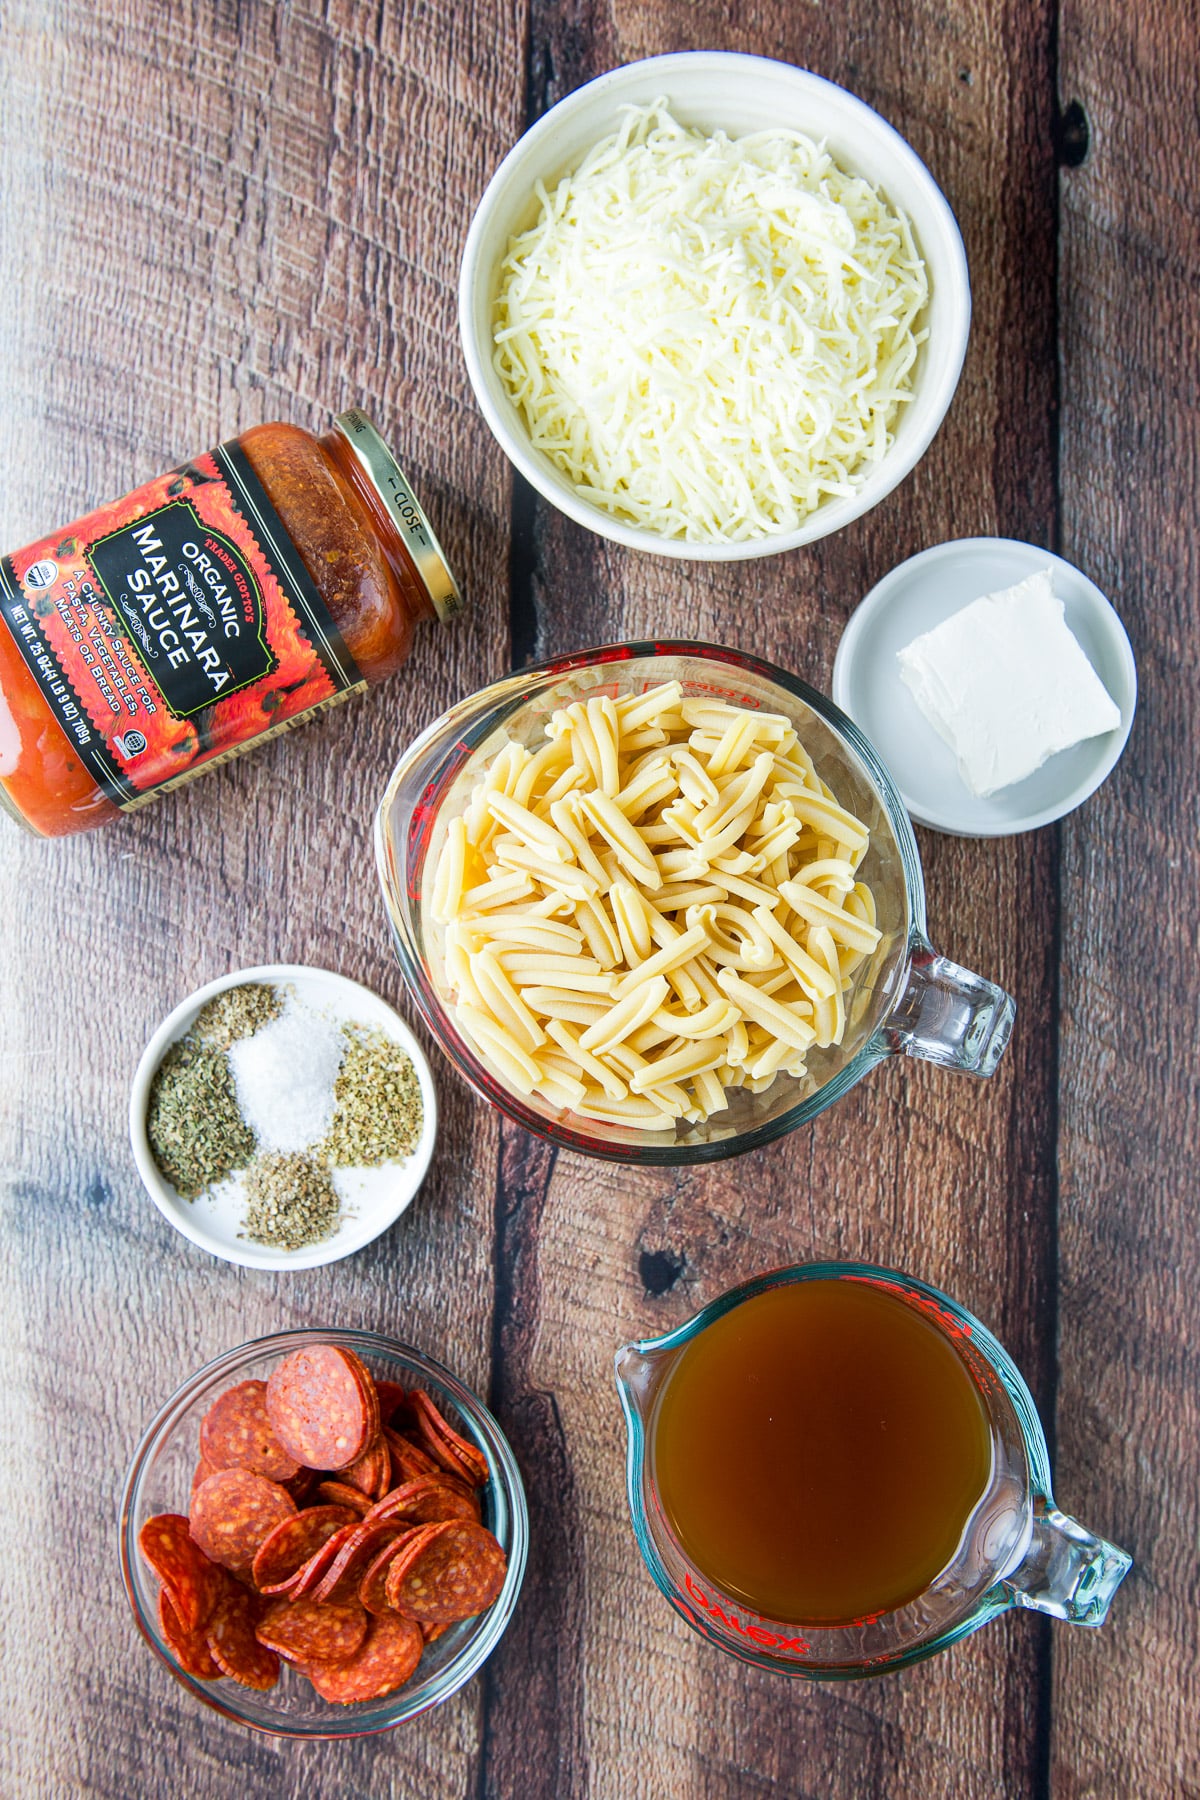
Gather the ingredients: pasta, marinara sauce, shredded mozzarella cheese, cream cheese, beef broth, basil, oregano, thyme, marjoram, garlic, salt, and black pepper.
Step two
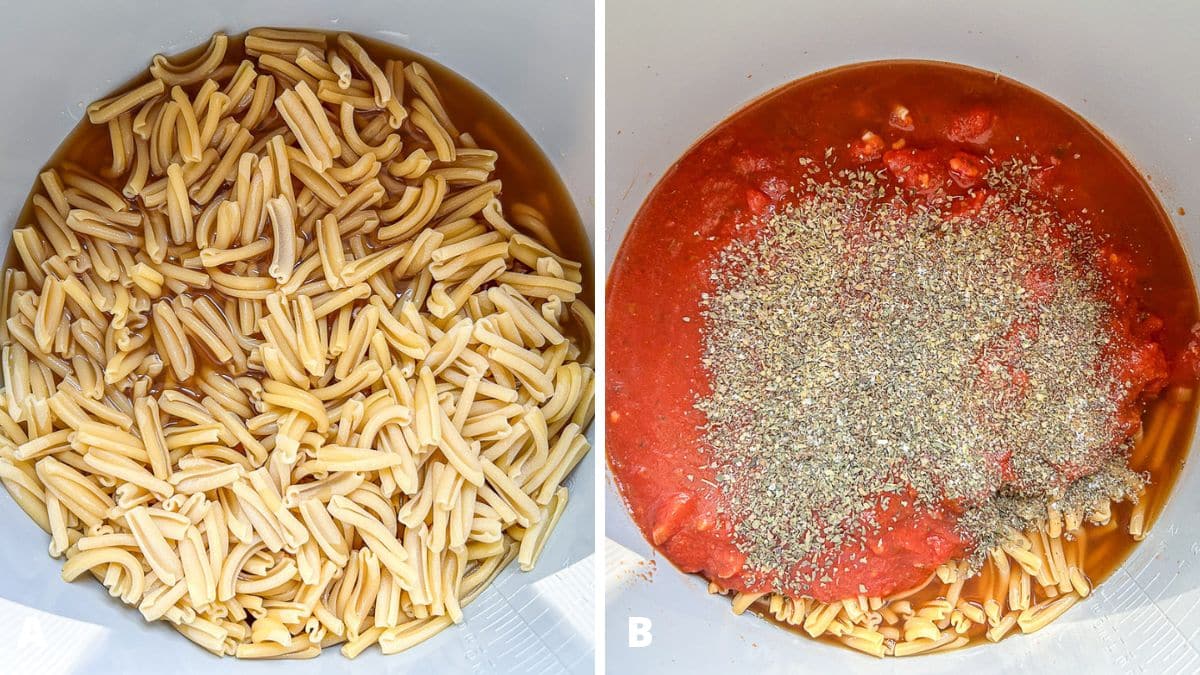
Add the pasta and broth to the pressure cooker container. (A)
Step three
Add the marinara, herbs, garlic, salt, and pepper. (B) No need to stir the ingredients.
Would you like to save this recipe?
Don't worry, I promise not to spam you.
Step Four
Place the cover on the cooker, and make sure the knob is set to seal. Press the pressure cook button, set the temperature to high, and the timer for 6 minutes.
Step five
Let the pressure cooker naturally release for 10 minutes, before carefully setting the pressure knob to vent. I put on an oven mitt to prevent any burns from the steam.
Step six
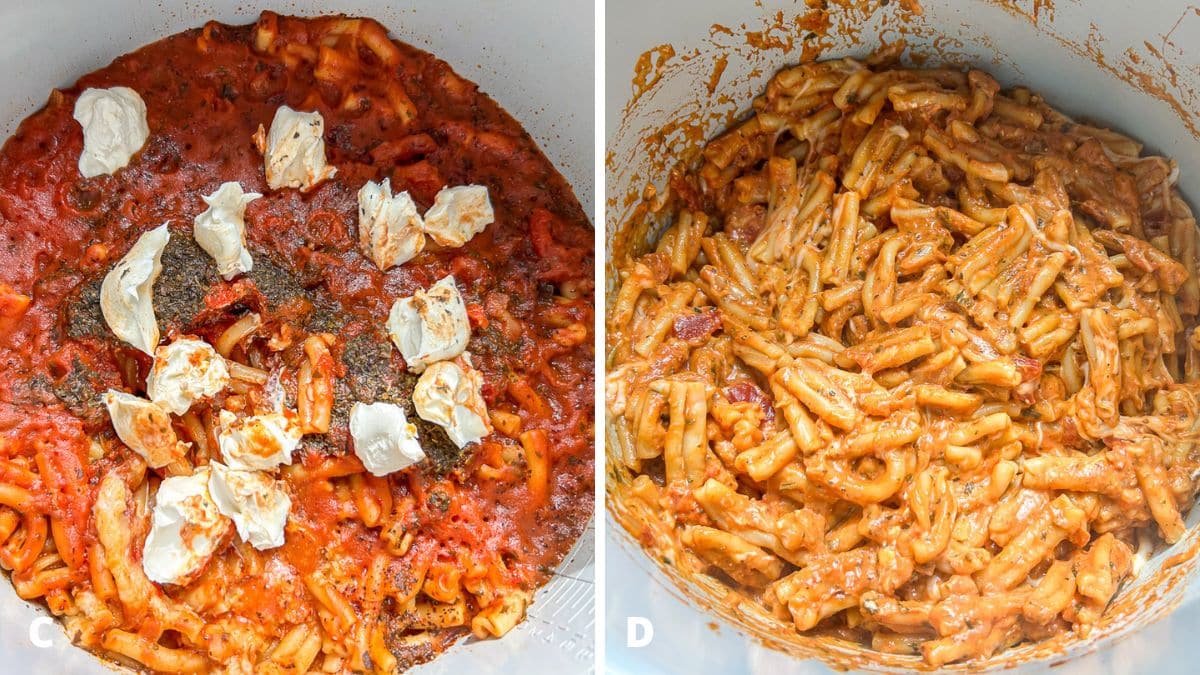
Open the pressure cooker. Add pieces of cream cheese to the pasta (C), also add a handful of shredded mozzarella. Stir the cooked pasta and other ingredients until the cheeses have melted. (D)
Step seven
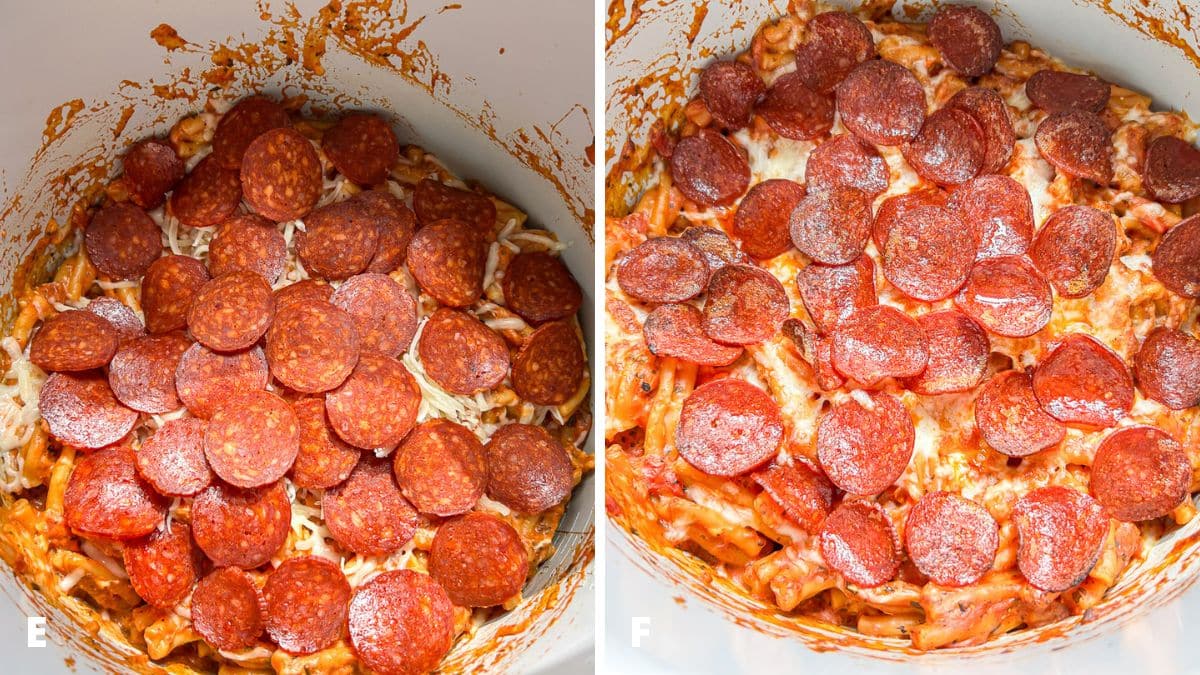
Add another handful of mozzarella cheese to the mixed pasta and lay as many slices of pepperoni on top. Do this part only if you have a pressure cooker with a crisping lid. (E)
Otherwise, you can place as many pieces of pepperoni on a small jelly roll pan or oven-proof large skillet and set to broil on low for 2 – 4 minutes. You’ll need to stand there so you don’t burn the pepperoni. Once the slices curl up, they are done.
Step Eight
Close the crisping lid, set the temperature to 390 degrees Fahrenheit, and set the timer for 5 minutes. (F)
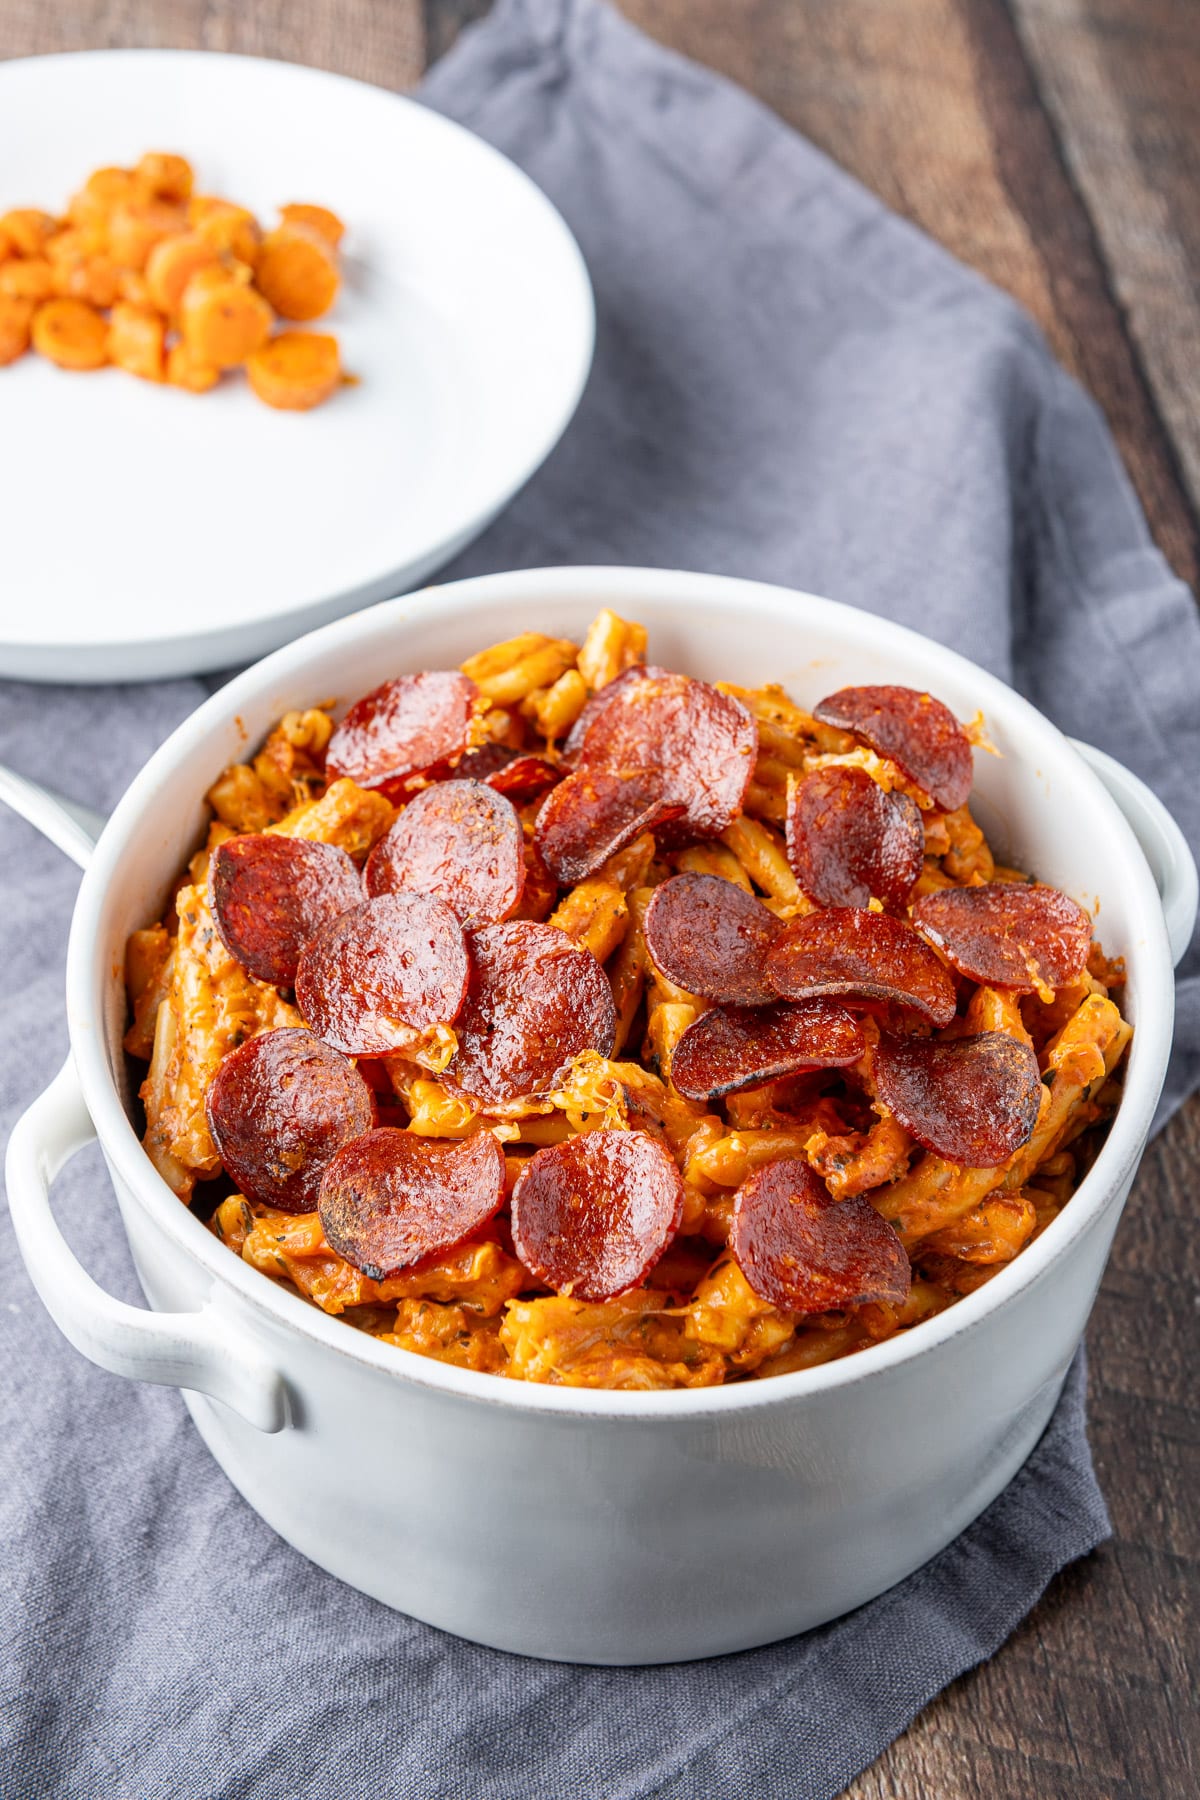
Since I needed to photograph the result in a pretty way, I transferred the concoction to a serving bowl.
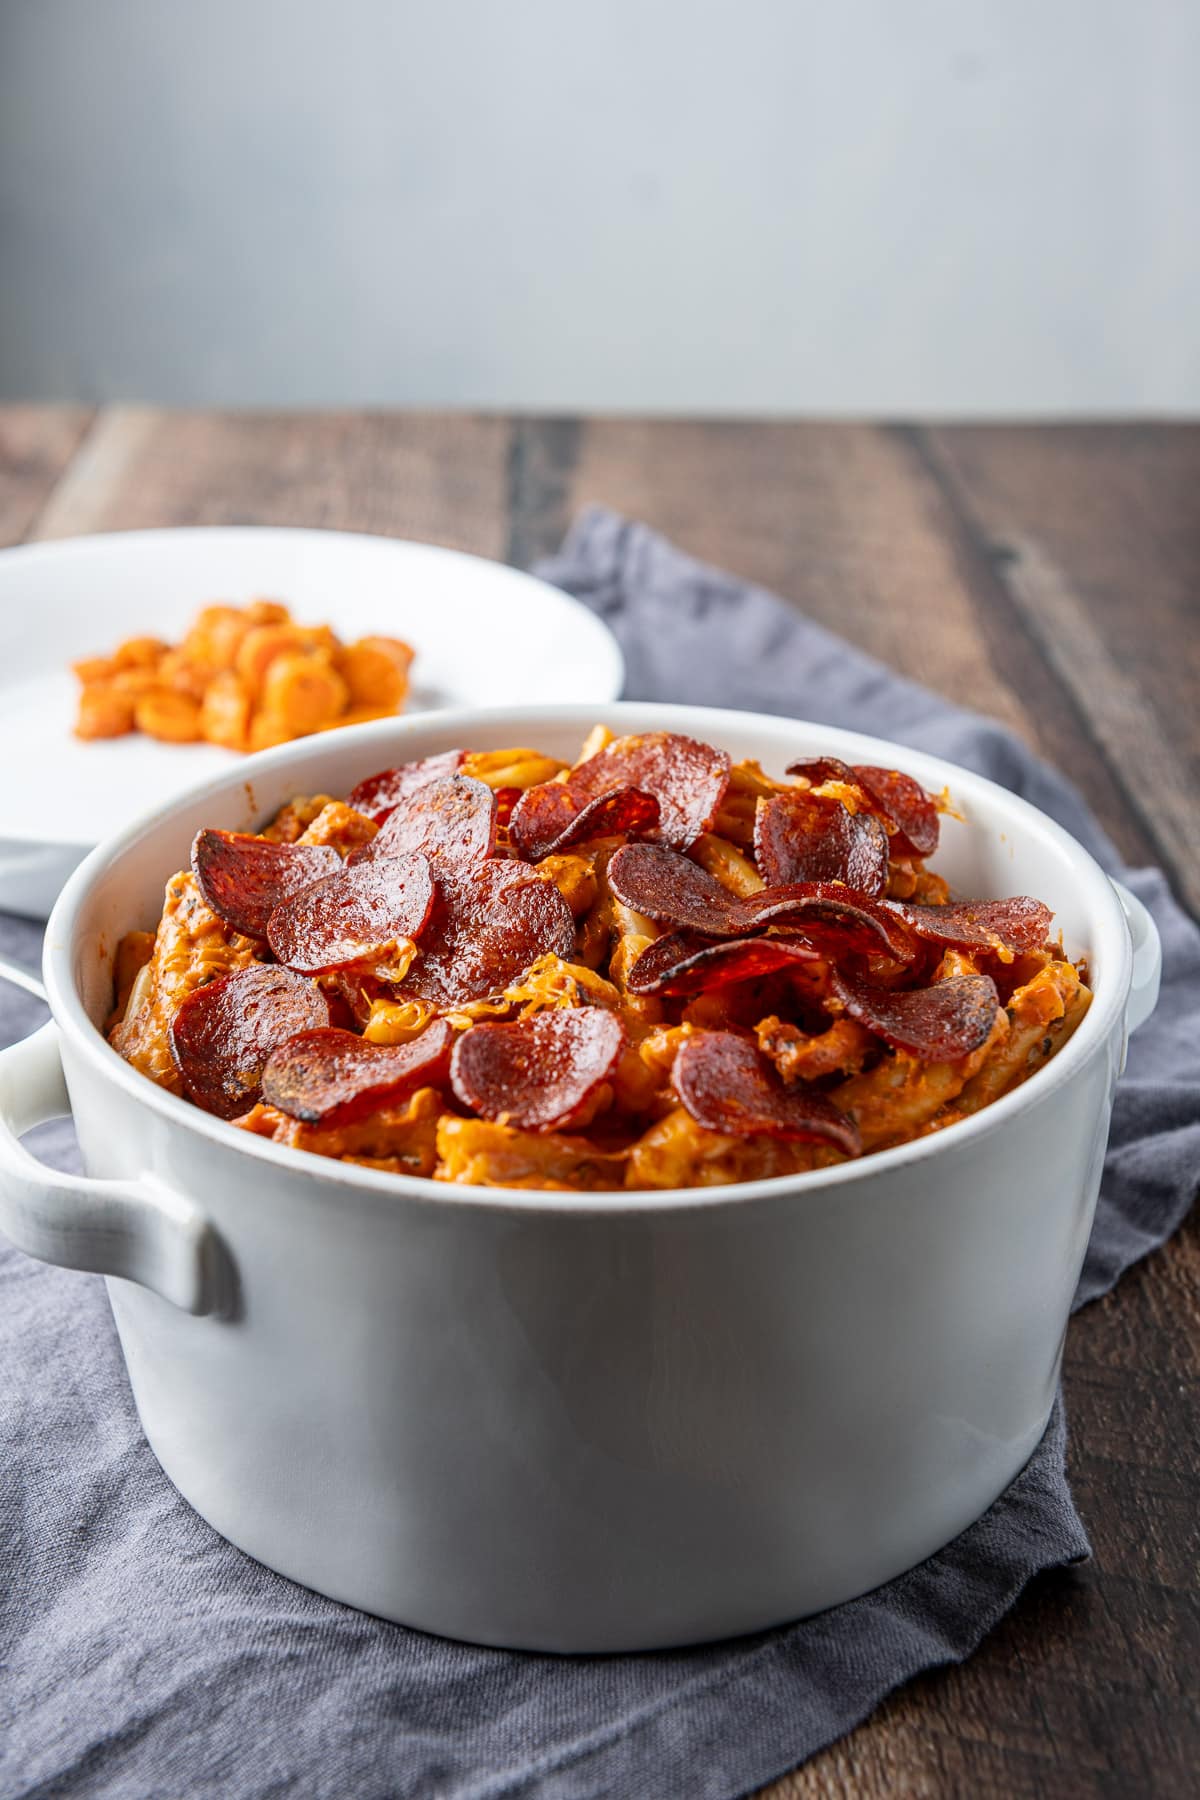
Otherwise, you can serve this pasta dish directly out of the pressure cooker.
Yum. I hope you enjoyed this pepperoni pasta recipe. We love it.
Storage and reheating
- Refrigerator: Store leftovers in an airtight container for up to 7 days.
- Freezer: It freezes great in an airtight container for up to 3 months. I put it in a vacuum-sealed bag. I love my vacuum sealer.
- To reheat: Add some broth or water to the mixture before heating it on the stovetop on medium-low heat.
Other pasta dishes
And as always, may all your dishes be delish.
If you’ve tried this recipe, I’d love to know your thoughts in the comments below. I love hearing from you! You can also FOLLOW ME on FACEBOOK, TWITTER, INSTAGRAM, and PINTEREST to see more of my delicious food and delightful cocktails!
Pepperoni Pasta
Ingredients
- 1 pound pasta (casarecce)
- 2 cups beef broth
- 40 ounces marinara sauce (1 1/2 jars)
- 1 teaspoon basil (dried)
- 1 teaspoon oregano (dried)
- 1/2 teaspoon thyme (dried)
- 1/2 teaspoon marjoram (dried)
- 1/2 teaspoon salt (or to taste)
- 4 cloves garlic (minced) or (4 teaspoons garlic paste)
- 1/4 teaspoon black pepper
- 4 ounces cream cheese (half a block)
- 2 cups shredded mozzarella (divided, approximately, I use two handfuls.)
- handful thin sliced pepperoni
Instructions
- Place the pasta, broth, marinara, herbs, garlic, salt, and pepper in the pressure cooker.1 pound pasta, 2 cups beef broth, 40 ounces marinara sauce, 1 teaspoon basil, 1 teaspoon oregano, 1/2 teaspoon thyme, 1/2 teaspoon marjoram, 1/2 teaspoon salt, 1/4 teaspoon black pepper, 4 cloves garlic
- Seal the pressure cooker and make sure the venting knob is in the sealed position. Set the pressure to high and the timer to 6 minutes.
- Once the pressure cooker beeps that it's done cooking, let the pressure release naturally for 10 minutes. Carefully turn the venting knob to the vent position, and once the floating valve or pin drops, it is safe to open the lid.
- Cut or tear the cream cheese in smaller pieces and add it on top of the pasta along with one handful of mozzarella cheese. Stir until combined.4 ounces cream cheese, 2 cups shredded mozzarella
- If you are using the Ninja Foodi, add another handful of mozzarella on the stirred pasta, and top it with as many pieces of pepperoni as you like.Close the crisping lid, select the air fryer button, set the temperature to 390℉ and the timer for 5 minutes.handful thin sliced pepperoni
- If you are using just a pressure cooker, but still need to crisp up the pepperoni, place as many slices as you like on a medium jelly roll pan or large skillet. Move the rack in your oven to the broil position (top slot). Set to broil – (low temperature – not high), and place the pepperoni in the oven. Stand there since they will crisp up quickly. It takes 2 – 4 minutes. You will know they are done when the edges of the pepperoni curls up.
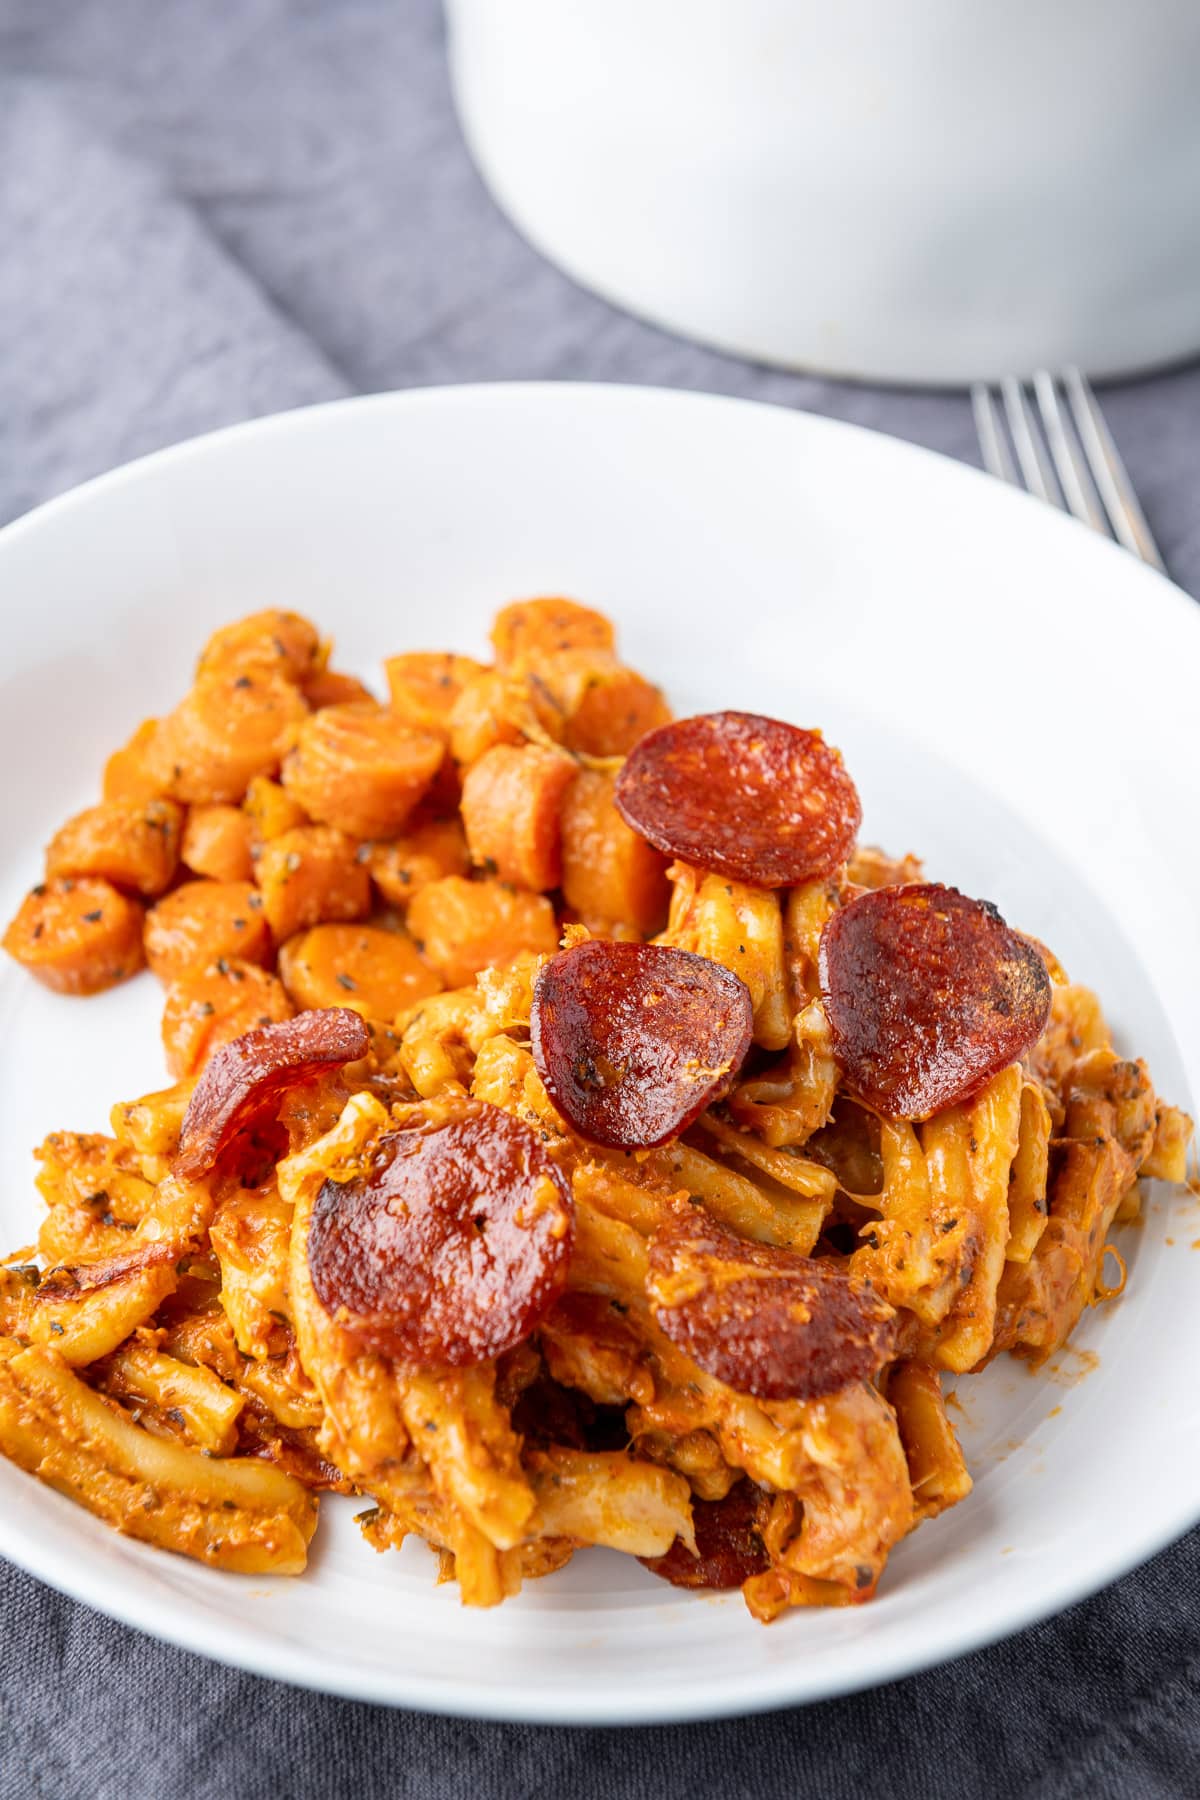
- Serve, smile, and enjoy.
Equipment
Would you like to save this recipe?
Don't worry, I promise not to spam you.
Notes
Oven version
- Boil enough salted water for 1 pound of pasta on high heat.
- Add pasta and cook until al dente (see the instructions on your pasta box.
- Set aside 1/2 cup of pasta water, but drain the pasta in a colander.
- Add the pasta back to the pan with the cut-up cream cheese and pasta water.
- Stir until the cream cheese has melted.
- Set the oven to 350 F. Also, get out a medium/large casserole dish. (I like the rectangle casserole dishes.
- Spoon a little marinara into the bottom of the dish, layer half of the pasta in it, and add half of the marinara, half of the mozzarella cheese, and some pepperoni slices.
- Add the rest of the pasta, marinara, cheese, and as many pepperoni slices as you want.
- Bake for 25 minutes, until hot and bubbling.
- Eat, smile, and enjoy.
Helpful tips
- I’m using casarecce pasta since it’s our favorite at the moment. But you can substitute other kinds of pasta like penne, rotini, or rigatoni will hold onto the creamy, cheesy sauce beautifully. Avoid long noodles for this one—they don’t catch the sauce as well.
- Thin slices crisp up nicely, but if you want a bit in every bite, try chopping the pepperoni into small pieces and mixing it in. I didn’t do that this time with the recipe because the mixed-in pepperoni will not crisp up. You will be adding a bunch of whole slices for the top before baking (if using the oven version) for a “pizza-like” finish.
- I’m using shredded mozzarella, I state to use 2 cups, but I just measure by the handful.
- If you want to make this vegetarian, you can use vegetable broth, and vegetarian pepperoni, and stir in some baby spinach before crisping up the pepperoni.
- Add crushed red pepper flakes or a dash of hot sauce to the sauce mixture if you want a little kick.
Delicious. Super easy and everyone loved it. Thanks for the recipe. Also thank you for adding the oven version.
Thanks, Fran. I’m glad you enjoyed it. And thanks for letting me know what you thought.